Recently a friend of mine got in touch and asked me for help building a workbench. He wanted something simple and strong to fit in to a space in his garage and he sent me these dimensions.
So I did a drawing on SketchUp, I designed a simple frame made from basic 63mm x 38mm construction timber these are more commonly known as 3x2s, although they actually measure less than 3 by 2 inches. I also worked out a cut list and worked out that we needed 7x 2.4m lengths of the 3x2s to complete the frame which Steve bought new.
For the top and the shelf, I already had some salvaged pieces of 18mm plywood which I found dumped by some bins, they were painted and a bit dirty on one side, but fairly clean on the other side.
Free plans showing all the dimensions and a cutting list will be available on my website if you're interested in building this bench.
We started by cutting the outer leg pieces to length. I used the mitre saw to cut all of the pieces for the frame to the right length based on the drawing.
Next we cut the inner leg pieces which would later support the apron rails, or stretchers that would support for both the shelf and the worktop.
I set up a stop block at the mitre station to cut these pieces to a consistent size.
And then we cut the apron rails or stretchers to length.
So these are the pieces we cut, the four pieces on the left are the aprons and on the right are all the pieces that would form the legs.
So we positioned the small pieces flush with the bottom of the outer leg pieces, then used an offcut as a spacer to get the distance correct for the apron rails, and applied wood glue.
We drilled some holes with a countersink bit and screwed the pieces together.
I marked up with a pencil some positions for the screws just so they were centred and spaced equally apart just for aesthetic reasons.
Next we applied glue and added the apron rails which we attached with 2x 60mm screws. I used a large sash clamp to hold the pieces in place
Then we cut some shelf supports that would go in between the apron rails to support the shelf and the main worktop.
We used up some of the short scrap pieces of the 3x2s by ripping them in half to create some cleats.
These were then cut to length and glued and nailed to the sides of the shelf supports and would later be used to attach the shelf and worktop from underneath, so we pre-drilled the holes for that.
Then we cut the side pieces for the frame.
Next we did a dry assembly of the frame just to check we were on track with our measurements for shelves and started cutting the plywood to size starting with the main worktop. Because these were salvaged pieces I first checked to find a corner that was a perfect 90 degree angle with a framing square and then I took all my measurements from that corner.
I set up a straight edge to cut it to the correct width. My straight edge was a bit too short to use clamps so I got Steve to stand on one end instead.
I made the cut with my cordless circular saw.
And then I could cut it to length.
Then we cut the shelf to the size we wanted. And to fit this piece between the legs, we needed to make a few cut outs. I used the jigsaw for that and a speed square to mark them up, And that fitted in place just fine.
We wanted to cover the plywood edges at the front of the workbench to make them more hardwearing. I had some reclaimed pine bed slats which I ripped to strips of 20mm on the tablesaw. Then I glued and brad nailed it to the front.
And for the worktop we did the same again except we also mitred the corners and did the sides of the worktop as well as the front to give it a cleaner look.
I used a block plane just to break the hard edges of the trim pieces.
Then we went to Steve's to assemble the bench. We could add the shelf supports with glue and 2 screws on each side. There were two for the worktop and two for the shelf.
And then we could add the side pieces which would also support the shelf and worktop.
THen I tipped it on it's side to add the shelf and it was quite a tight fit now so I used my body weight to force it in.
I could then add screws through the cleats in to the plywood to secure the shelf.
We didn't add wood glue here as we thought it would be useful to be able to replace the plywood at a later date once it gets worn out.
And then I added the top, making sure it was nicely centred on the frame.
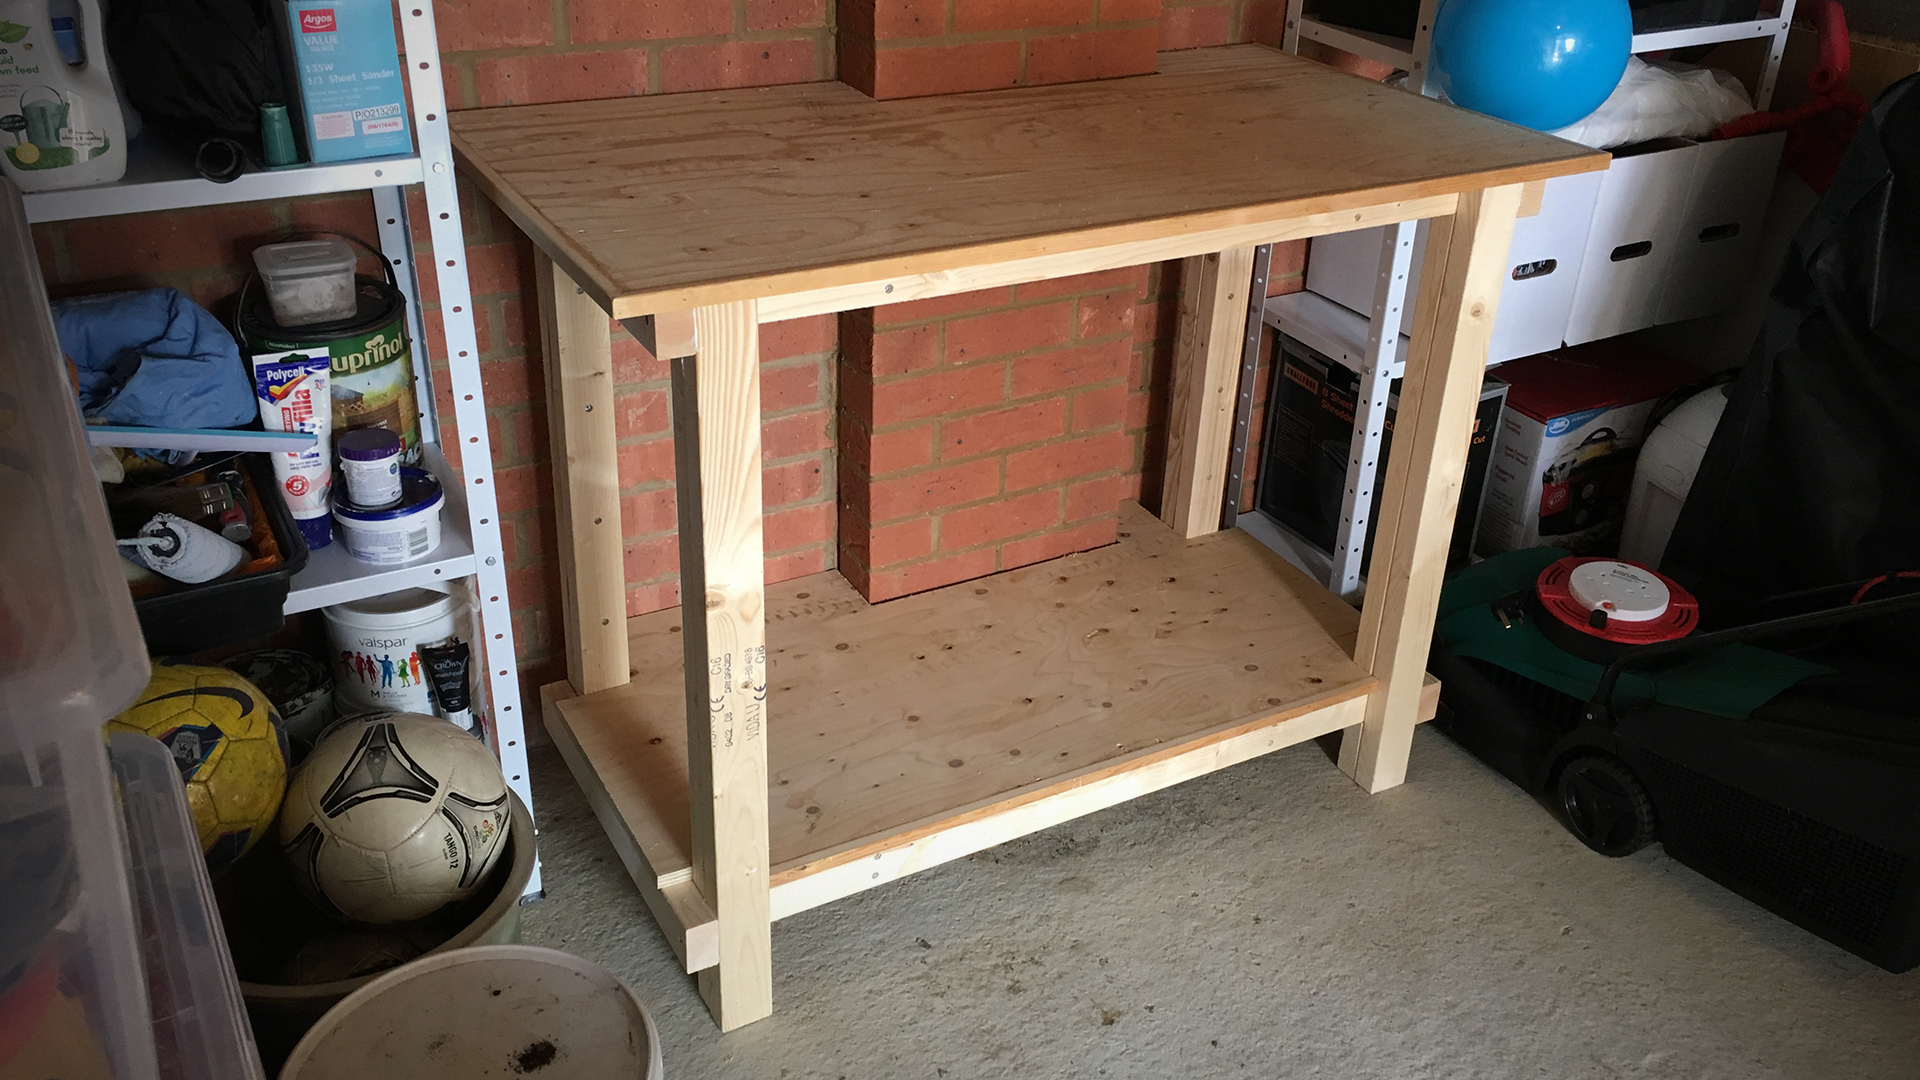
We then offered up the workbench to the space and we'd deliberately left an overhang at the back of the shelf and worktop so that we could fit the bench around the brick pillar along his wall. We marked up where the pillar was on to the shelves, and cut it out with the jigsaw. So the pillar stuck out 12cm from the wall, so we'd left a 12cm overhang between the edge of the back of the shelves and the frame to account for that.
And it fitted in place nicely.
This was a nice quick and simple project and the total cost of materials was £21, that was for the 7x 3x2s. Everything else was either salvaged or stuff I already had in the workshop.
If you'd like to build your own then full drawings, dimensions and a cut list will be available on the Resources page of my website.
Images: