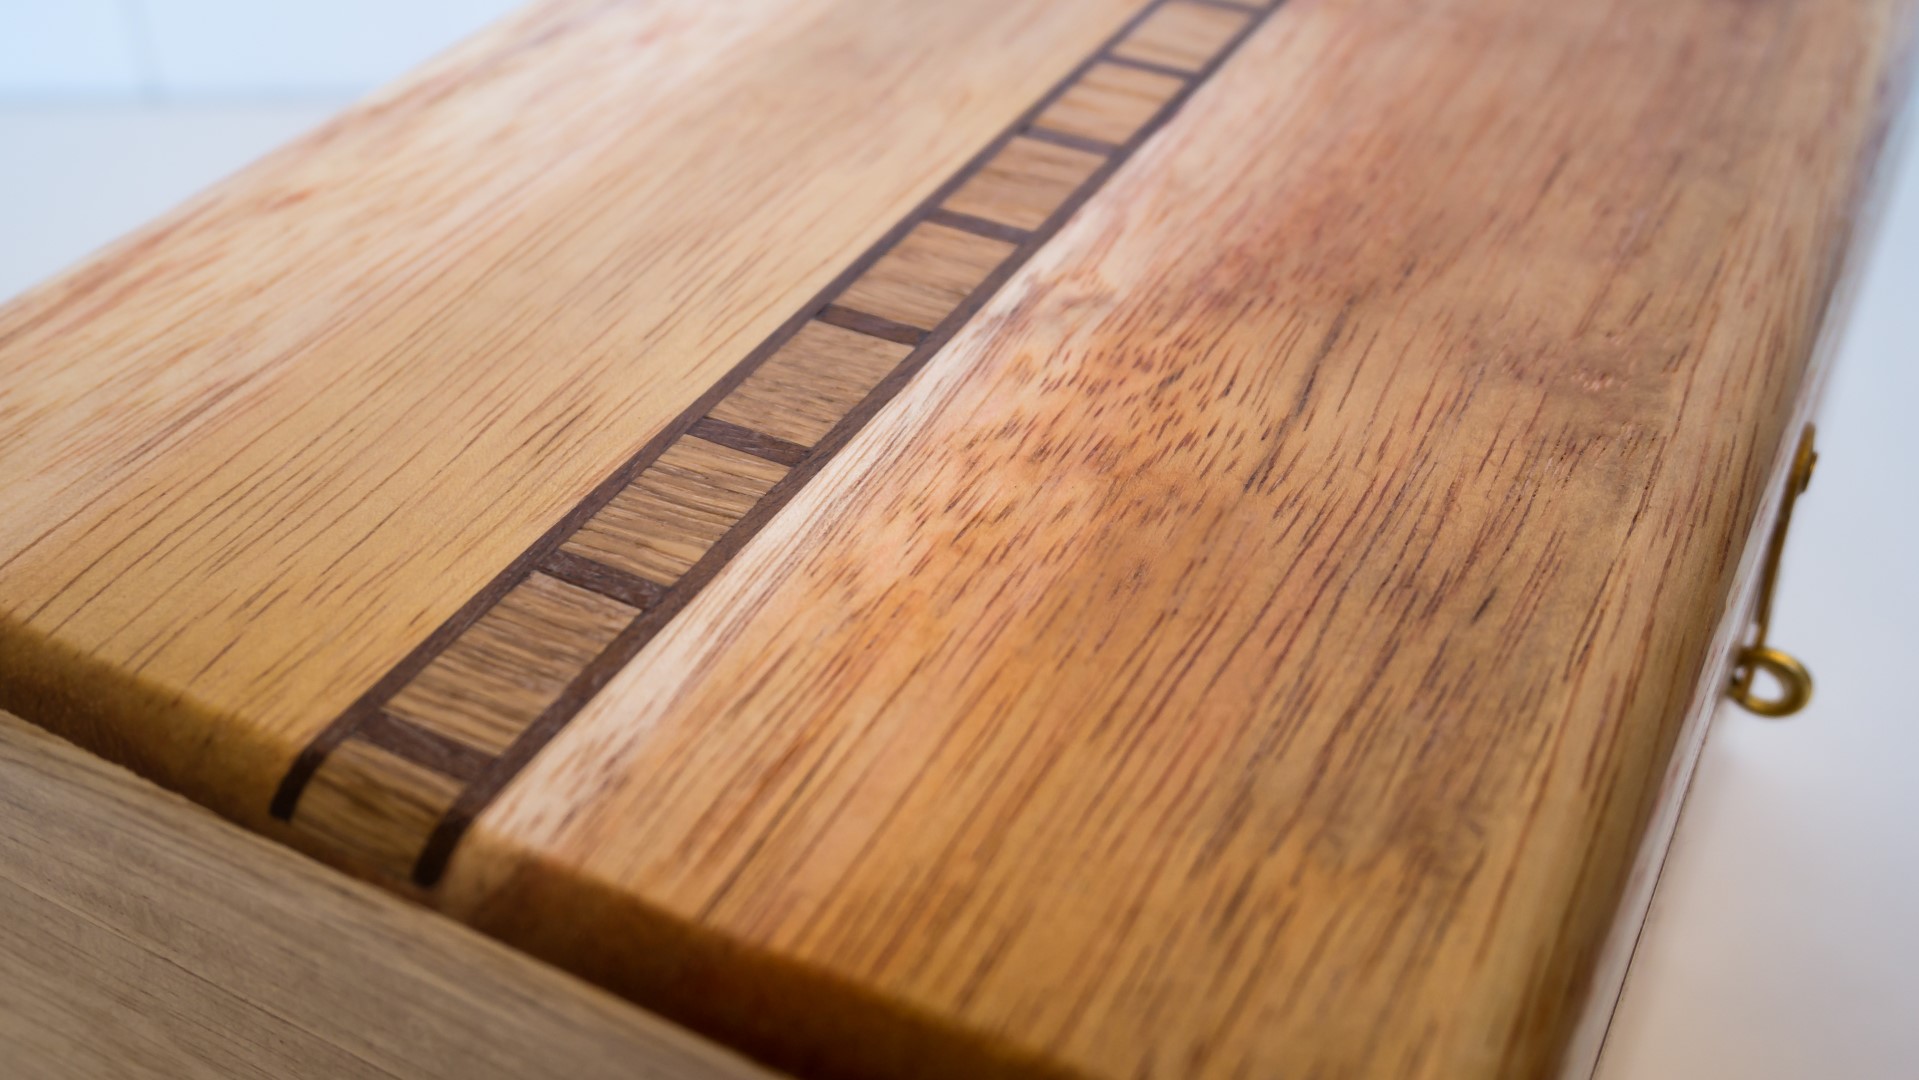
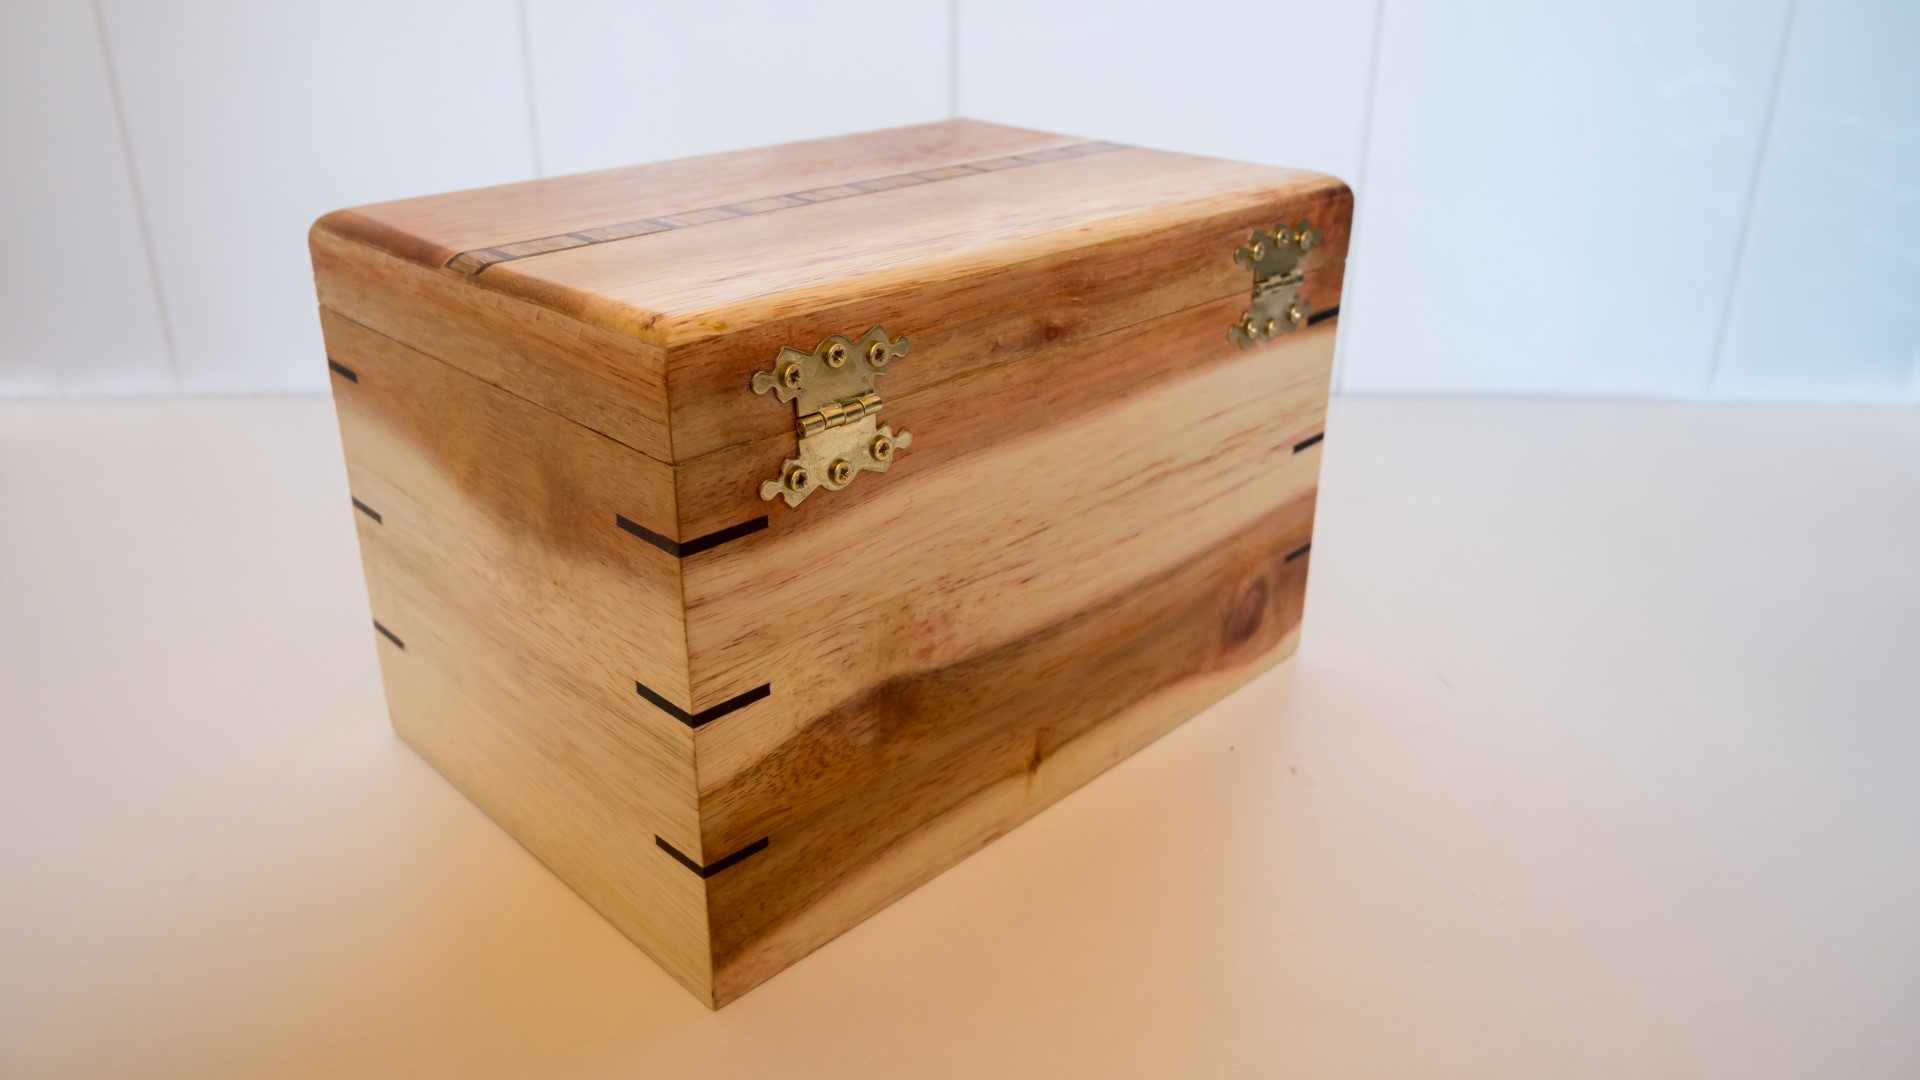
The next job was to cut some splines at the mitred corners to re-enforce the strength of the box.
I set my tablesaw blade to a height to ensure it wouldn't cut through to the inside of the box, and used my frame spline jib to cut three slots on each corner, equally spaced.
I cut some splines out of some scrap pieces of sapele and glued them in place. To cut them to the right size, I used a spare tablesaw blade to set the distance between the blade that was fitted and the tablesaw fence ensuring that the blades were tooth to tooth. This gave me perfectly sized splines which I cut out on the bandsaw before gluing.
I trimmed off the excess spline material at the bandsaw and sanded them flush with the sides of the box.
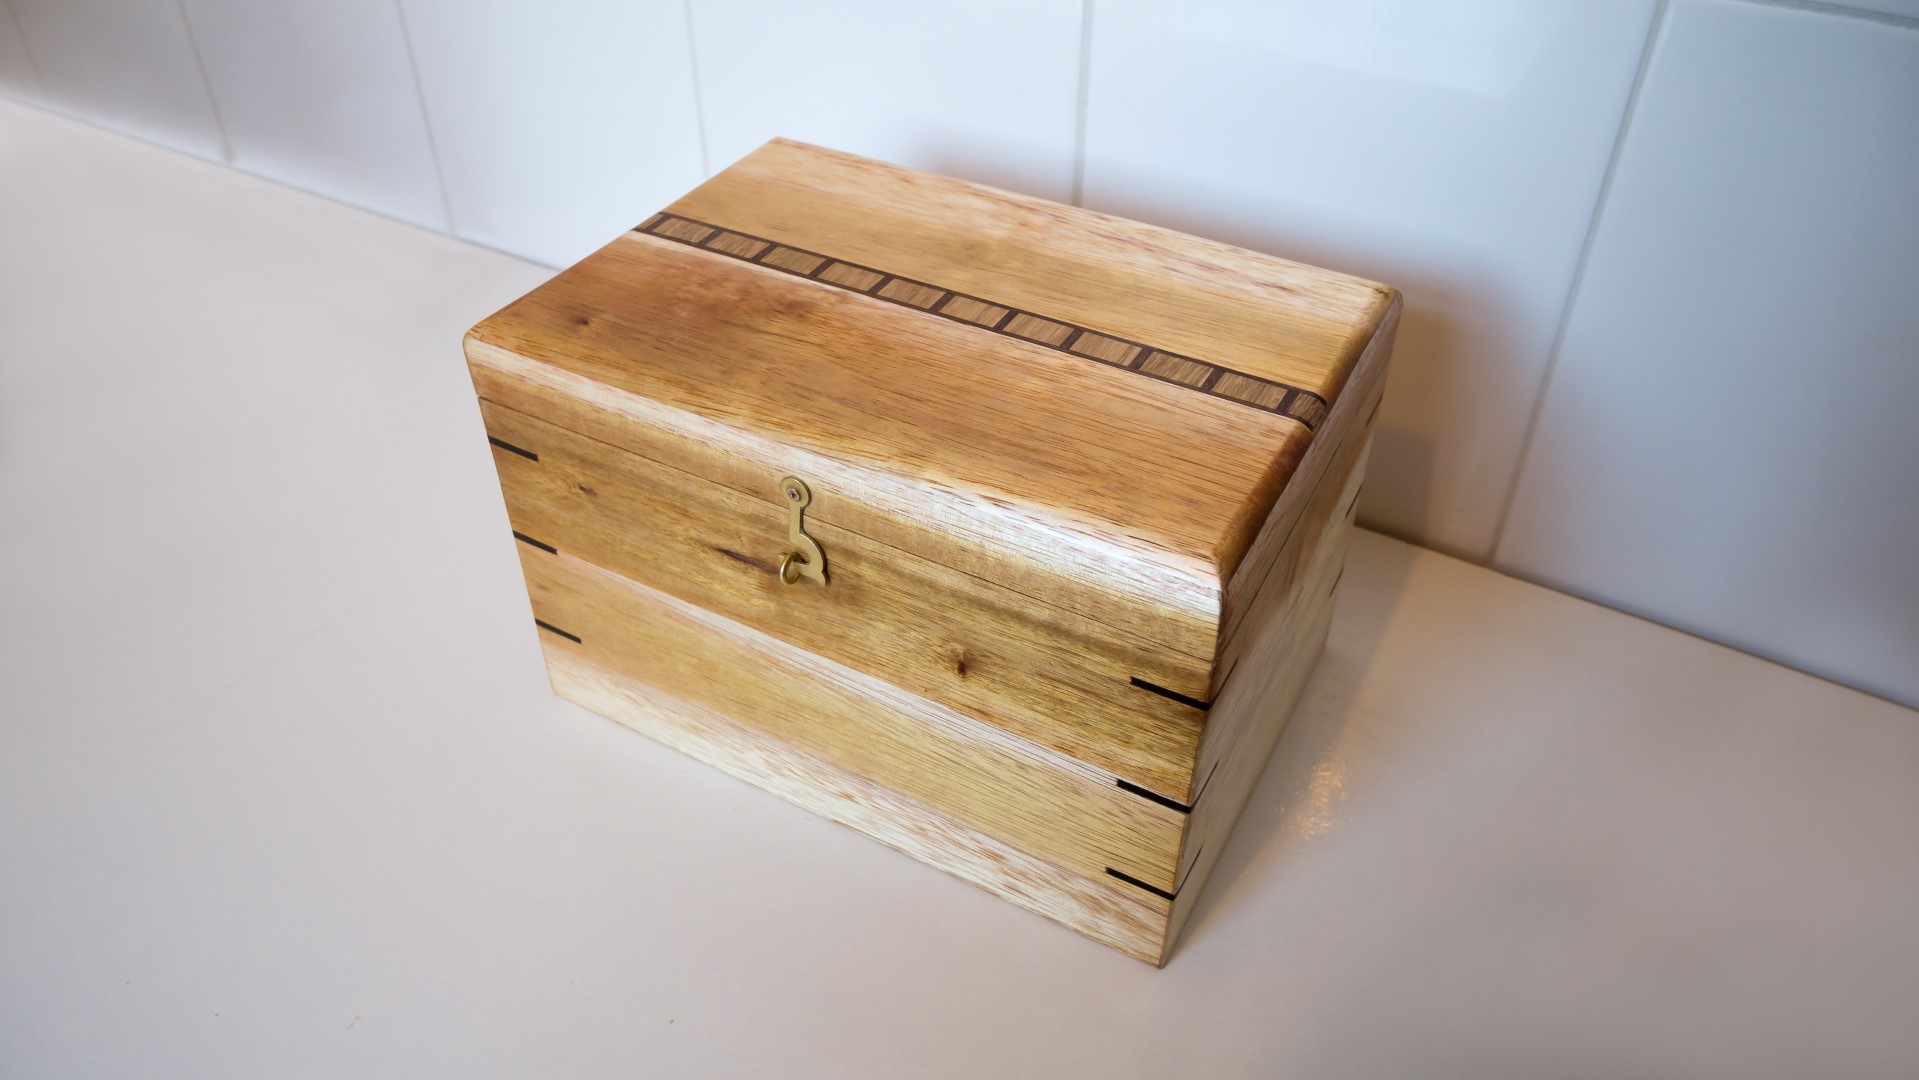
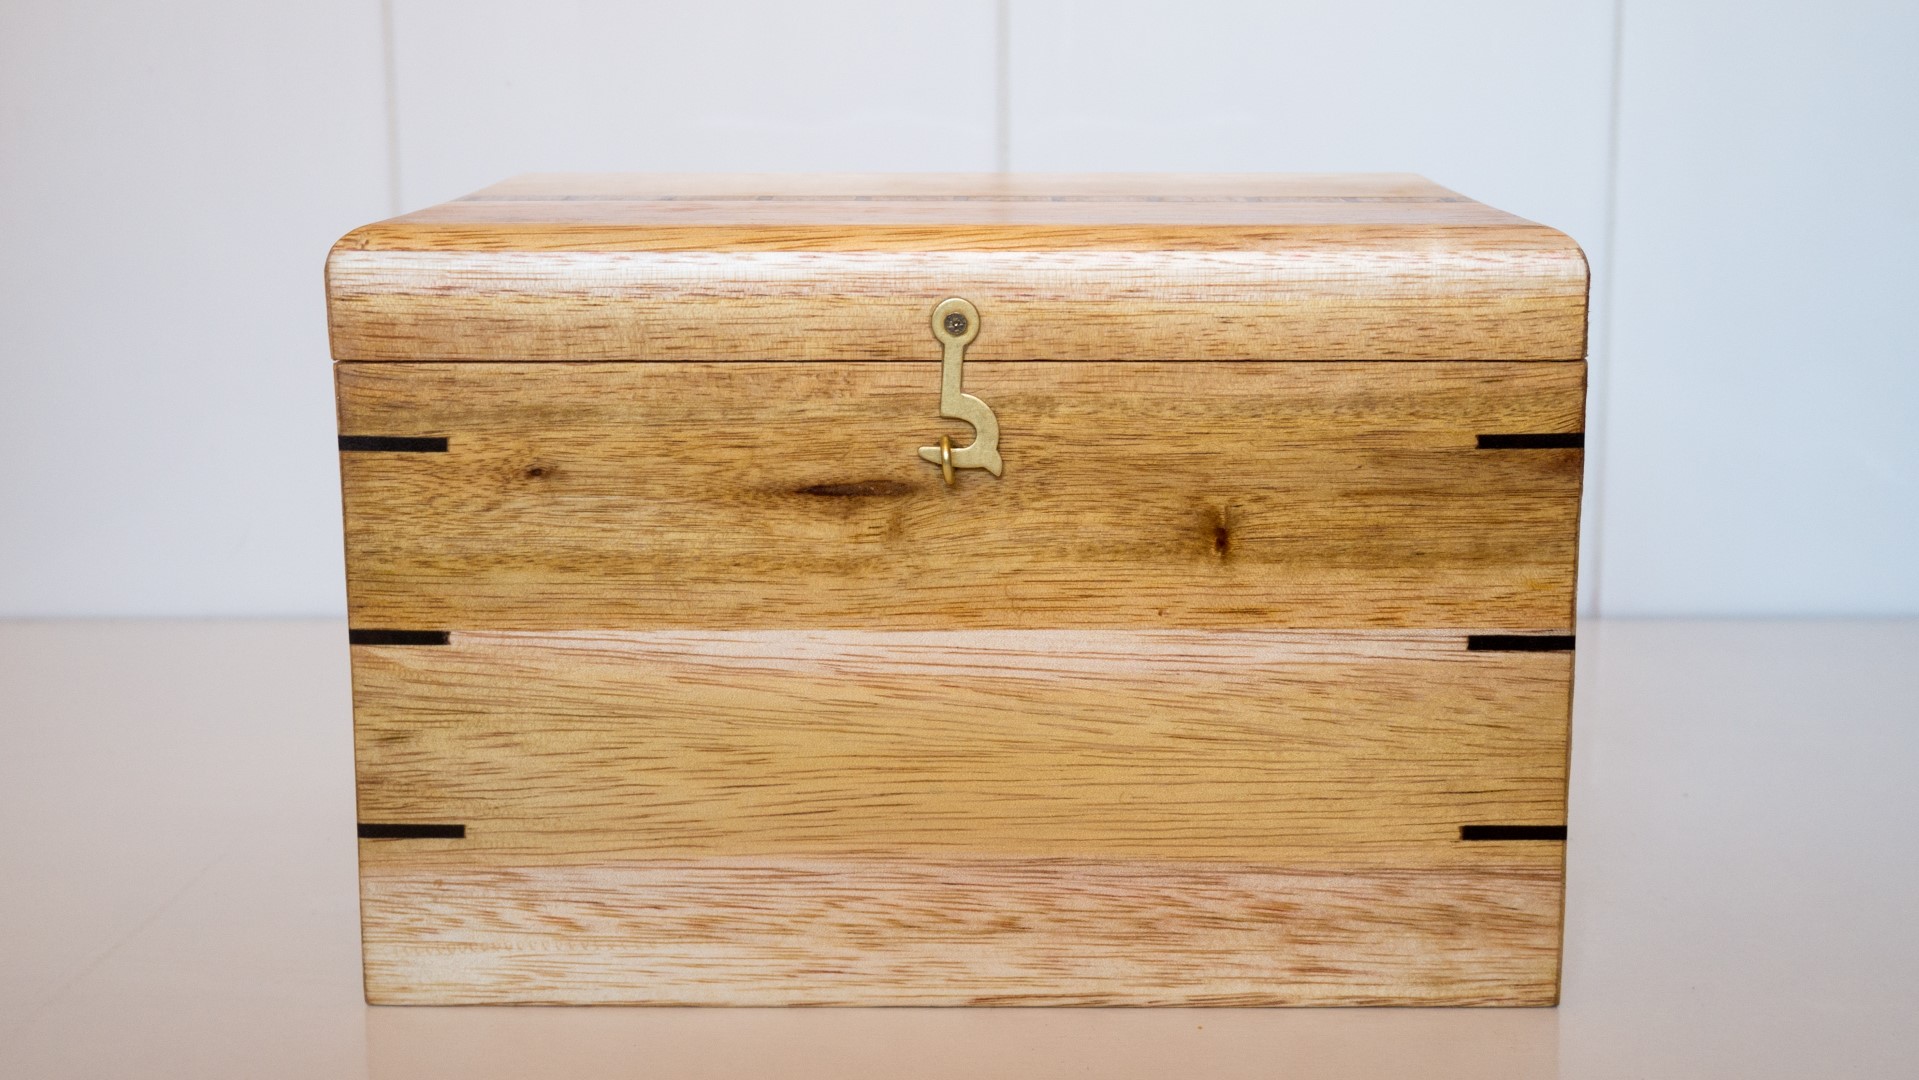
Next I marked up where I wanted to make a cut for the lid, lined up the mark with my blade and made the cut at the tablesaw,
To make sure that the lid and top of the box were perfectly flat I sanded them on a flat board covered in sandpaper with sticky back tape.
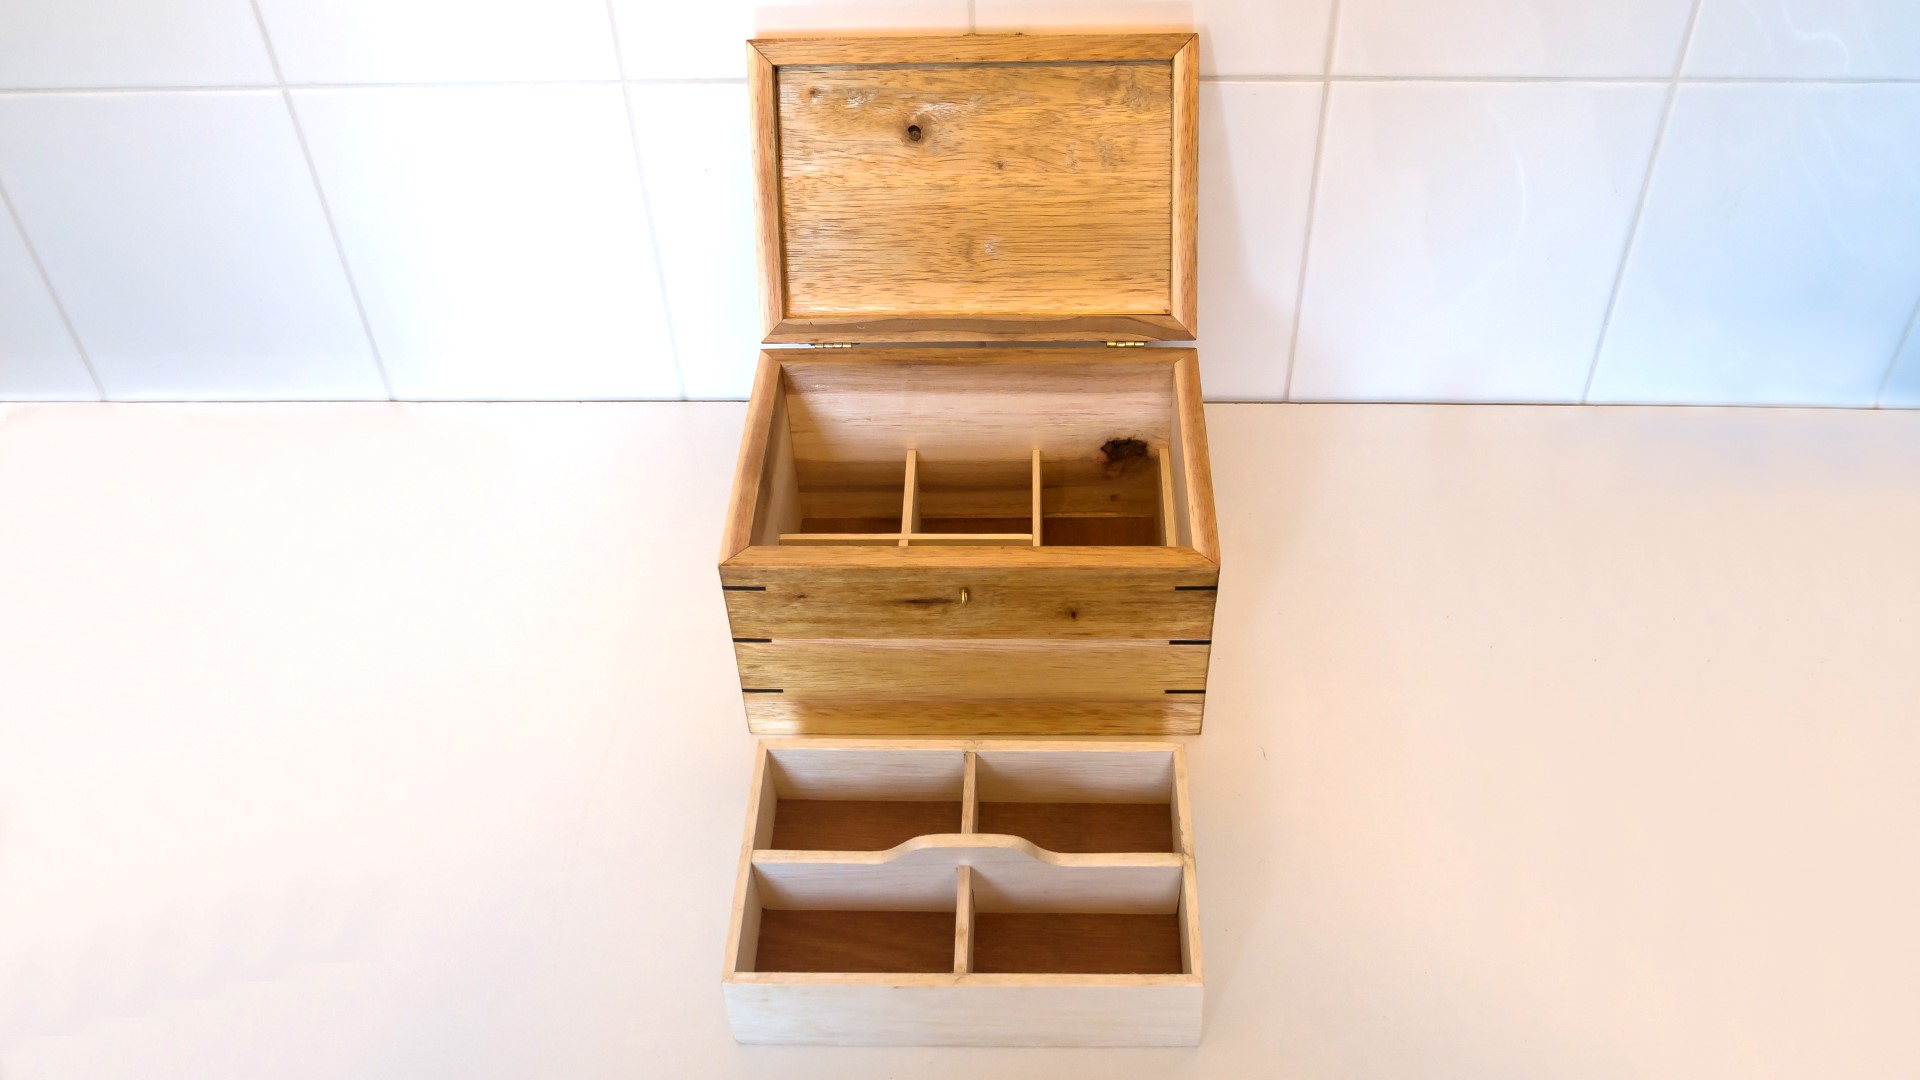
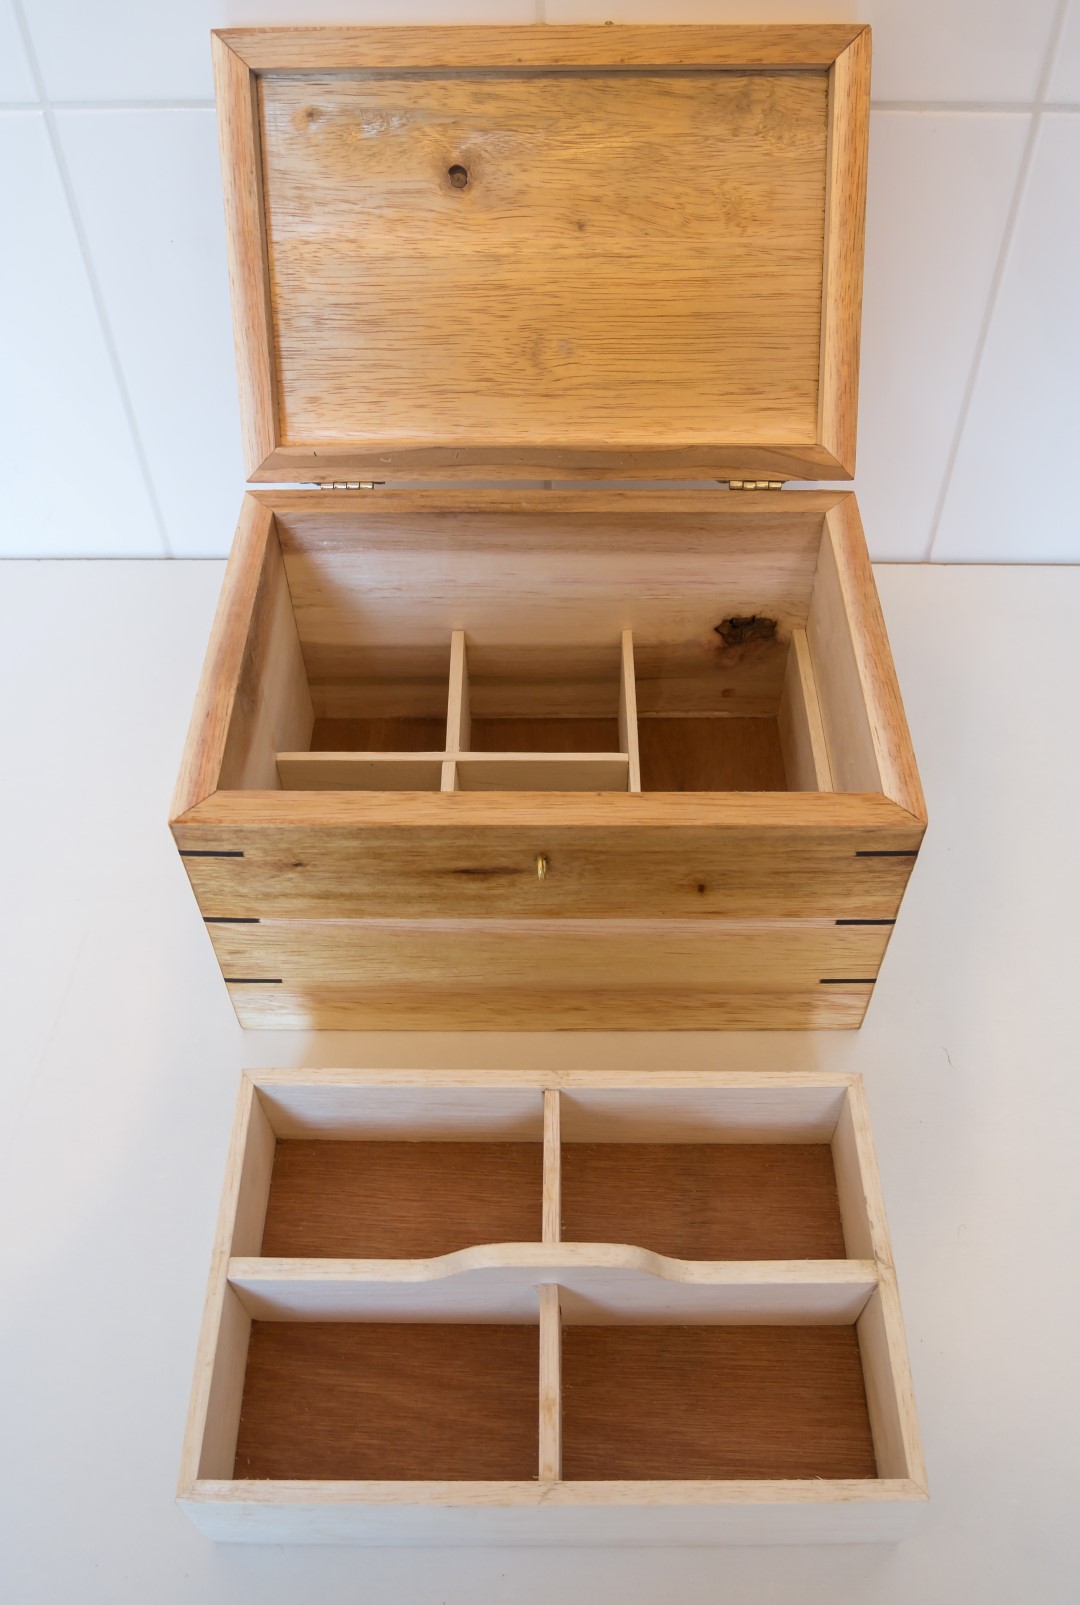
WIth the box finished, I started working on some partitions to sit inside the box using the left over panels of meranti.
I ripped them to the width I wanted on the tablesaw and used my bandsaw to resaw the material to give me more pieces. to work with Then I sanded the pieces and cut them to length on the mitre saw.
I wanted two of the pieces to cross over to form a cross so I cut out a joint on the bandsaw in the centre of each piece and pushed them together, getting a snug fit by using a file. Then I could glue the partitions in place.and weighted them down using a brick.
I wanted to make a tray which would sit on top of the partitions, so I made another mitred box with another slot and 5mm plywood bottom in the same way as I had made the main box. I glued and clamped this together.
Once it was assembled I needed to do some sanding to get it to fit inside the box.
Images: