A couple of years ago I salvaged some hat and coat stands, and I used them to make loads of things like this table top, a neck for an electric guitar, this table frame and this chopping board.
I saved all the coat hooks from them so I decided to make some coat racks.
I found a few pallets recently so I decided to use pallet wood.
So I broke them all down in to pieces, and removed the nails.
And I decided to use some of these wider pallet slats from one of the pallets.
I started by chopping off the ends where the nails holes were.
And I kept hold of the offcuts, and marked up a line across them diagonally, and made cuts following the line on the bandsaw. These pieces would be brackets to hold a top shelf for the coat rack.
I applied glue to the back, and nailed them in place with brads to hold them temporarily and then re-enforced them with some screws.
Then I added another piece of the wood on top of those brackets, which was glued and nailed in place, and then I added some F clamps to get nice tight glue joints
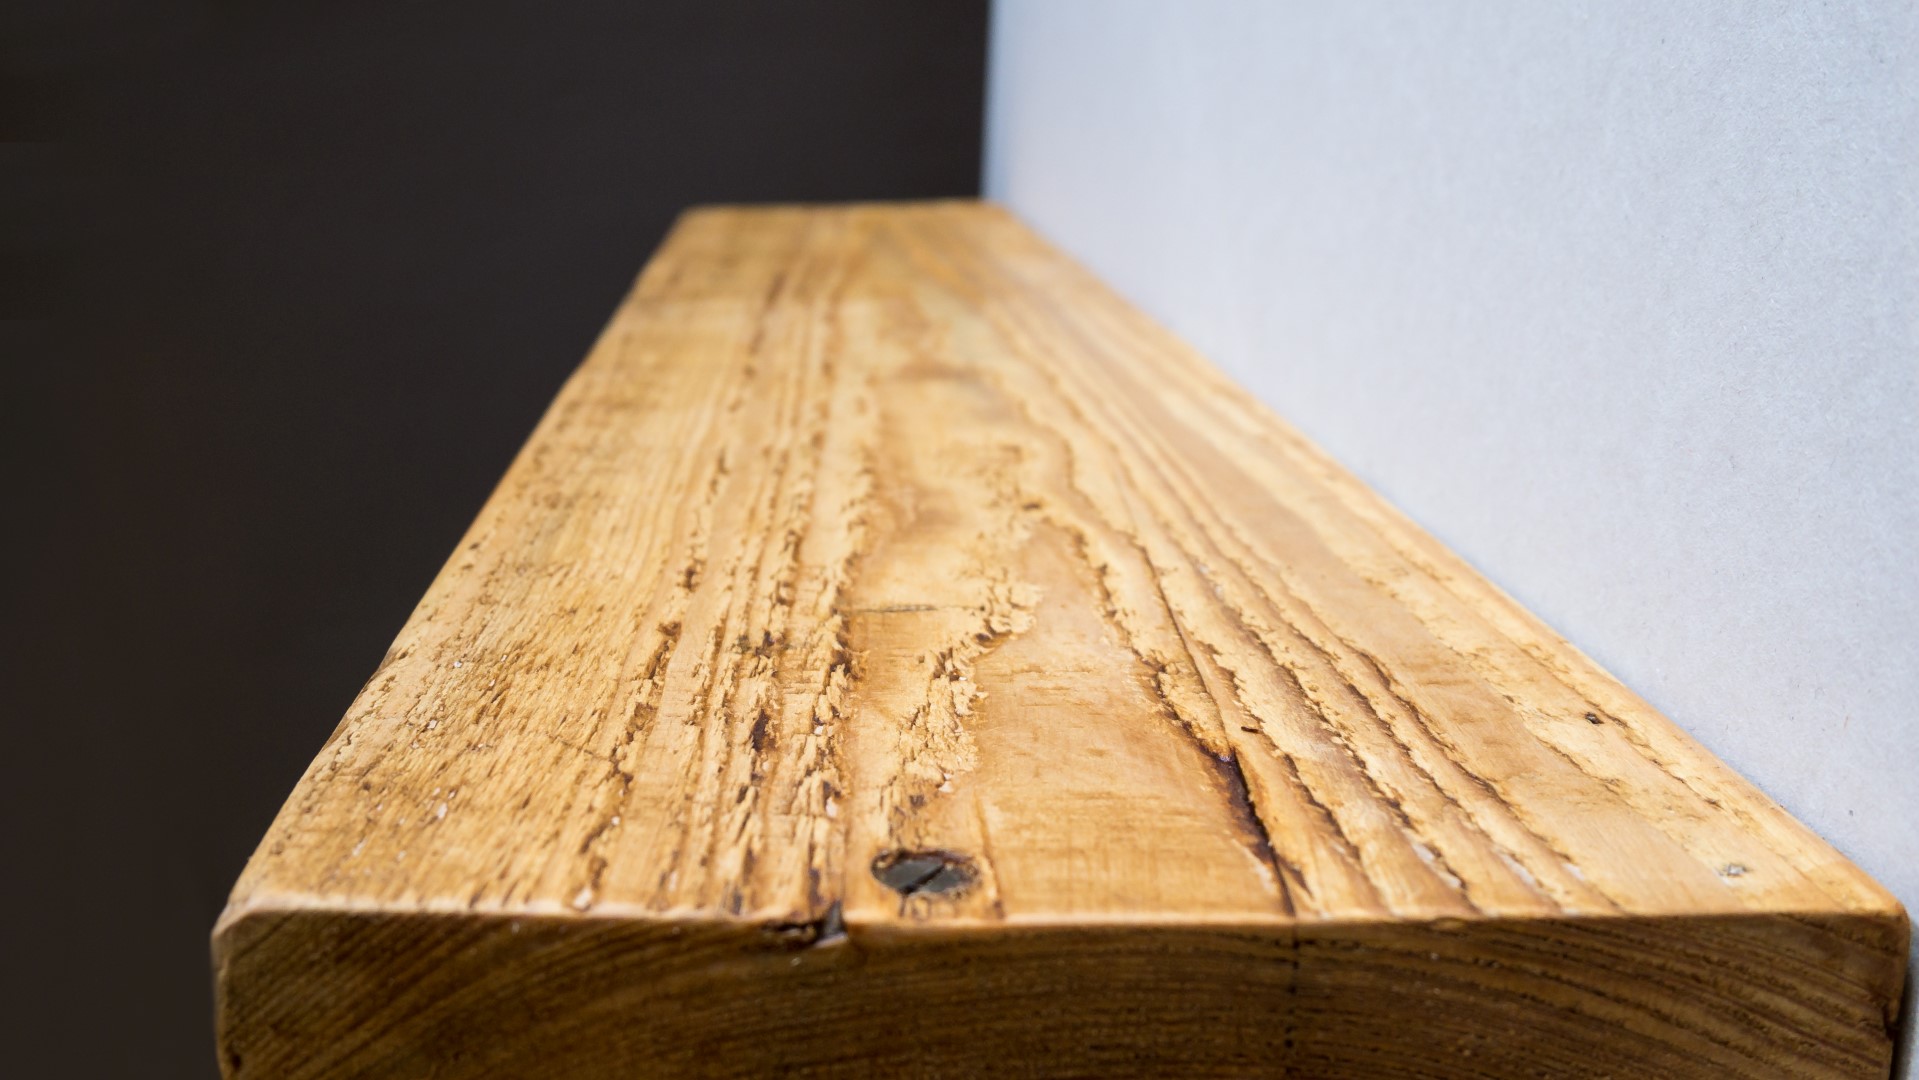
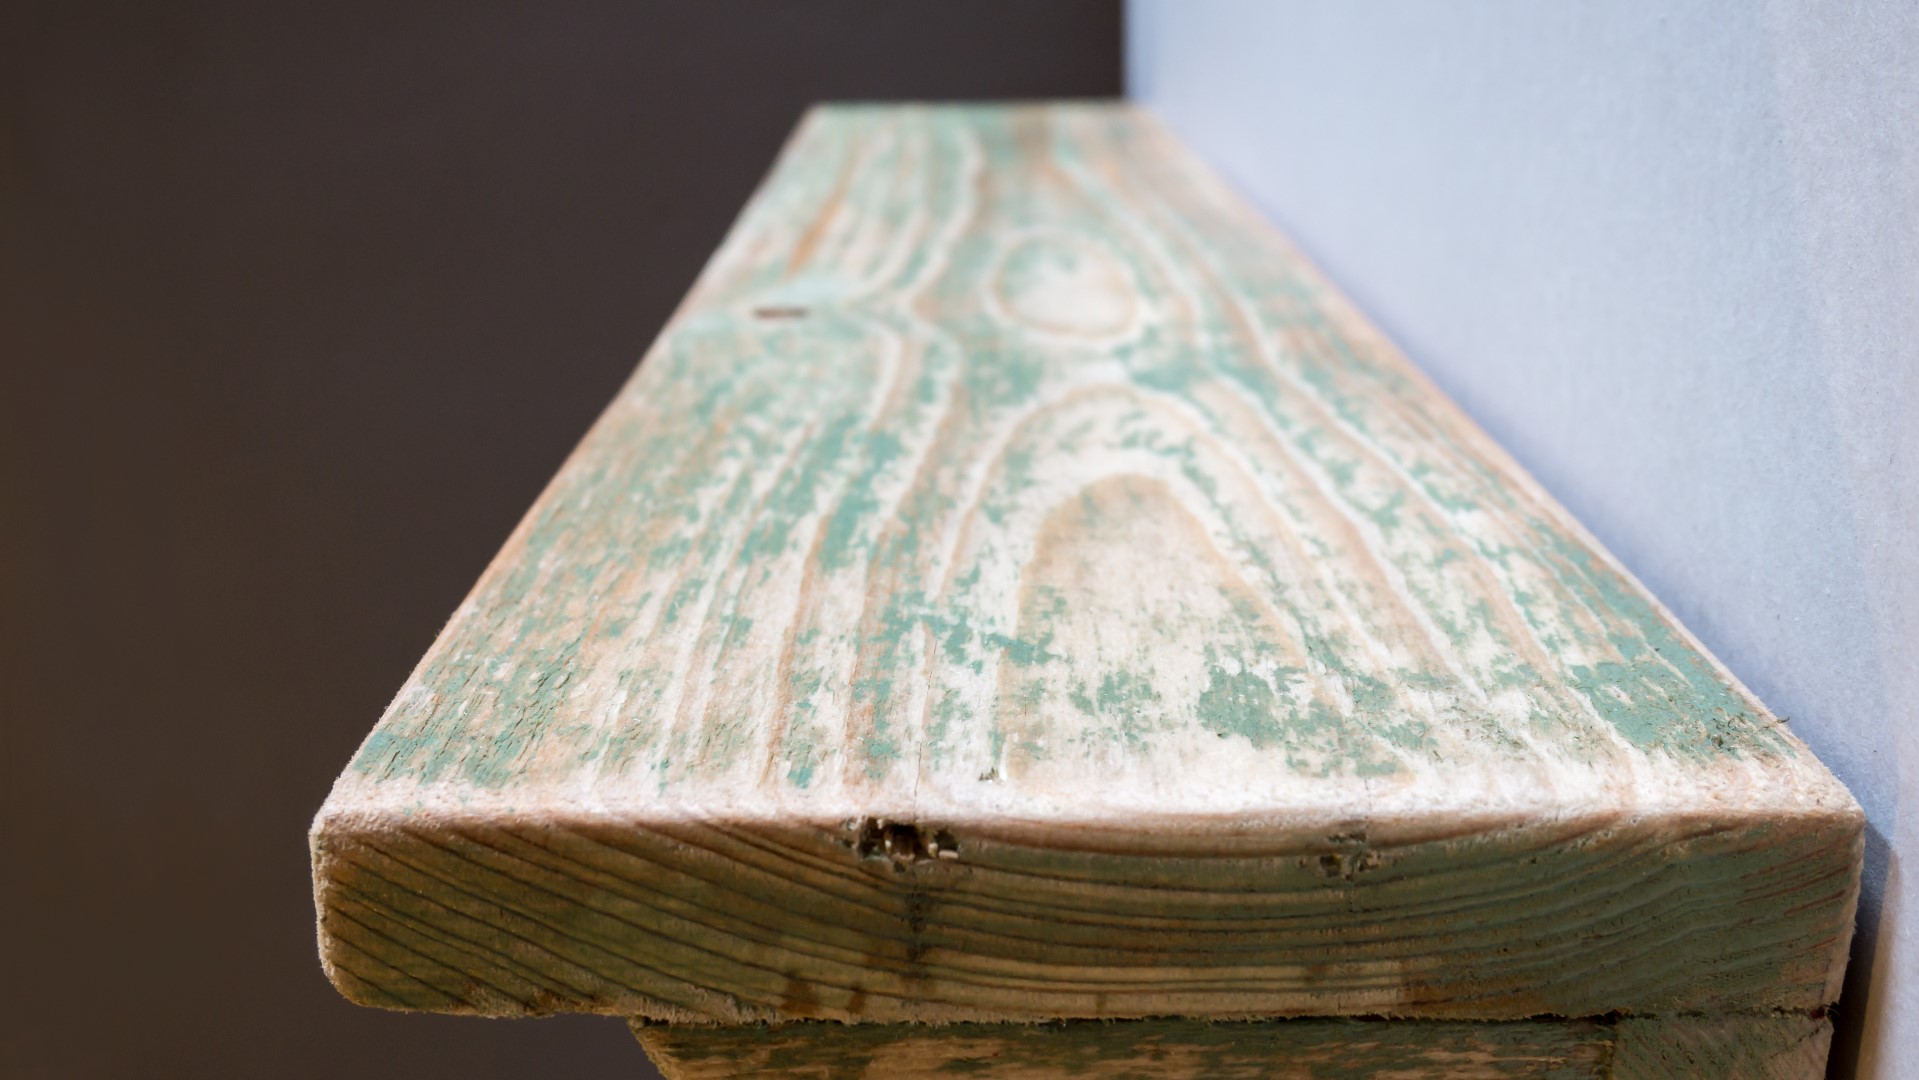
And I decided to paint the rack with some of this green paint I found in my shed, this colour is called sea moss. And basically I painted quite badly, deliberately, as I wanted these to look rustic. So I painted it lightly without trying to get it evenly covered.
Then went the paint was dry I used my random orbit sander with a 40 grit disc to remove some of that paint to get it to look worn and weathered, and also to smooth over this rough sawn wood and remove any splinters.
Then I applied a coat of spray varnish just to seal the paint and also to bring out the wood grain.
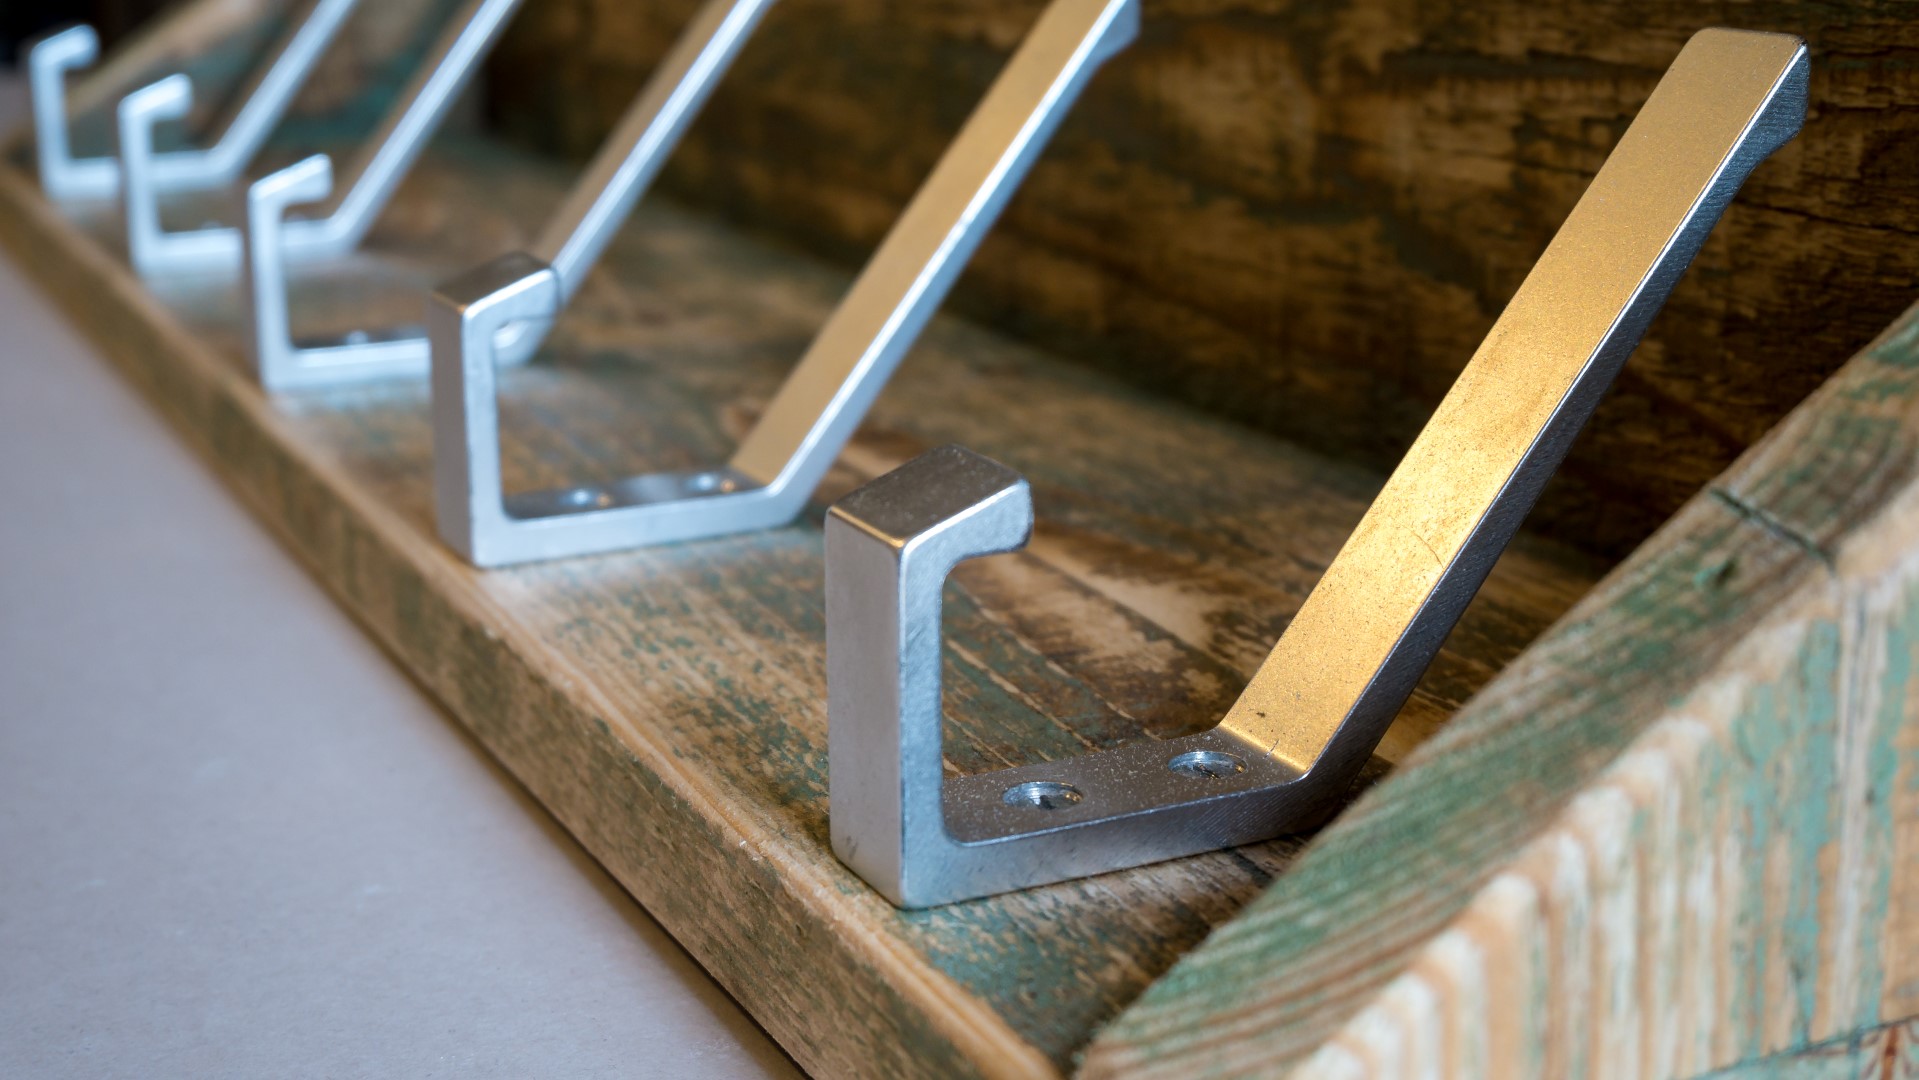
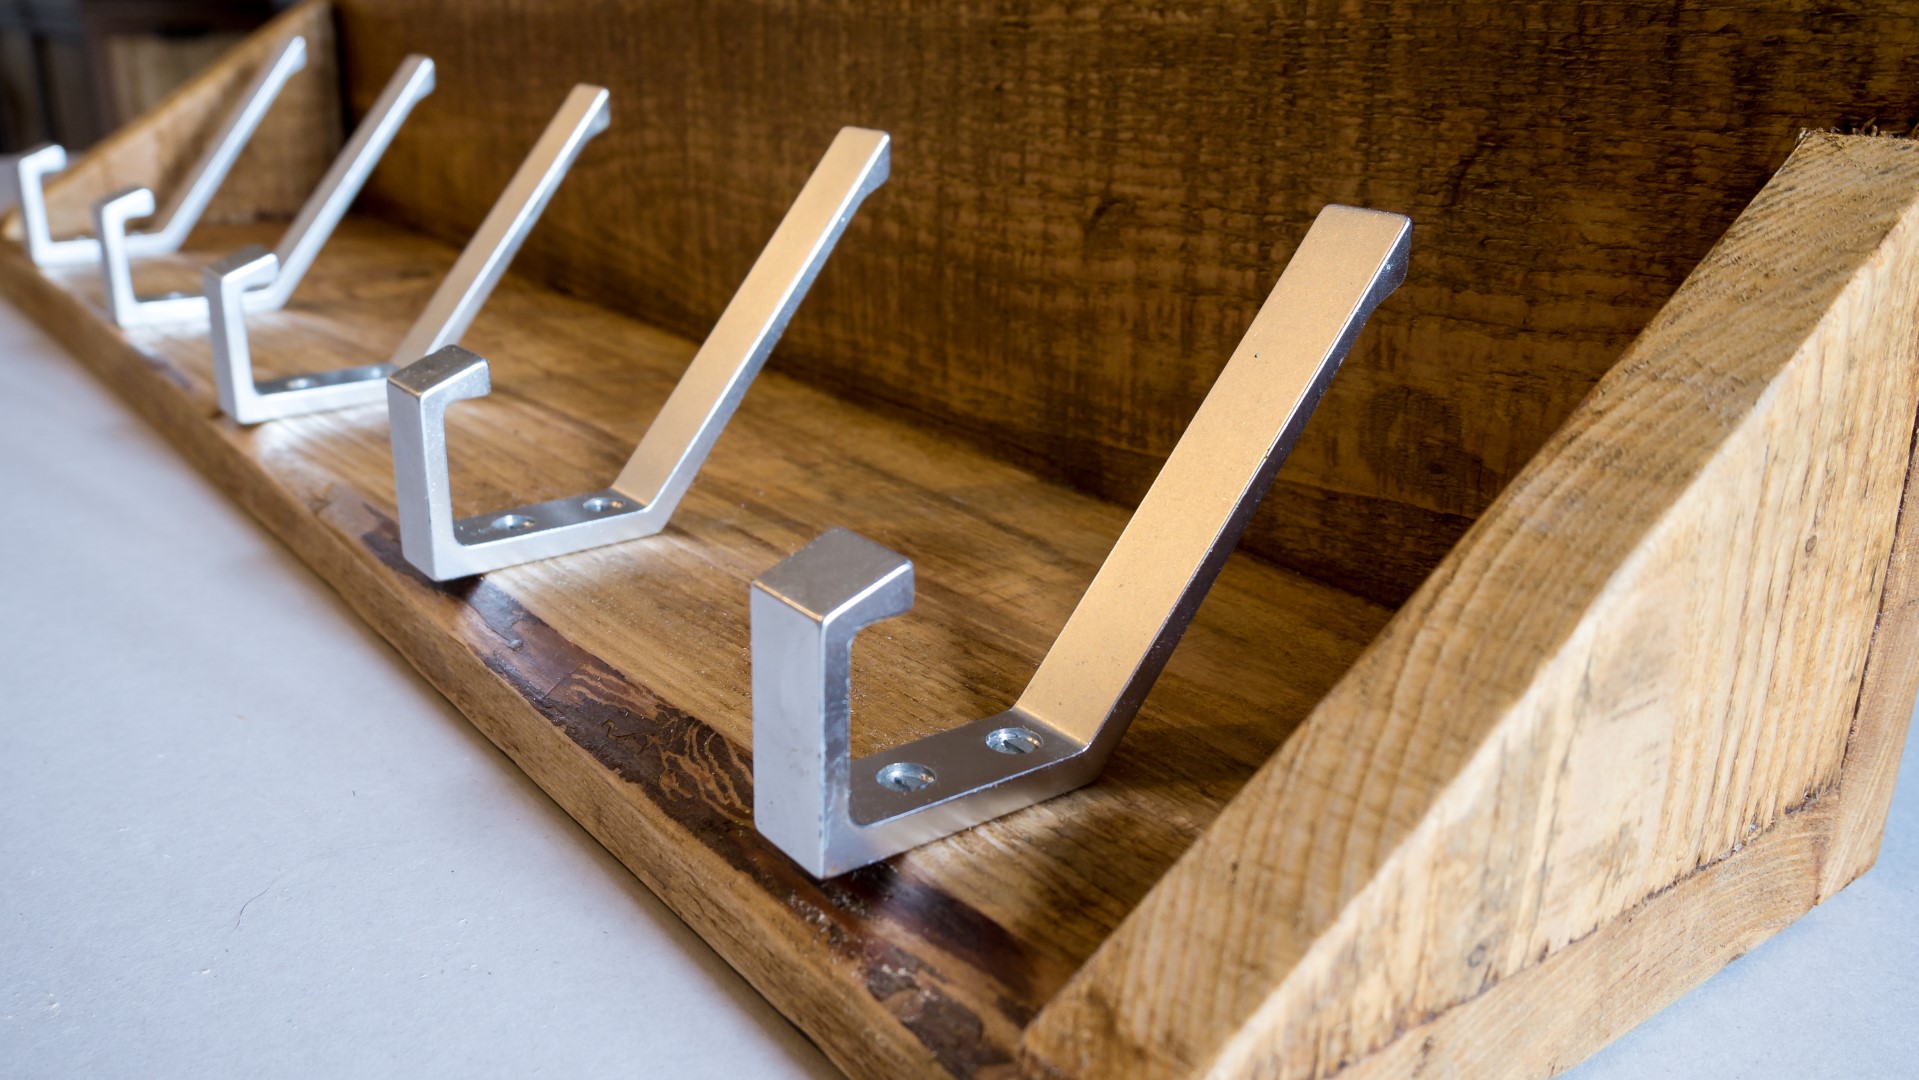
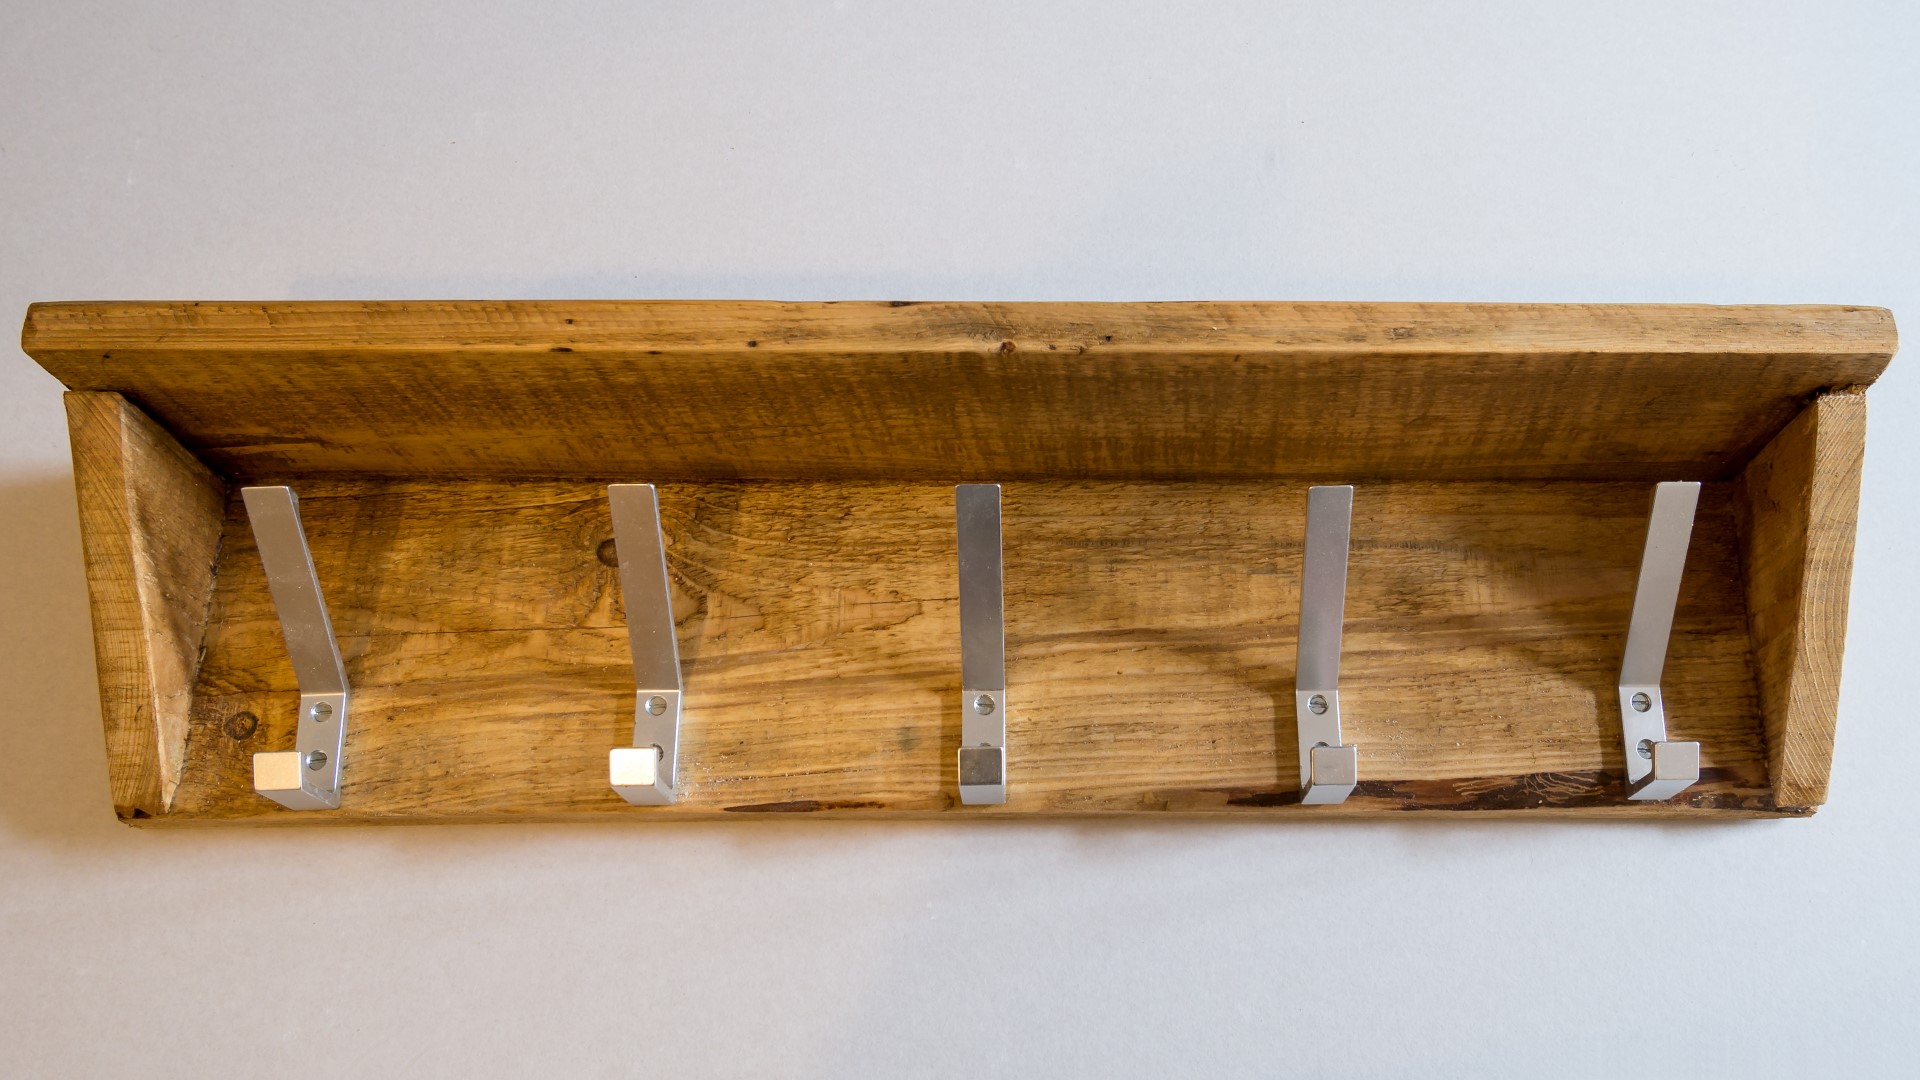
Next I added the coat hooks, I first found the centre and added one hook there. And then I could position the others and 5 hooks looked like the right amount. I measured in about 5cm from both sides and added those. And then I found the centre in between the hooks that had been fitted and added hooks there too.
I then did some final sanding by hand just with 120 grit paper, and added a final coat of spray varnish, Just to the shelf and the sides where I had sanded by hand.
Next I sanded a spot on the back of the rack in the centre so that I could add my makers mark.
And then I sealed that with spray varnish too.
And that was the first rack done, and I had enough of this wood to make two racks, so I finished the second rack with Rustic Pine Briwax just for a different look.
Images: