In this video I'm going to be restoring the finish on a 1956 Ercol Giraffe room divider for a client.
I've never worked on a piece of furniture this old or this valuable before.
And the first mission was collecting it in my small van, I had to get it in by laying it down on it's side, and because it's talled than my van is long, I needed to the door of my van shut with some rope and needless to say I drove home very carefully.
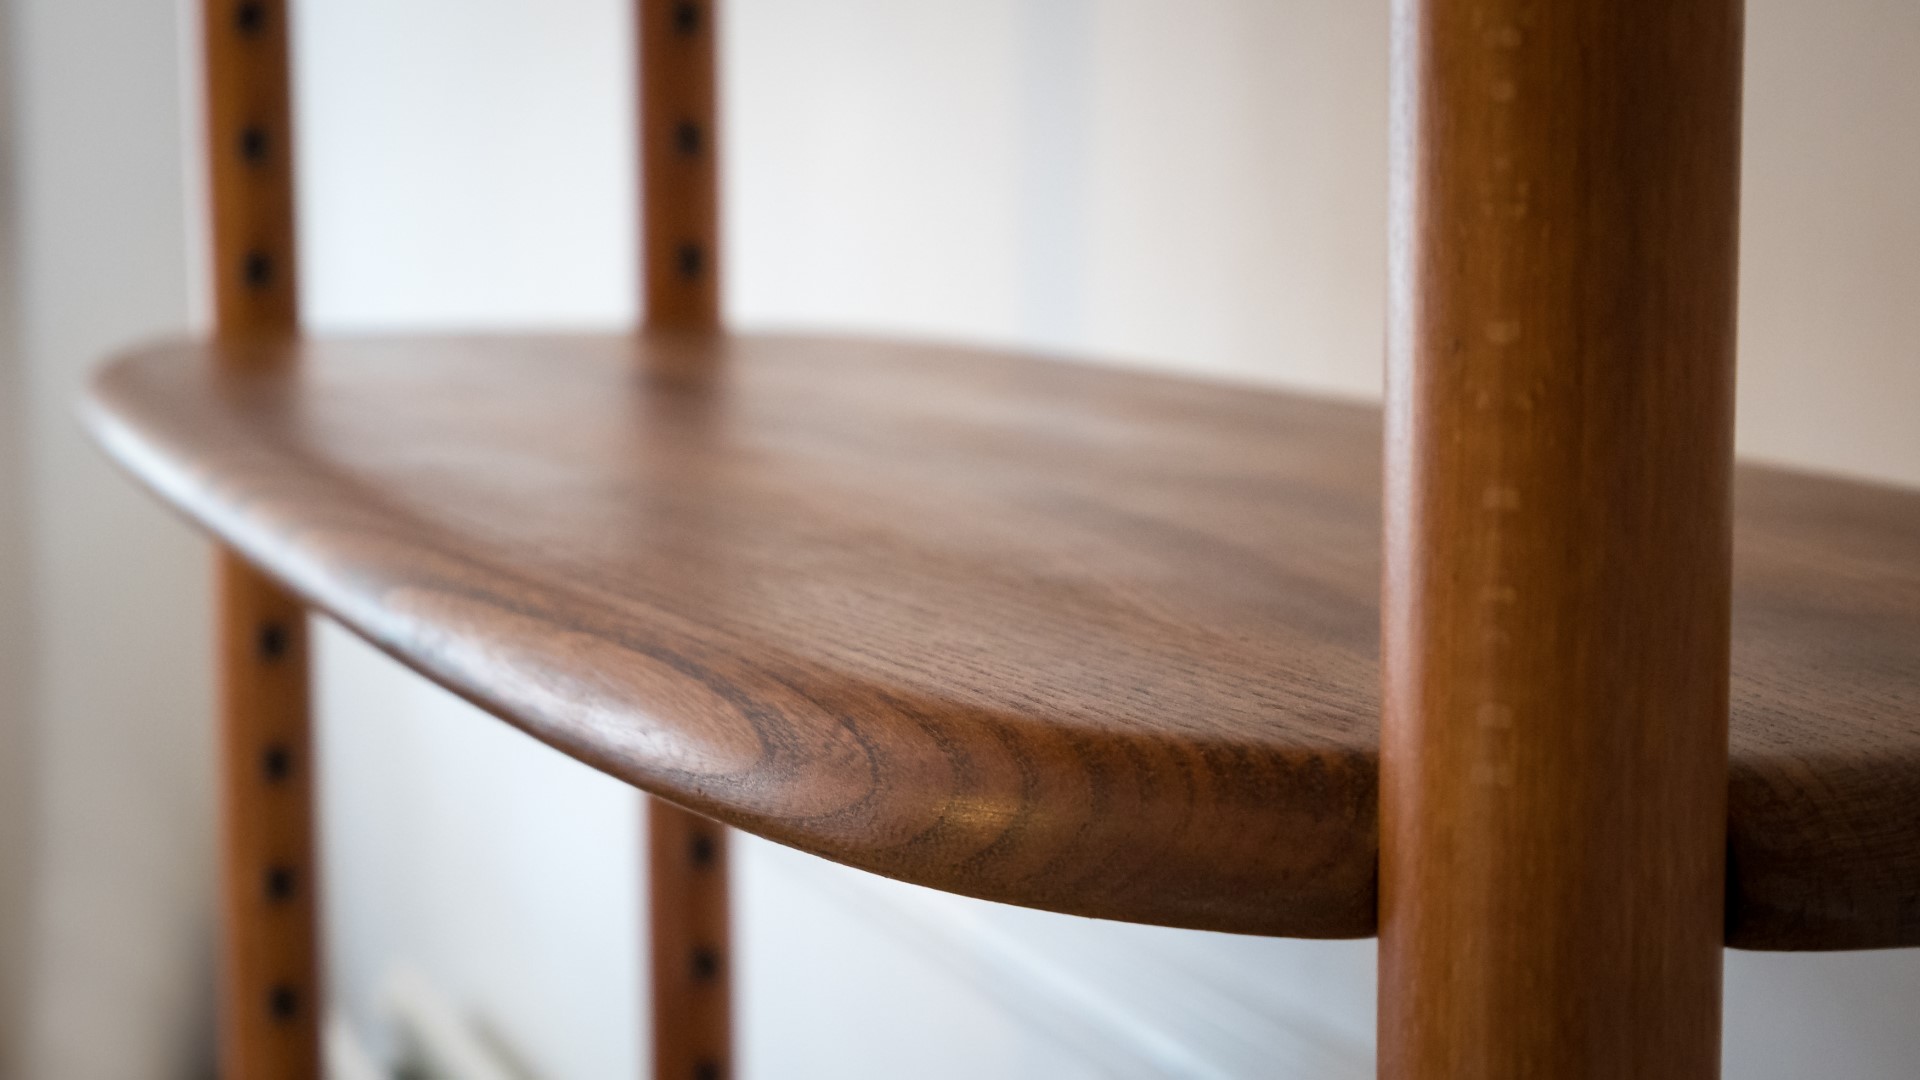
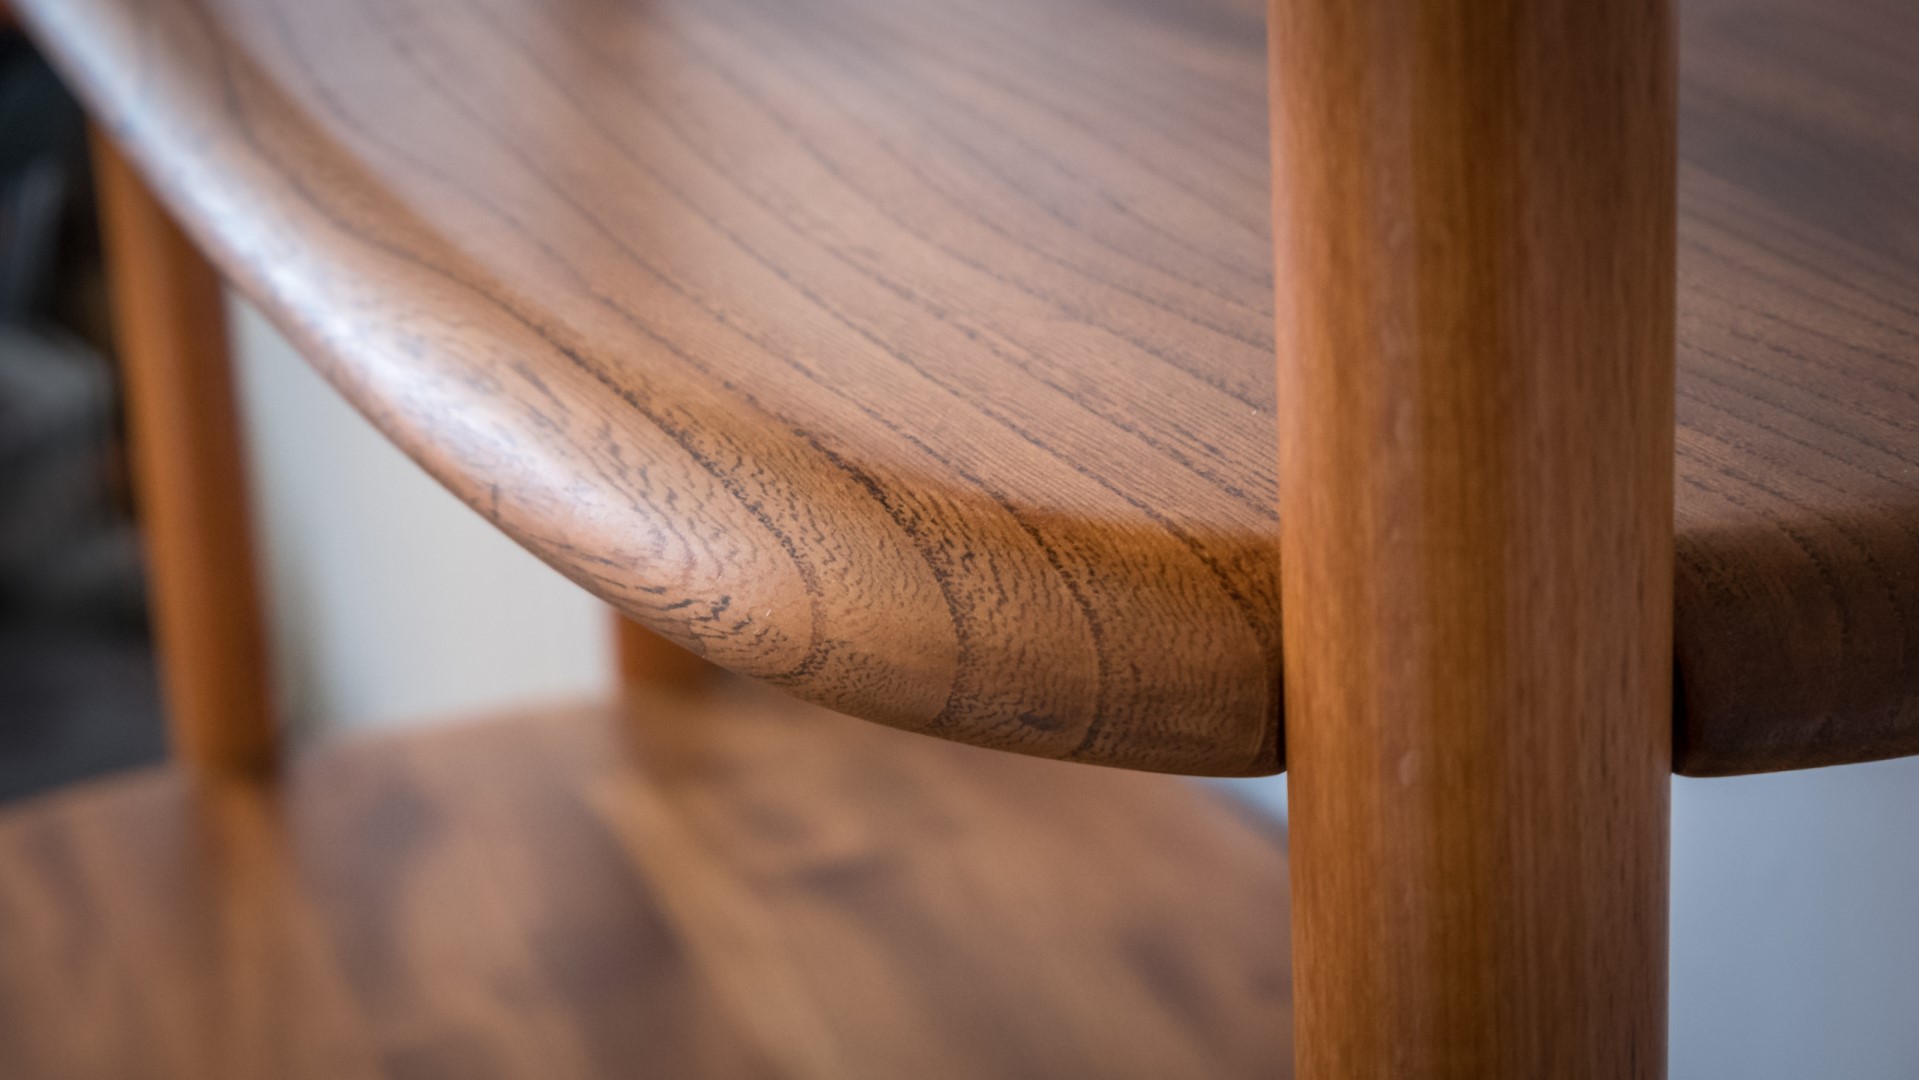
First I had a look around the piece partly to see what work I'd need to do, and partly pure admiration at what a beautifully well made piece of furniture this was. It's made entirely from solid wood, mainly elm I think and the base assembly and the upright spindles are solid beech. At the bottom of the unit was a cabinet with some shelf pins, I'd already removed the shelf by this point so that's why it's empty. And nice to see that original Ercol label on the inside of the door too.
There was some discolouration on the beech uprights, where the shelves had been, it looks like the wood has been exposed to sunlight at some point in it's life, so the exposed wood had darkened with age while the parts hidden by the shelf remained lighter in colour. And this is one thing that the client asked me to try to improve.
These are the metal pins that hold the adjustabe height shelves in place.
The two adjustable shelves each had some heat and water marks on them, so they needed to be re-finished.
One had a cup ring.
The top two shelves were fixed in place, and I wasn't sure if they could be removed or not, but they were in great condition anyway and didn't need any work.
But the shelf which was the top panel of the cabinet did need re-finishing too, and that shelf was attached to the side panels of the cabinet with through dowels as you can see here.
The leg assembly was in great condition too and seemed pretty solid at this point but I'd get to have a closer look later on in the project when I top the unit on it's back.
So overall the unit was in good condition especially considering it's over 60 years old.
First I'd start working on the shelves and I'd use my bench dogs to hold them in place.
To remove the heat and water marks I first needed to remove the old finish and for that I'd use my card scraper.
And it's probably one of my favourite tools, I love using them, they're cheap, they work brilliantly once you know how to put a burr on the edge, it's much more enjoyable and much quicker than sanding, and it gives a smoother finish too.
The old finish came off really nicely and really easily too.
If you don't have a card scraper, something else that works really well is a stanley knife blade, and I thought I'd demonstrate that just for the purposes of this video. And I use a 400 grit sanding belt to sharpen the blade whenever it gets dull. I know they're disposable, but I hardly ever throw them away as I just keep sharpening them until they're too small to work with.
Once it was fully scraped I did some sanding at 240 grit.
And I sanded the edges to remove the old finish too.
I used some white spirit to wipe down the shelves to remove any dust from sanding and also to see what it would look like with finish applied - to check that the heat and water stains were no longer visible - and they came up great, so I didn't need to do any more scraping.
Then it was the same process again for the second adjustable shelf.
On this one the staining was a little bit worse, so I had to do some more scraping to remove it.
I wiped it down with white spirit again, and all looked good.
Then I started working on the top panel of the cabinet in the same way again.
This one was a little bit more awkward because I needed to work around the uprights and get in to all the nooks and crannies.
Then I applied boiled linseed oil to the shelves to bring back the colour and lustre of the wood and pop the grain.
Then I started sanding the uprights to try to improve the discolouration.
It soon became apparent that hand sanding wasn't quite doing enough so I switched to a random orbit sander. I didn't want to sand away too much material though so I took it pretty carefully.
I added some boiled linseed oil to that too and I could see that the discolouration was still there but it wasn't as noticeable. But I decided I didn't want to sand away any more material as I didn't want to alter the shape of the spindles - especially as there is no way of telling how deeply the discolouration had affected the wood.
After leaving the oil to try for about 20 minutes, I wiped over the shelves to remove any excess oil that hadn't soaked in to the wood.
For a top coat of finish I'd use spray varnish. I applied the first coat to both shelves.
I put the unit on to some sawhorses - i did this so that I could spray the top of the cabinet with the spray can held paralel to it to get the best possible finish.
My partner Ria was enjoying the sun in the garden, and she saw a butterfly go in the workshop.
It was struggling to find it's way out so I went to help it out.
Now I could have a proper look at the bottom frame, and it was in great condition and really solid, so other than giving it a bit of a clean up wth a damp cloth, it was great.
With the first coat of finish dry I sprayed on some water and wet sanded at 400 grit to de-nib the finish.
Then I wiped it down and applied the next coat of finish.
And I wet sanded again and added a third coat of finish. And I still hadn't quite matched the level of sheen that was on the top fixed shelves so I ended up adding a fourth, and fifth coat of finish too, again sanding in between coats, and then it matched really well.
This project took around 5 hours, that excludes the time it took to collect and re-deliver the unit too.
As the unit had been kept in such good condition it was really just about removing some heat marks and water marks and applying a freah coat of finish to protect it - hopefully it's all set to survive the next 60 years, and I wouldn't be surprised if it does - these early Ercol items of furniture are just built so well in both the joinery and the materials used. It was a pleasure to work on such a nice piece of furniture.
Following this restoration, I also did a dining table for the same client, but I didn't film that one, partly because I thought it might be too much repetition on the channel and partly because my camera died. That was equally well built, it had similar problems - some heat and water stains, and that one didn't take too long to re-finish at all - it was just the solid elm table top which I re-finished in the same way as I did with the room divider in this video - the table frame was immacualte and really solid again so didn't need any work done.
I hope you enjoyed this video, please subscribe if you haven't already for more weekly woodworking videos, and as always - thanks for watching.
Images: