In this video I make a simple unit to support material at the right hand side of my mitre station while I make cuts that also holds some of my clamps too, and I start my first of two new tool walls.
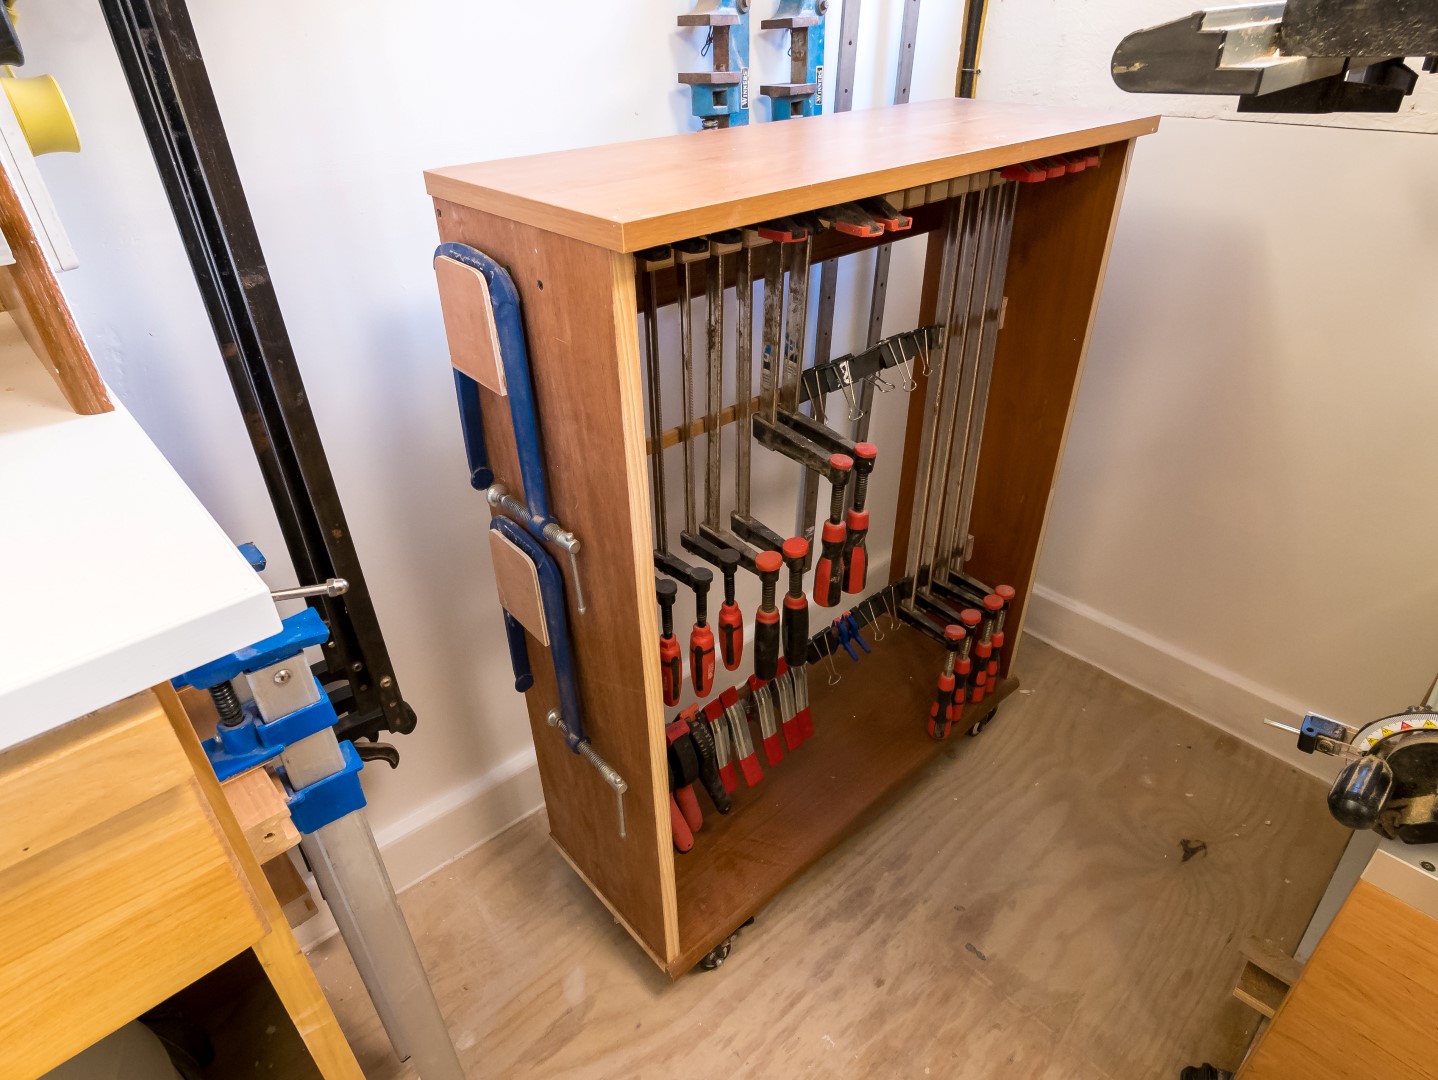
I used some scrap blockboard and melamine to make a simple unit mounted on castors which sits about 1cm below the height of the mitre saw’s base so that when I cut material, the offcut doesn’t fall on to the floor of the workshop.
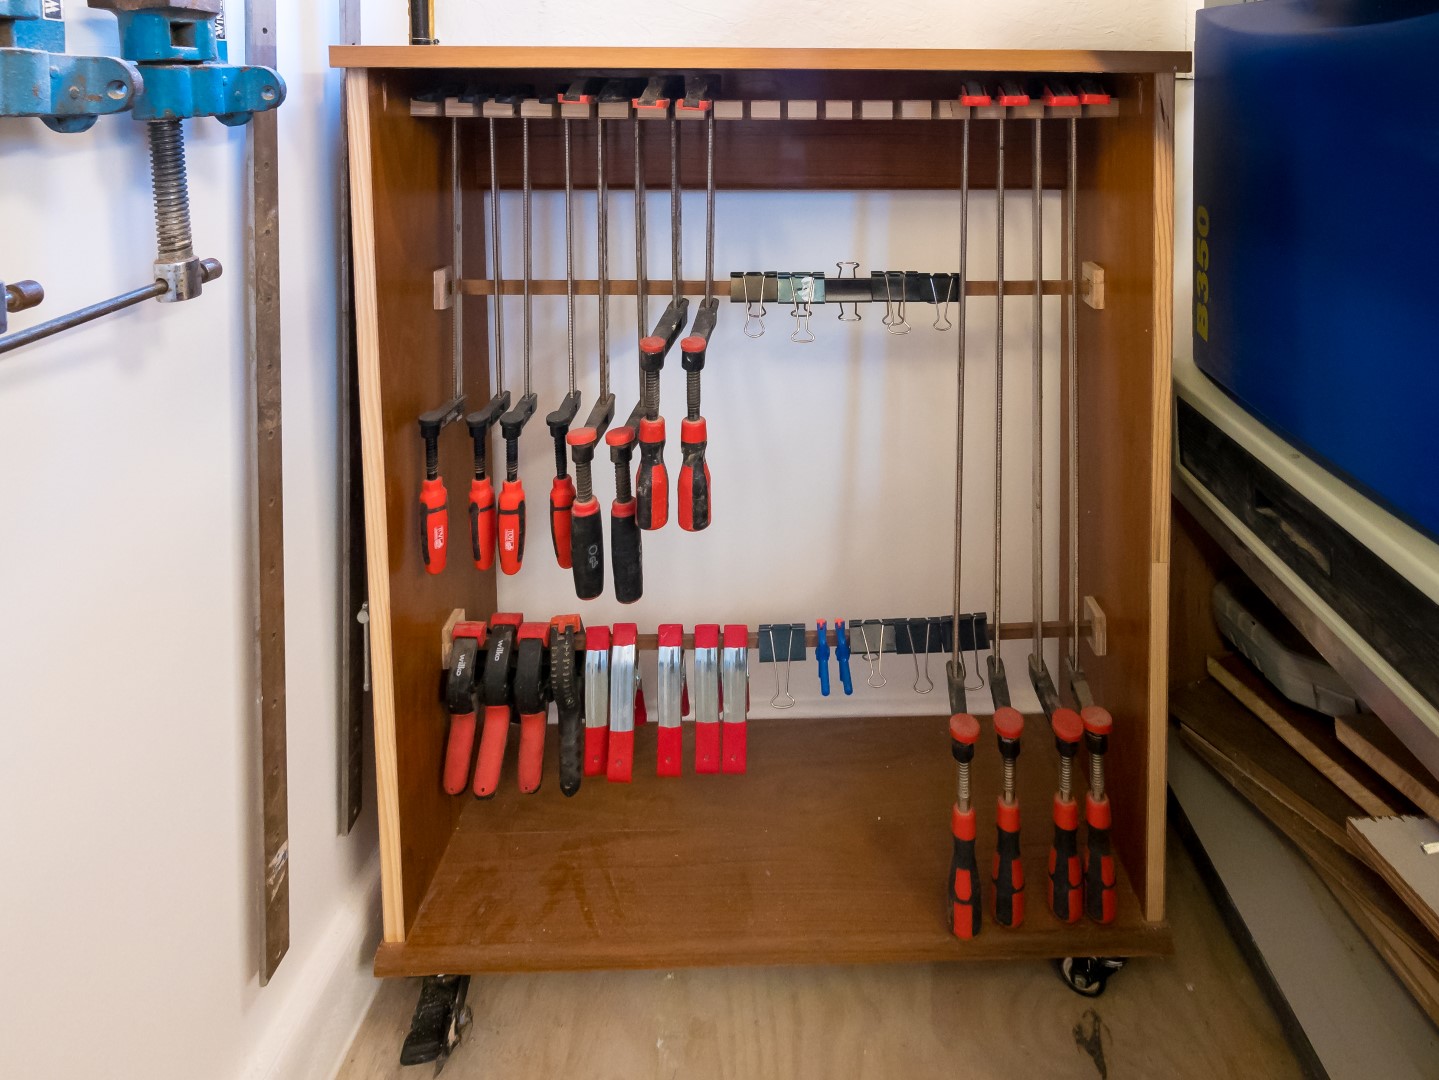
I made a simple rack inside the unit to hold my F clamps by cutting some slots in to another piece of blockboard and this was mounted inside the unit. Then I added some narrow pieces of wood to stop the clamps rocking forward/backward which would also hold my spring clamps. I also mounted a couple of simple plywood pieces to the side to hold my long reach C clamps.
That was the clamp storage/mitre station support sorted.
Next I mounted some sheets of reclaimed OSB to the wall of my workshop which would become my main tool wall near my work bench. This wall was already insulated. I had a few cuts to make to fit it to the wall as there was a power socket and light fixture in the way. I made the cuts with the jigsaw and then mounted the OSB to the workshop wall uprights with screws and coated it with a few coats of white satin paint.
Due to the walkway around my workbench being quite narrow, I only mounted things to the toolwall that would not protrude too much as I don’t want to be knocking things off as I walk by – things like rulers, squares, hammers, handsaws etc. everything is held in place with drywall screws only – no fancy French cleats or anything. Screws had worked fine for the past couple of years to hold everything, and nothing ever fell off the walls, so I saw no reason to complicate the job in hand!
Once the boards were mounted, I added decorators caulk to the gaps just to improve aesthetics.
Images: