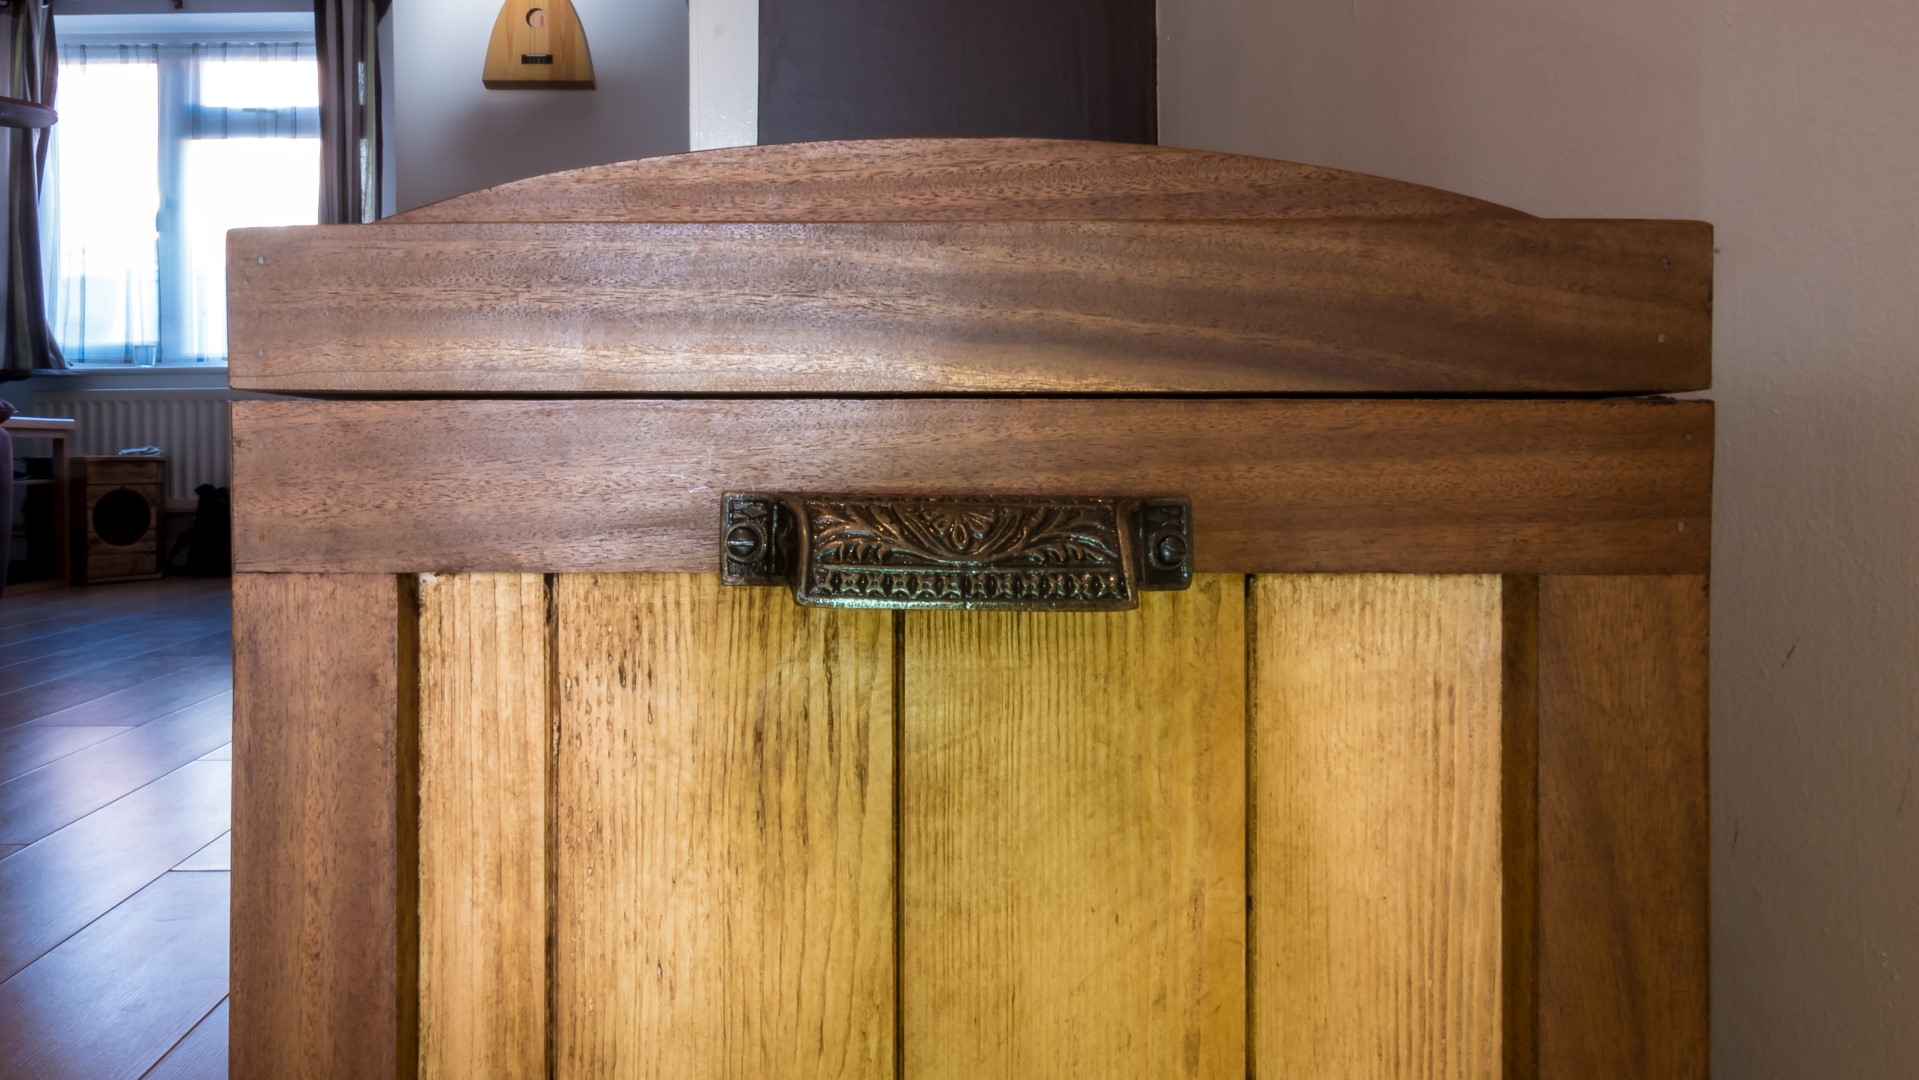
In this video I start by finishing off the arcs for the lid that I started making in the previous video. I cut one of them in half on the bandsaw to give me 2x thinner ones (for each end) and one wide one (for the middle of the lid).
I needed to cut a rebate joint in to one side of each end arc and both sides of the central arc. I did this by putting my trim router upside down in the vise to use as a makeshift router table - which worked well.
Then I glued and clamped the arcs in place.
I started cutting some pieces of pine for the lid while I waited for the glue to dry. I cut them in to thin strips, and planed them to the same thickness. I also cut a rebate in to the end of each piece on the tablesaw which would then fit inside the rebate of the sapele arcs.
I glued the pine cladding to the lid, and once the glue was dry I used a handplane to get the pine flush with the sapele.
I fitted an old piano hinge that was salvaged from a dropleaf table to attach the lid. I routed out a small savity in the top of the box to accept the hinge so that the lid would sit on the box without any gaps.
I secured the hinge to the box with screws, and then the lid to the hinge with hot glue which allowed my to position it where I wanted it, then open the lid and secure with screws.
Then I used the belt sander to bring the edges of the lid flush with the box, and sanded the rest of the box with the random orbit sander and detail sander.
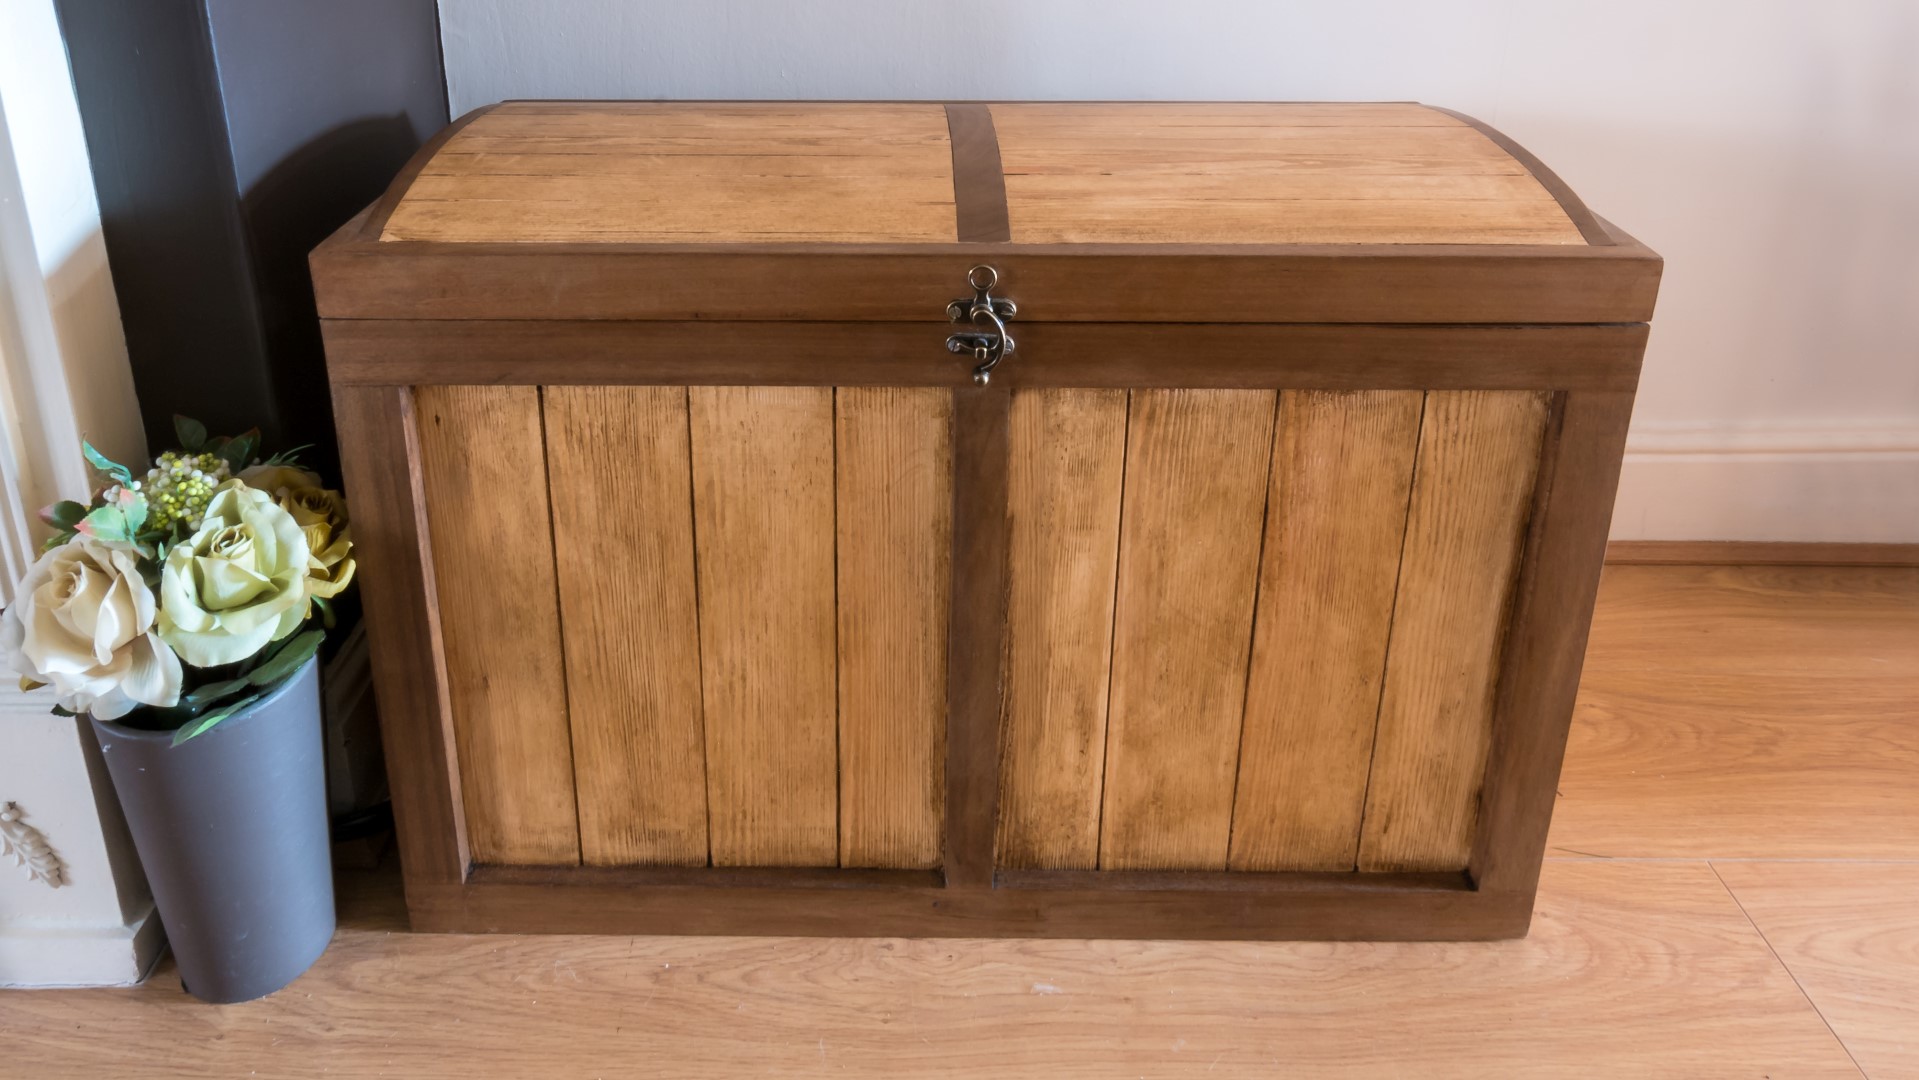
I used Rustic Pine Briwax on the whole box, to give it bring out the grain and make it look older, and I thought that this would also help the pine from turning less orange and more brown over time.
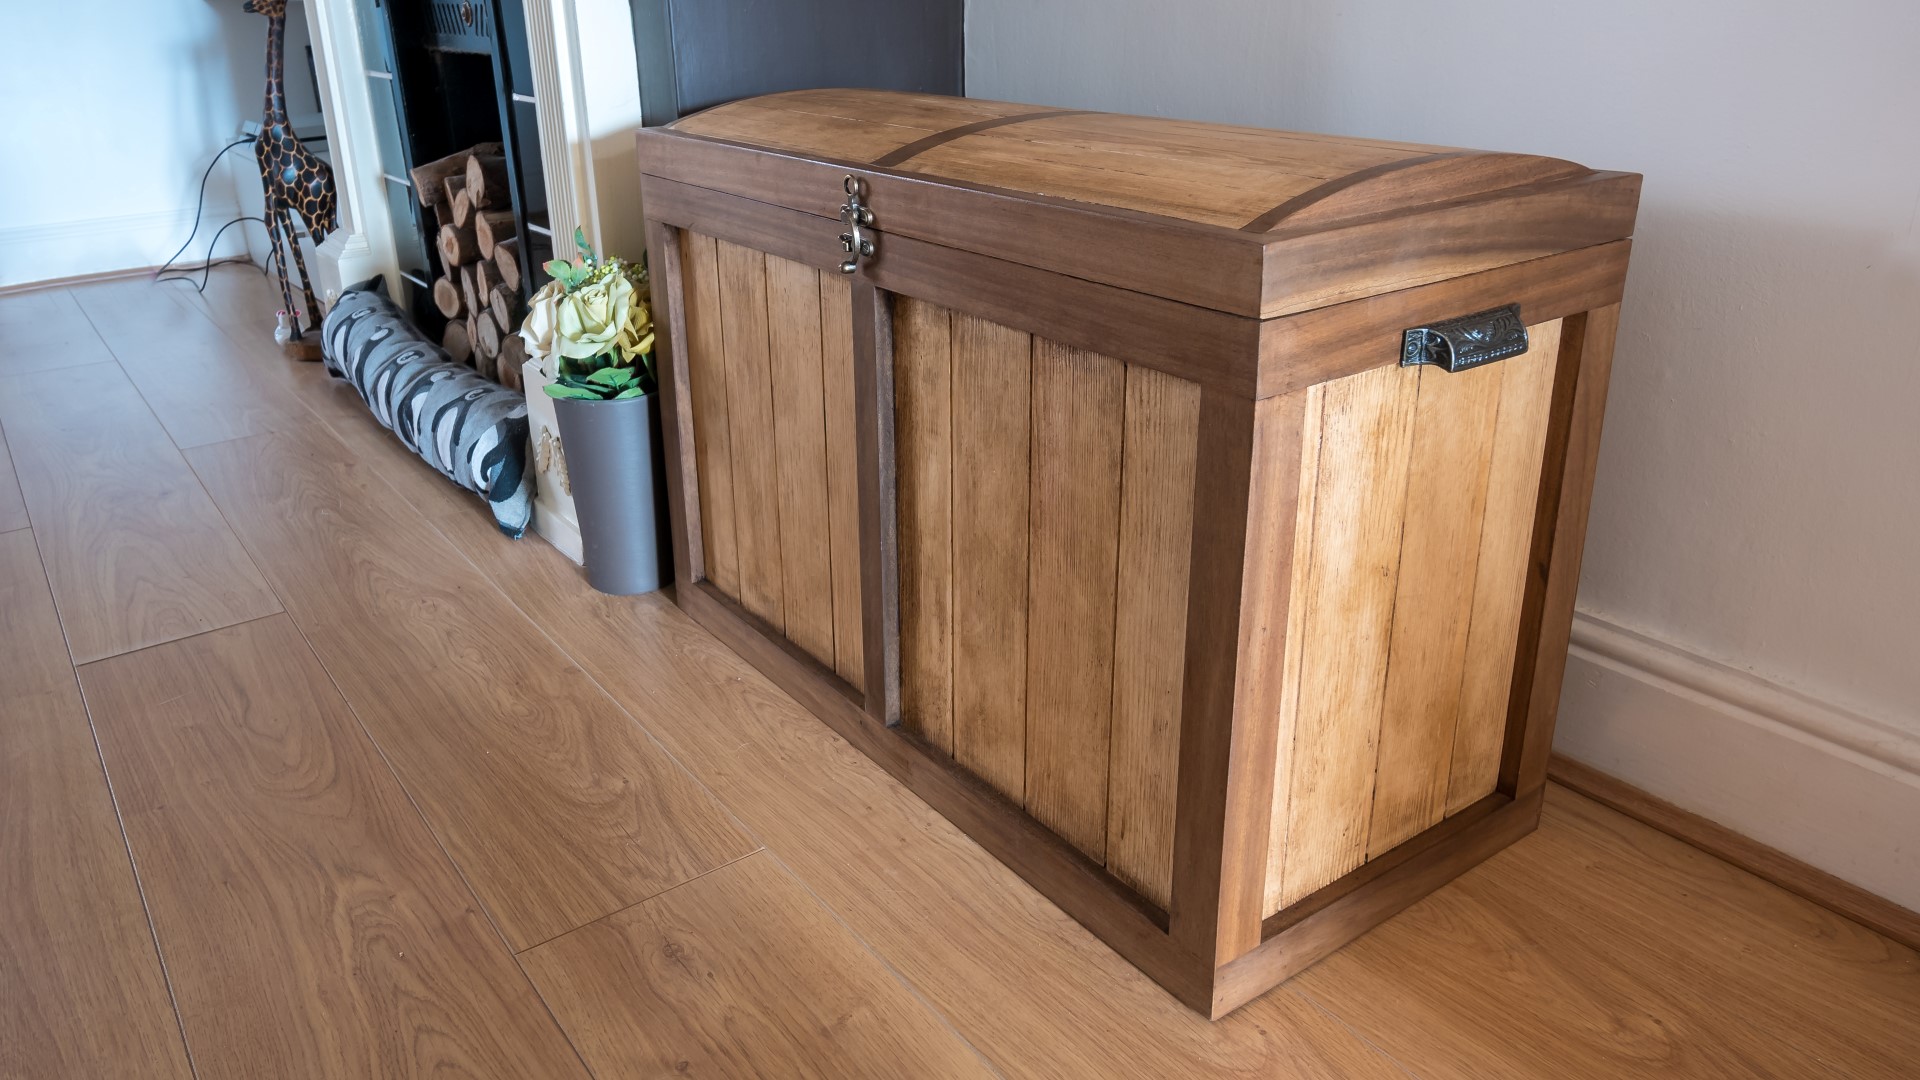
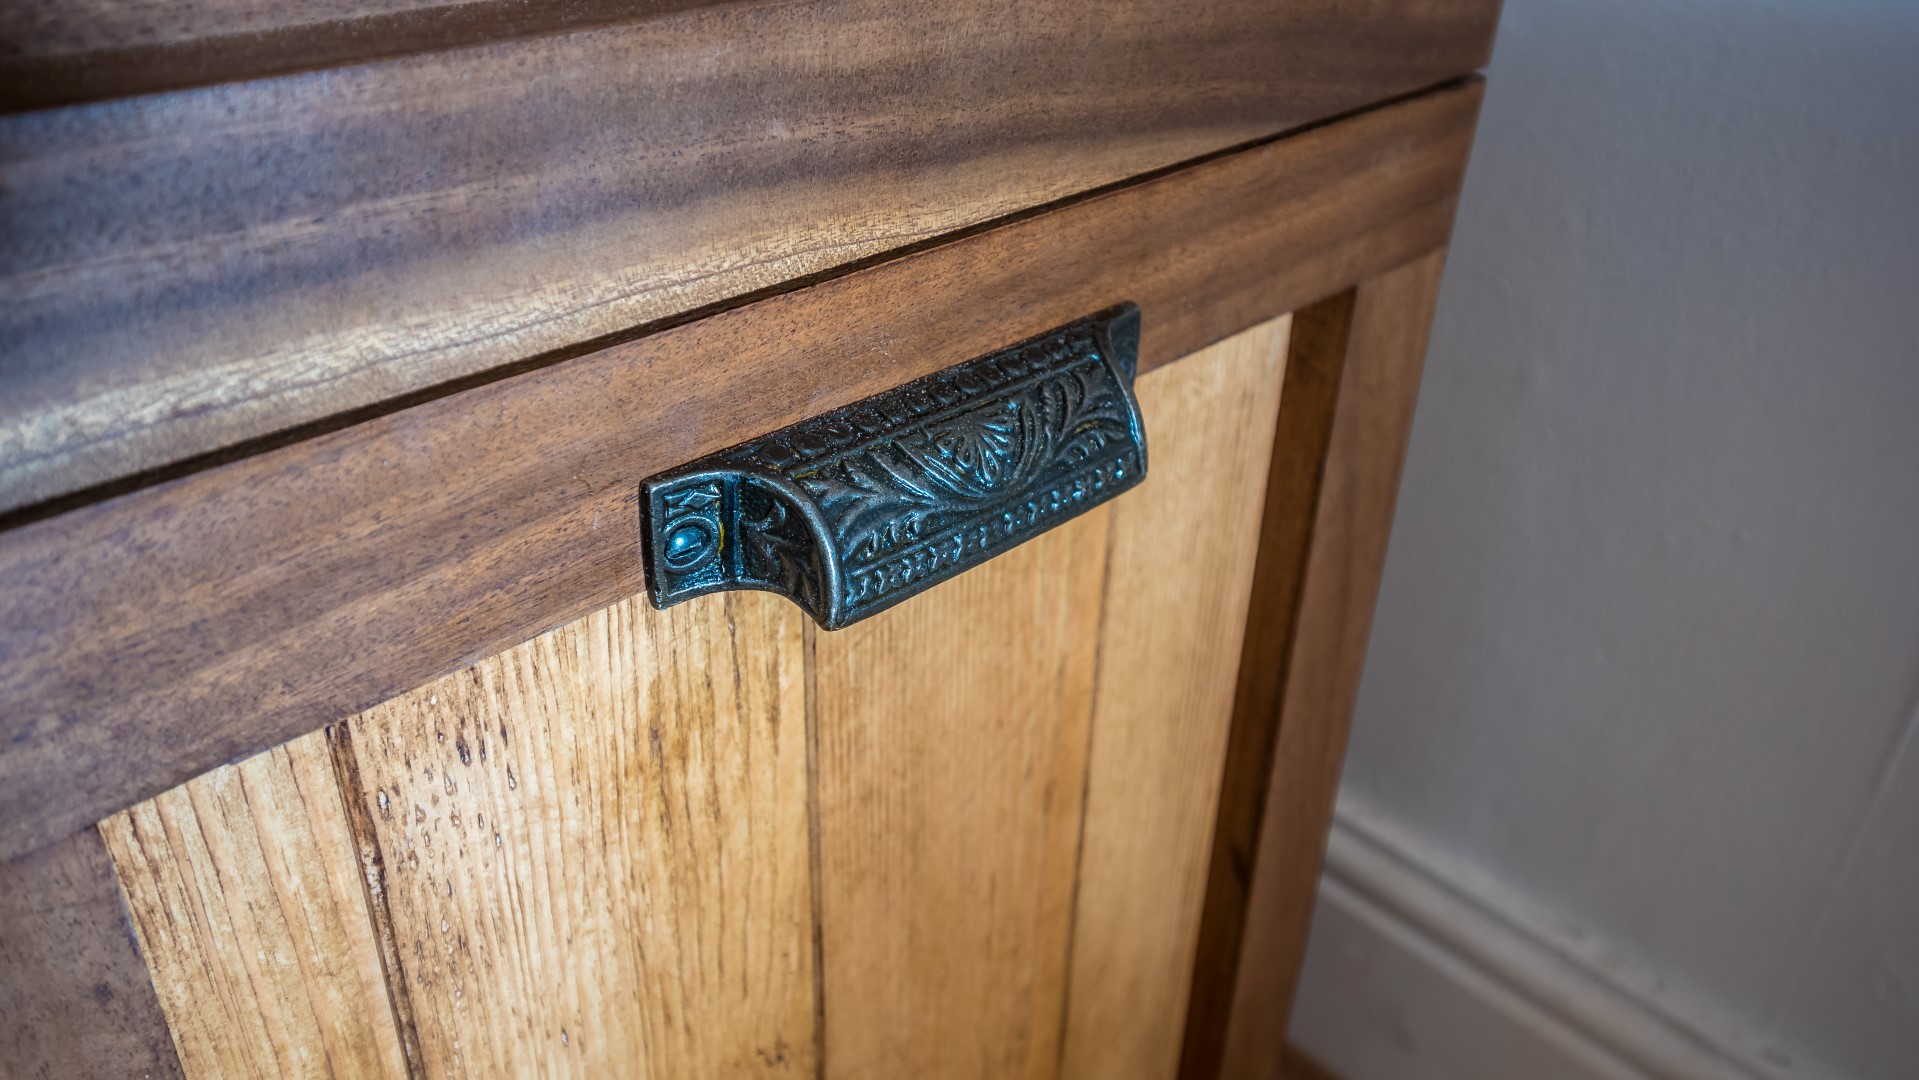
I added a couple of handles to the sides of the box, and a latch to the front of the box - I got both of these from eBay.
That's the box finished and I am really happy with it.
Images: