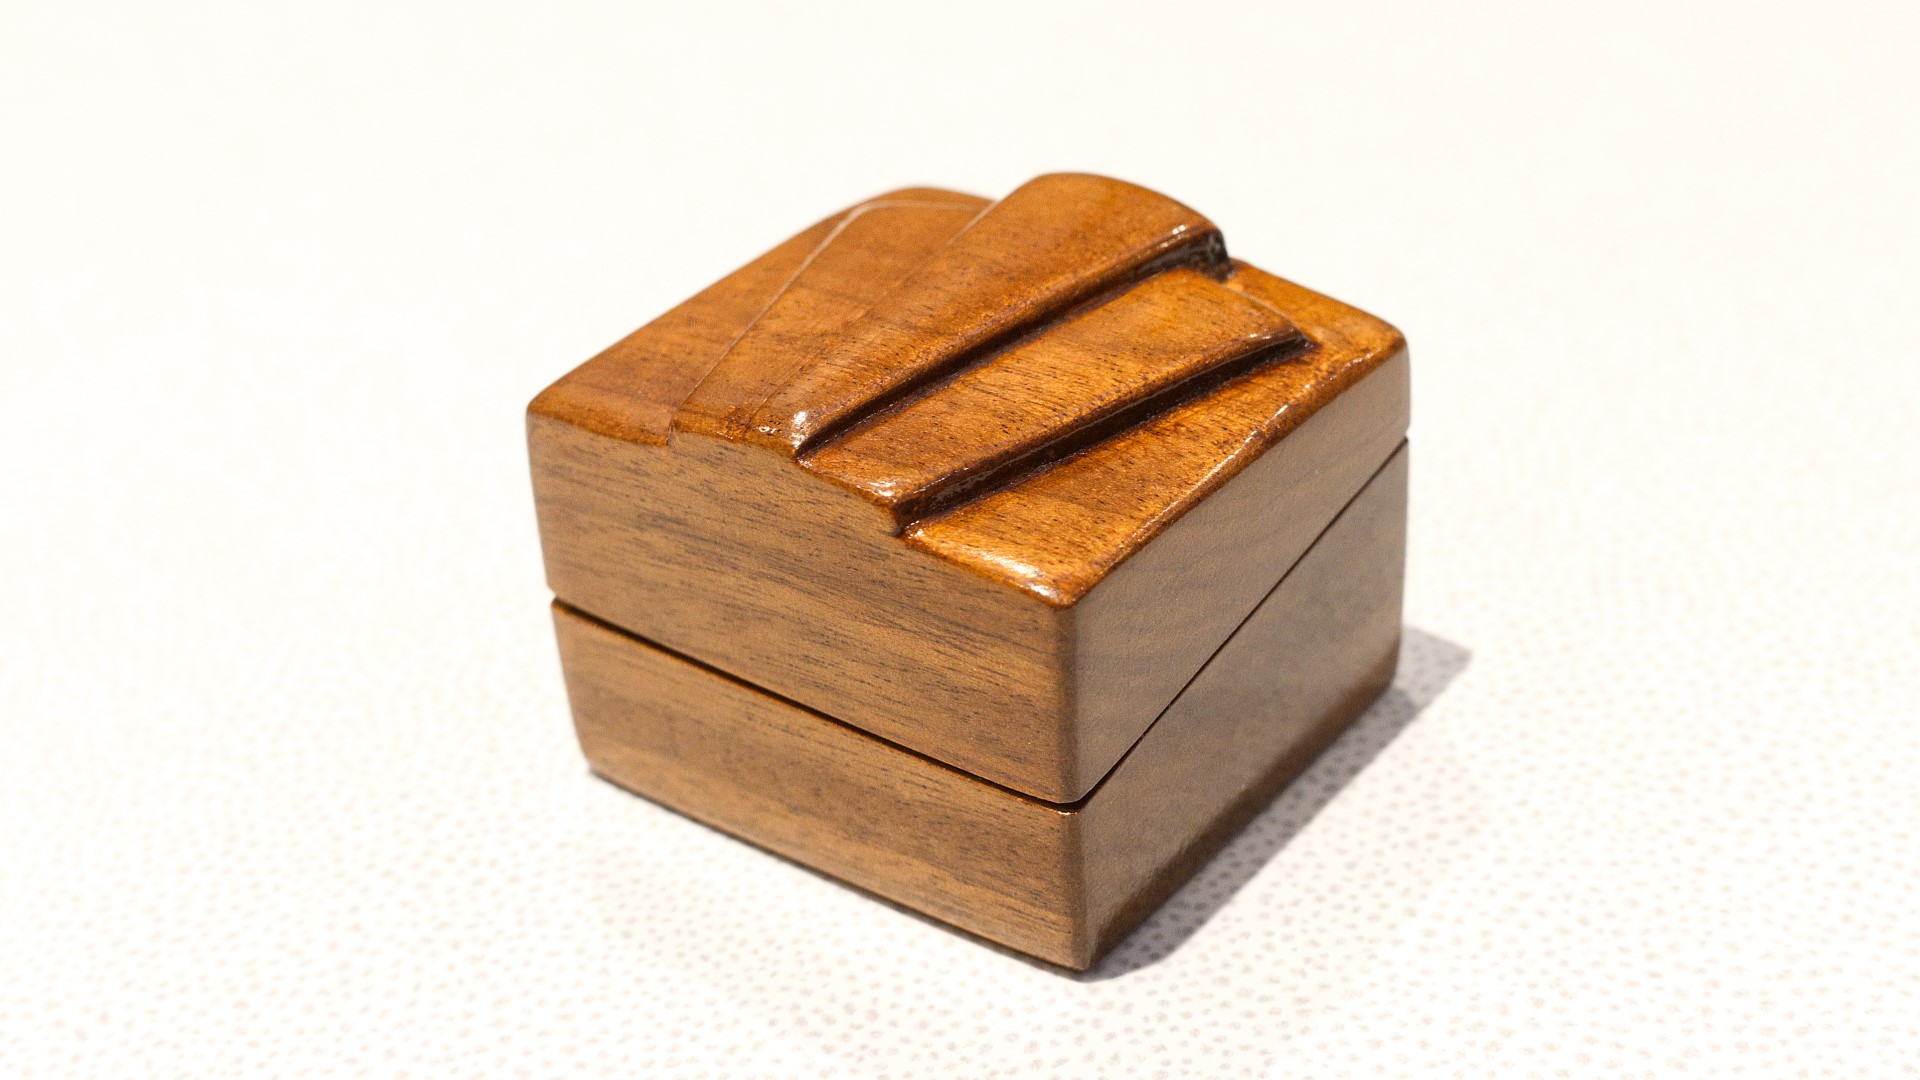
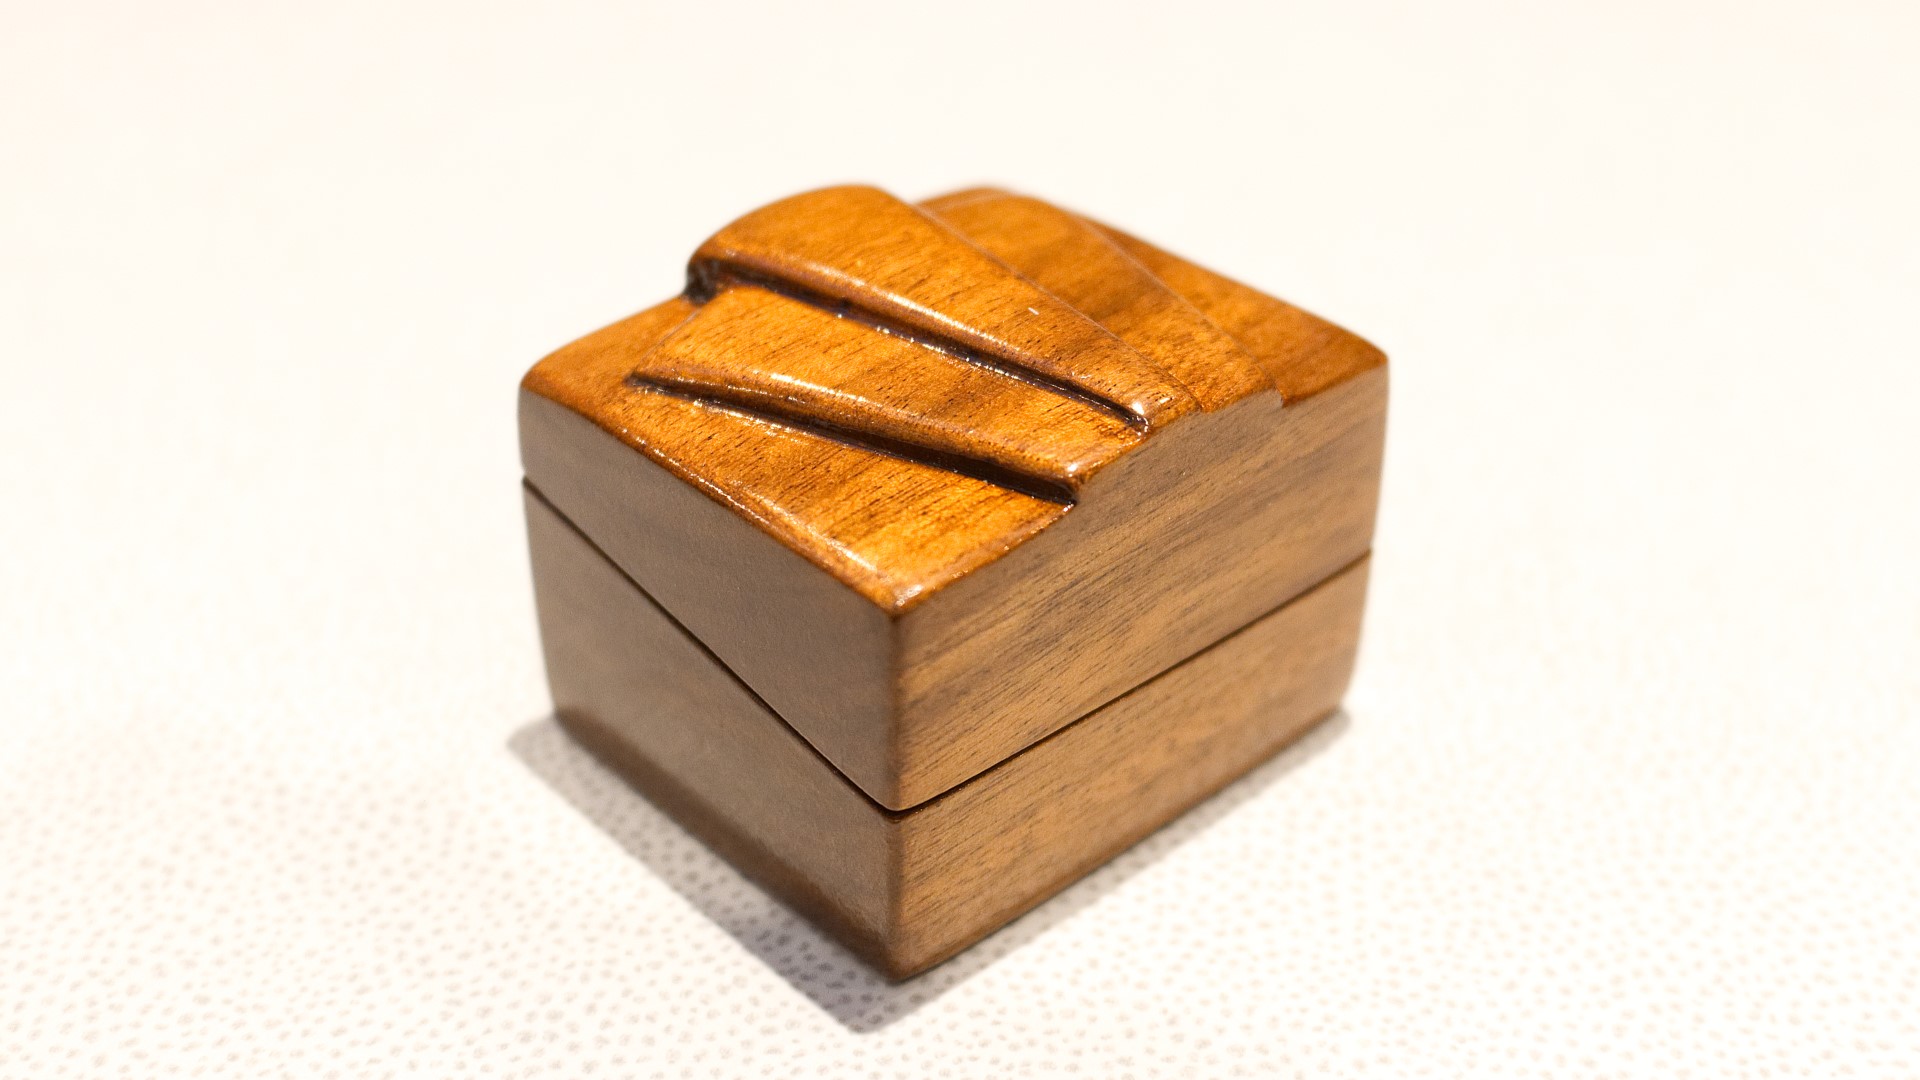
In this video I make a ring box using some mystery wood. I carved a decorative design in to the lid, and also use some bits from the workshop to make the inside of the box to hold the ring in place inside the box.
The technique that I use to make the box is similar to that used in a bandsaw box design - i.e. it ends up looking like one solid piece of wood with grain continuation running around the box, with the inside of the box hollowed out.
In this video I'm going to make a ring box.
I'm going to be using this piece of mystery wood which measured about 65mm or 2 and a half inches square - I thought this was sapele at first but it was much lighter in weight and in colour, so i'm not sure what it is.
And I'm only going to need a little bit so I use a handsaw to cut off the piece I want. I cleaned up the faces using a block plane, checking that I was keeping it nice and square using a smalll engineers square.
Next I'll be using the bandsaw but before I make any cuts I want to make sure that my table is square to the blade. Because it's such a small item that I'm making here, I want to make sure everything is tuned up properly.
I then make a cut all the way through - this piece is going to be the lid of the box and you can see i'm cutting it quite thick, and then I cut the bottom of the box which I cut much thinner.
I mark up a triangle on the box to help me put it back together again in the correct order later.
I then take the middle section, and mark up what will form the sides of the box. I cut one side all the way through, and then I can cut away the inside of the box. The bandsaw blade I'm using here isn't ideal, but I didn't have a narrower blade on hand so I'm just working with what I have.
I can then glue the box back together again, first assembling the middle part, and it was a cold day in the workshop so I left it by the radiator to help the glue set. While waiting for that, I can flatten the lid and the bottom using some sandpaper on a flat surface to clean off the marks left by the bandsaw blade.
And after the middle of the box had had about an hour to dry, I could flatten the top and bottom of that too.
I can then add glue and assemble the box using the triangle I marked earlier to align things as best I can.
I clamped that up in my vise.
Once that had had about an hour to dry, I could then start flushing up the sides of the box starting with my block plane. And I tried planing in both directions but I was gettins some tear out of the grain, so I started using my card scraper just to clean up any tear out.
And then I sanded each of the faces.
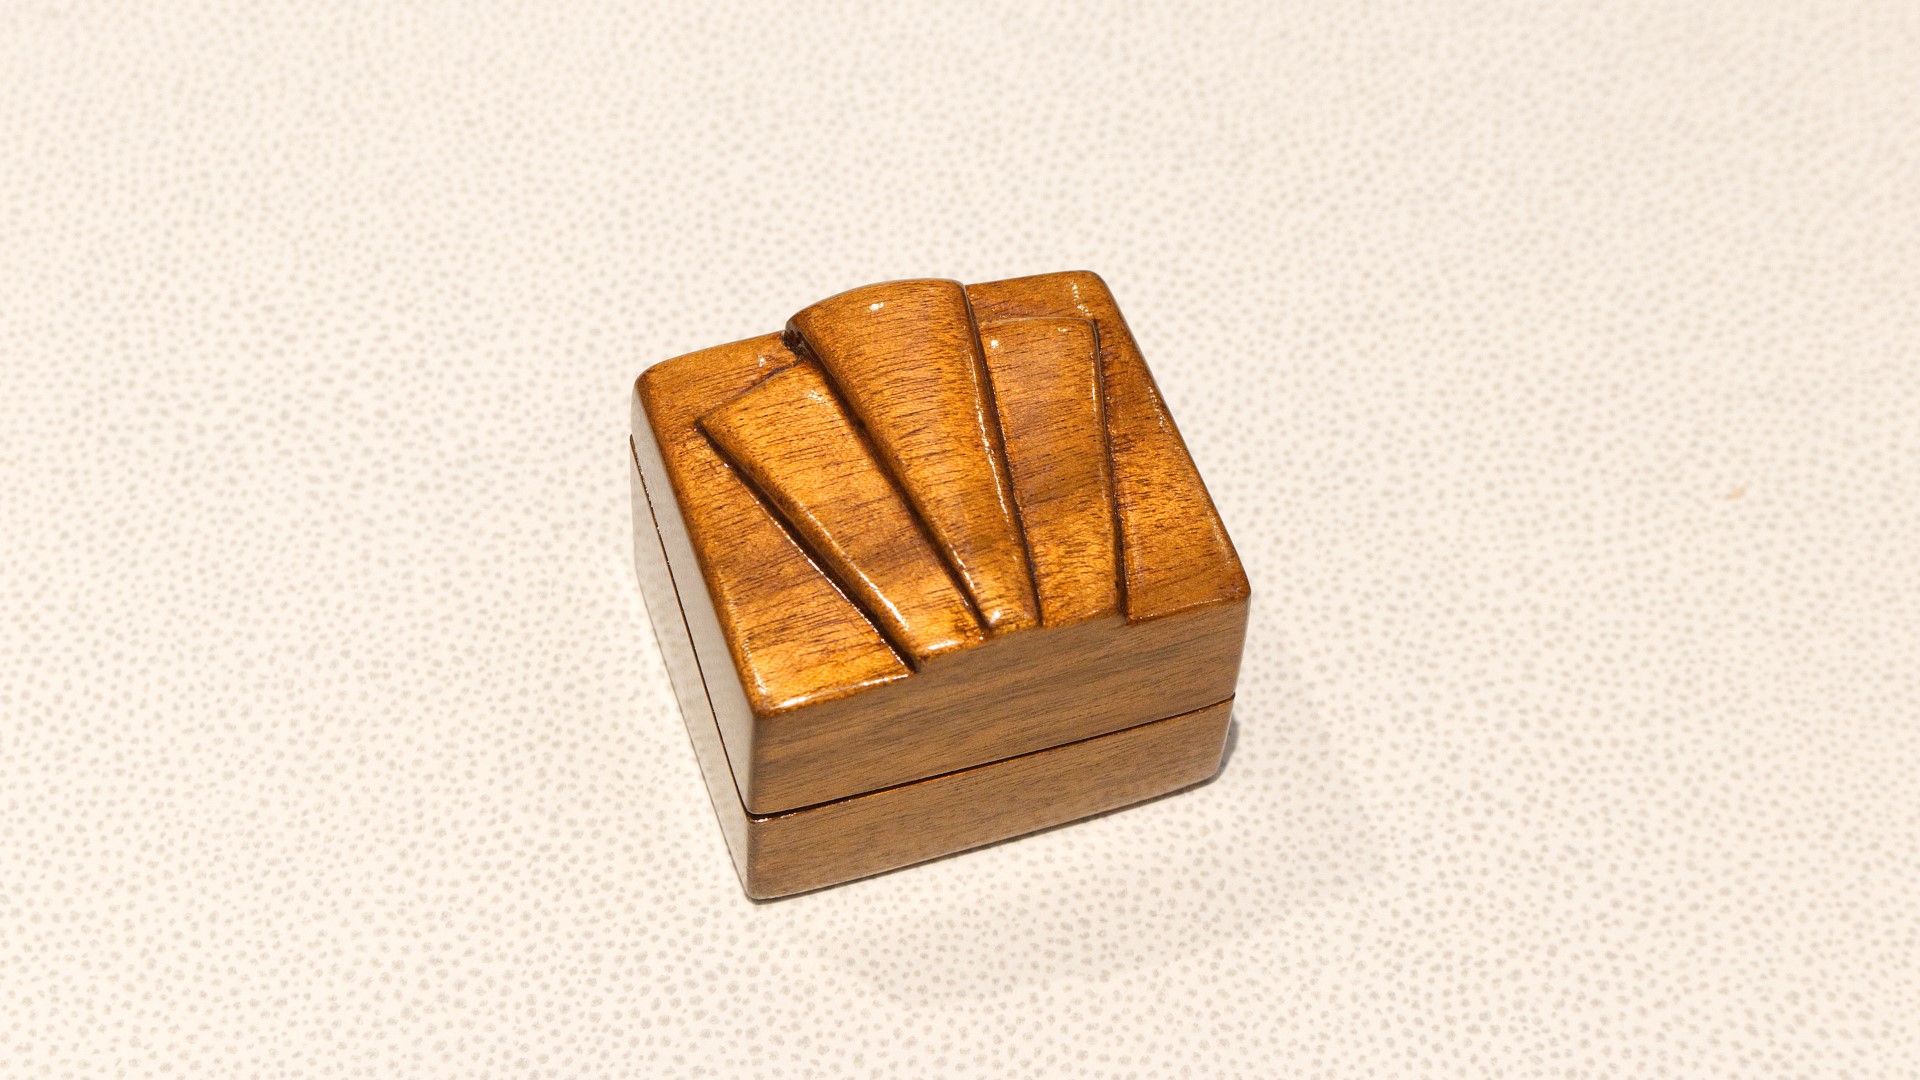
I wanted to carve out a decorative design on to the lid of the box, so here I'm making some marks to help guide me.
I use a bevel gauge and a marking knife to cut across the grain.
I then marked up a line for the depth I wanted to cut to.
So here I'm scoring across the grain as much as I can with a knife to create a groove for the blade of my tenon sawI to fit in to.
I can then cut down to my depth line.
And then I can get in there with my chisel to remove the material up to the saw kerf and start shaping the rest of the design to the lid.
I don't have many carving chisels, I really need to buy a good set, but I do have a gouge which I could use to round over the edges.
And then I can refine things with some sandpaper.
I sanded at 120, 180 and then 240 grit.
Next I can mark up an opening for the lid of the box, and I decided to cut that at an angle
I can then cut that at the bandsaw.
And I then flatten where the two surfaces will meet.
I needed to do a bit of clean up to the inside of the box too.
Next I went looking for a small piece of wood I can use to line the inside of the box and I wanted a contrasting colour so I chose a piece of oak - this is an offcut from some of the lengendary salvaged hat and coat stands that have featured in my videos so many times.
I'm using a scrap of plywood here as a zero clearance just to get cleaner cuts at the bandsaw.
I then mix up some epoxy to glue pieces in to the inside, I mainly chose epoxy here just for the quick setting time.
I clamp the pieces in place, and these bits are going to allow the lid to seat properly on to the box.
And then I can cut them to the same angle as I used for the lid, before sanding the top edges flush.
I had a bit of epoxy squeeze out so I cleaned that up with a chisel
For finish I'm first going to use some of this shellac, as it'll darken the wood and bring out the grain really nicely plus it dries really quickly. But because it dries so quickly it's important to keep it wet as you apply, and not overwork it because that can completly ruin the finish.
With the first coat of finish applied, next I'm going to work on the inside of the box.
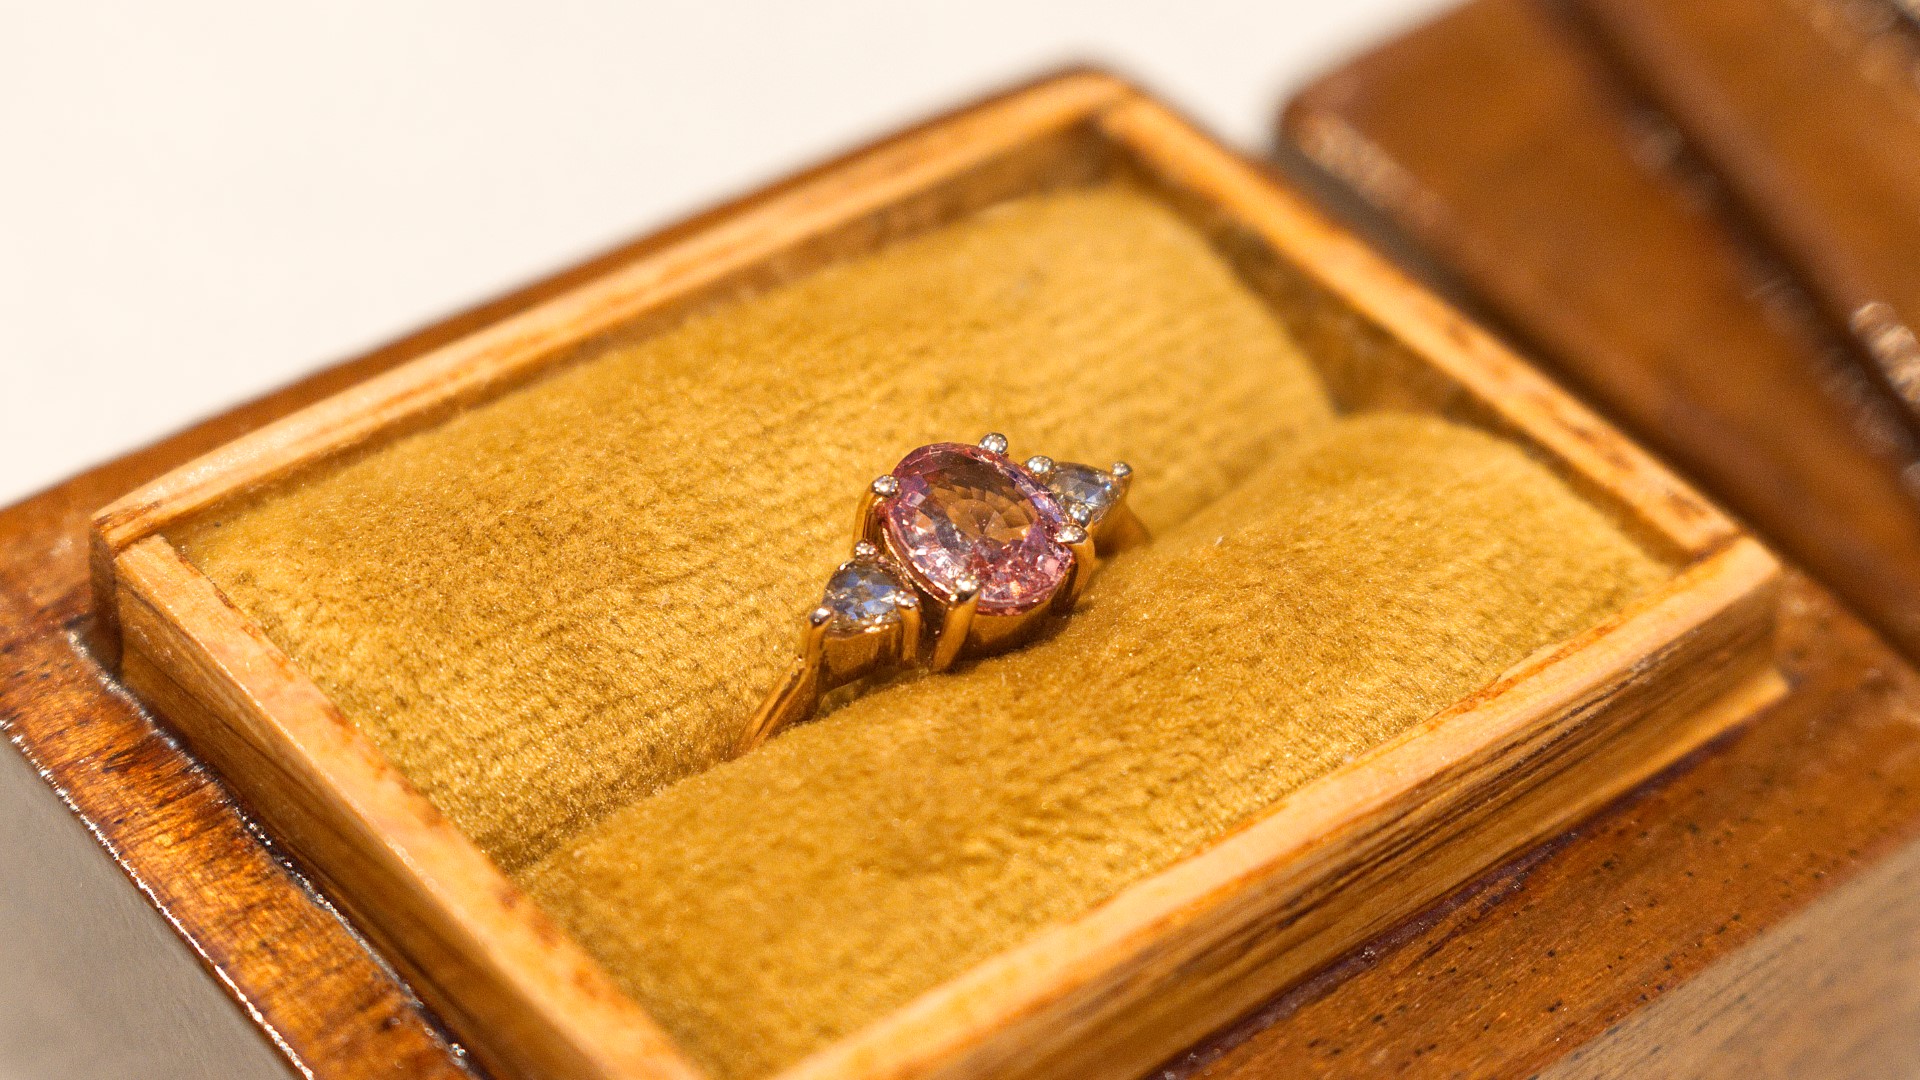
I have some of this mustard coloured velvet fabric which I used to reupholster a parker knoll chair in a previous video.
I also have some of these packing peanuts which I'm going to use to hold the ring in place.
I cut a couple of pieces of fabric, and then apply some of this spray adhesive to both the back of the velvet, and then I can shape the peanuts to be less thick, and apply to those too.
After a few minutes when the adhesive is tacky, I can roll up the peanuts inside the velvet and then cut away any excess.
I'm also going to use the spray adhesive to stick these pieces to the inside of the box, after masking off the area where I didn't want to get any glue.
Here i'm positioning them and trying to get rid of any creases.
And then I could work more on the finishing, so it was just a process of denibbing the shellac to help get a nice smooth finish using some 400 grit wet and dry paper, and then applying another coat of shellac, and I did that probably four or five times over because I wanted a glossy, smooth finish.
Finally, I applied a couple of coats of spray varnish just to help protect the shellac finish. Again I denibbed, and reapplied.
I wasn't very happy with the finish I got on the inside of the box, as I had a small run of shellac, so I ended up sanding that right back to bare wood, and re-applying shellac.
That was the project complete. It took probably about 14 hours to make in total. I'm pretty pleased with how it turned out, and most importantly, my better half Ria said yes. So now we're now in the process of planning our wedding in June next year.
I hope you enjoyed the video, please subscribe to my channel for more weekly woodworking videos. If you'd like to help support the channel, you can do that via Patreon or PayPal, and there's links below in the description box, on Patreon you can also get early access to my videos, exclusive content, free project plans and cut lists, and a name credit at the end of my videos. Thanks for watching
#woodworking #ringbox #workshop
Thanks for watching!
Please subscribe, click like if you like, and hit the bell icon for future video notifications
MY TOOLS:
For links to the tools I use, plus some of my favourite consumables, finishes and more see links below. As an Amazon Associate I may earn a small commission from qualifying purchases:
UK affiliate store: https://www.amazon.co.uk/shop/ragnbonebrown
US affiliate store: https://www.amazon.com/shop/ragnbonebrown
HELP SUPPORT THE CHANNEL:
Support with Patreon: http://www.patreon.com/ragnbonebrown
Support with PayPal http://paypal.me/ragnbonebrown
SHOP:
Etsy: http://www.etsy.com/uk/shop/KeithBrownMaker
https://teespring.com/stores/rag-n-bone-brown-merch
LINKS:
Website: http://www.ragnbonebrown.com
Facebook: http://www.facebook.com/ragnbonebrown
Instagram: @ragnbonebrown
Twitter: http://twitter.com/ragnbonebrown
Email: ragnbonebrown@gmail.com
Second YouTube Channel (non woodwork videos): http://www.youtube.com/user/keefykeef
Images: