Peter Millard Clamping Square video: https://youtu.be/kf-jOFrWTXo
In this video I'm going to start working on a commission - this one came about thanks to my uncle who put my name forward to someone who wanted two custom desks built, one for each of his sons.
I got in touch and we discussed his requirements so I could start designing the desks - he wanted the desks
to have some shelves and a single drawer for storage
something dismantleable so that it can be easily transported
mounted on wheels so it can be moved around easily
and built to last, he mentioned not wanting anything made of chipboard
I used SketchUp to design the desk and after making a few changes, here's the design that the client was happy with.
To begin I needed to pick up some 18mm far eastern hardwood ply for the frame of the desks. Usually I'd go to my local timber merchant but it's closed at the weekend so I decided to check out a new DIY store local to me called Bunnings. I'd spoken to theme over the phone and they told me it was £36 per sheet which I couldn't quite believe at my local timber merchant it's usually around £52 per sheet. But when I got there and started looking through the sheets they had I found that it was not very good quality - I actually went through every sheet they had and picked the best sheets I could find, but I ended up having to buy twice as much material so that I could use the best bits of each sheet and cut away the bad bits. There were some areas where the veneer was so thin that you could see the layer below, and some really badly patched veneer areas. Now I know that this isn't really furniture grade plywood anyway, but the cost of birch ply in the UK is too expensive so far eastern is a good alternative, at least the stuff from my local timber merchants is anyway - the stuff from Bunnings -not so much.
I started by making some of the cross cuts to get the ply to a more manageable size in my small workshop using my circular saw and a straight edge to guide the cuts
I then made the rip cuts at the tablesaw. These pieces are for the shelving unit that will make up the left hand side of the desk
And then I cut the side panels for the right hand side of the desk.
I used my heat gun to easily peel off those nasty stickers.
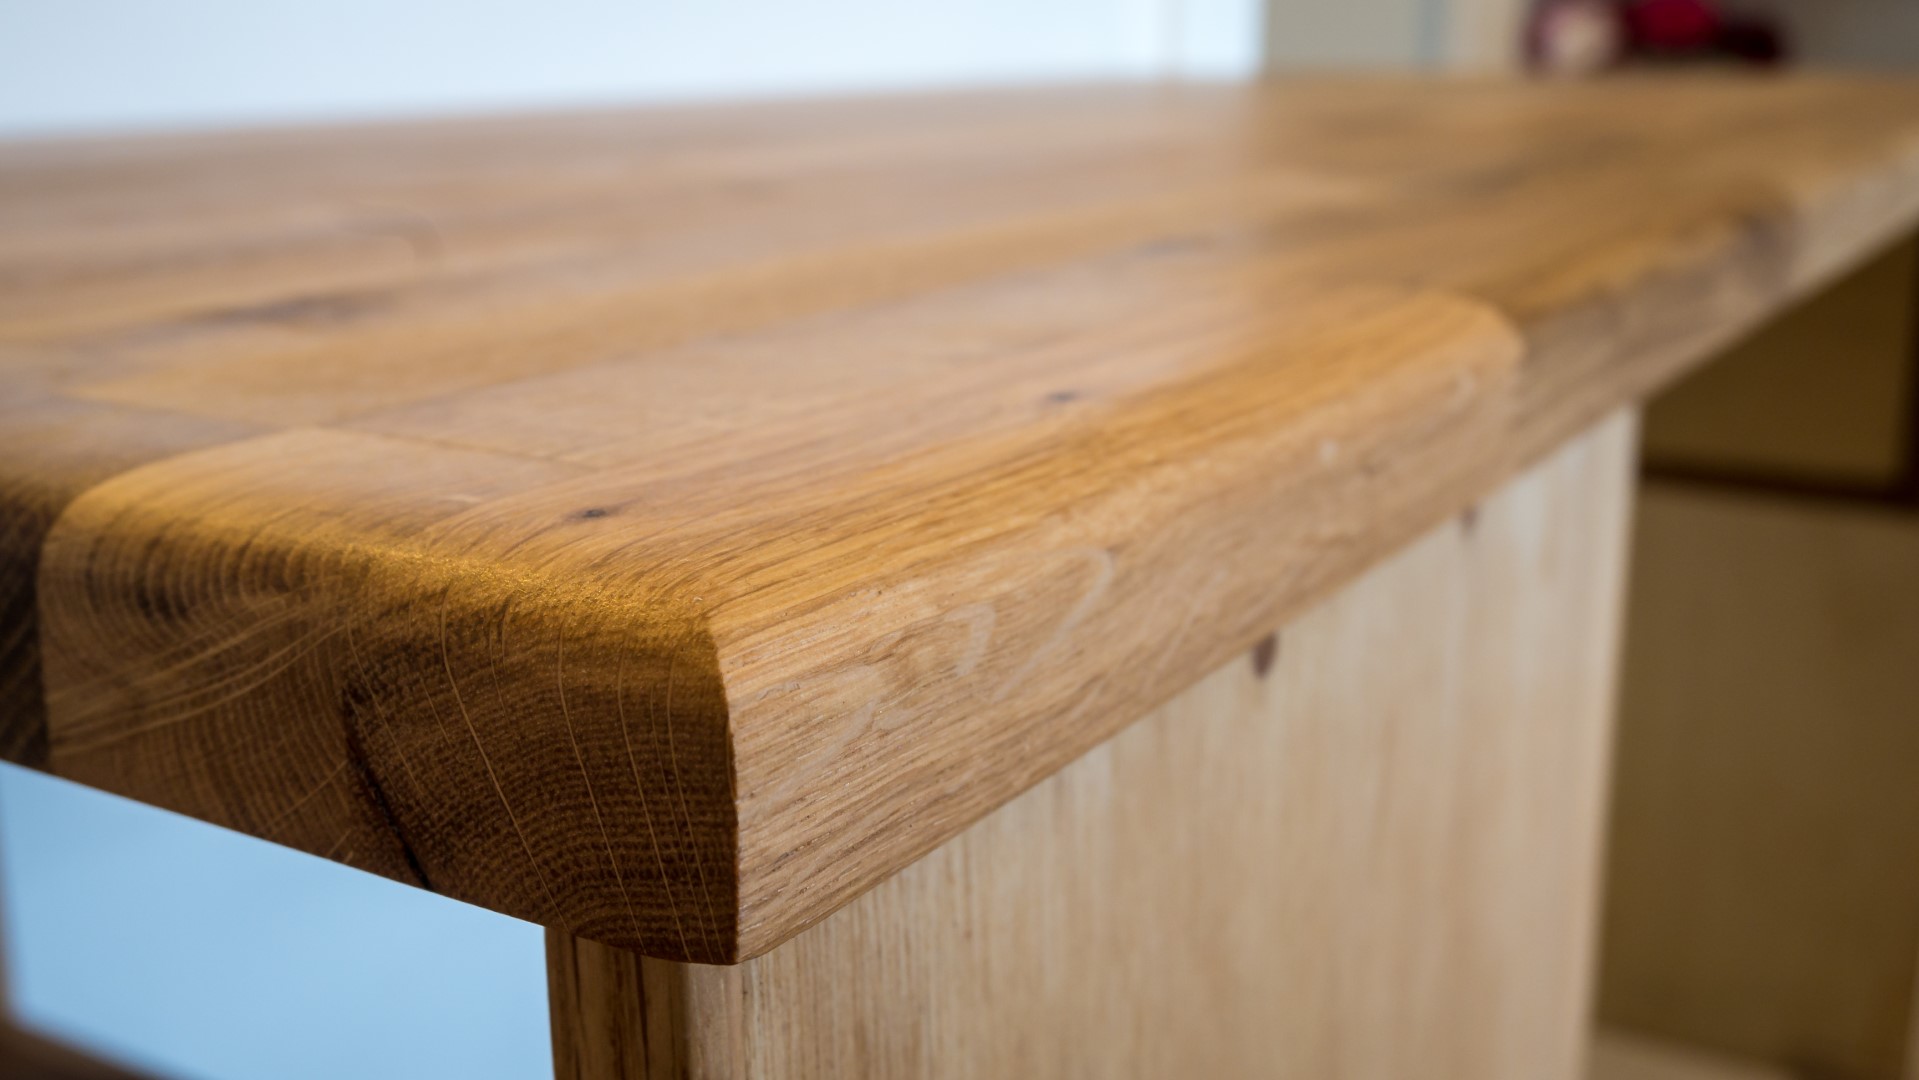
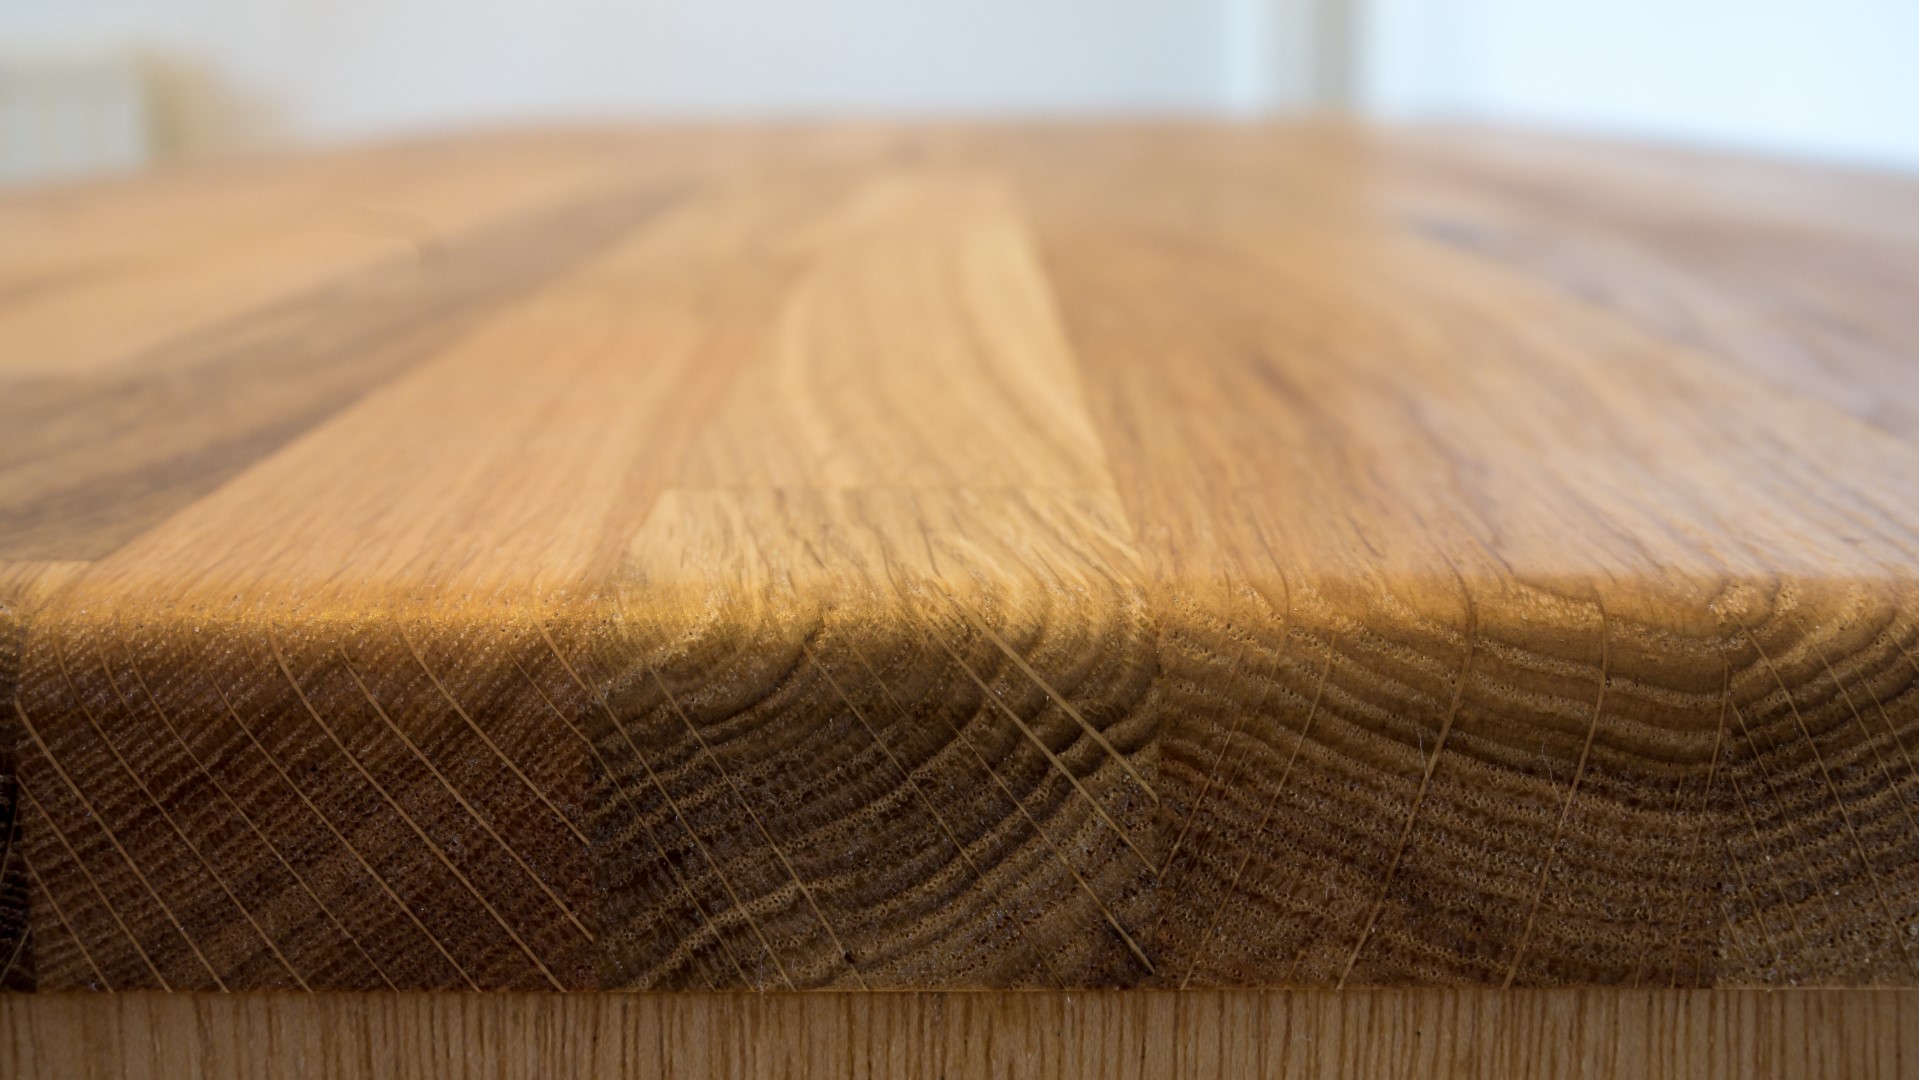
For the shelves I'd use some oak kitchen worktop, so that the shelves would match the desk top. I bought this from eBay and had it delivered, this stuff is 27mm thick, 620mm wide and I bought two lengths which were 2m length.
I used my circular saw again to cut a piece roughly to length for the shelves, and then made some rip cuts at the tablesaw and then I could make the accurate cuts to length at the mitresaw. The upper shelves would need to be cut shorter than the bottom shelves and to get the correct measurement, I measured the thickness of two pieces of the plywood together and then adjusted the stop block on my mitre station by that amount before cutting to length.
I used my router to add a round over to the long edges of the upper shelf.
For the bottom shelf I wanted the round over to stop before the end where it would meet the plywood side panels, so I marked up the thickness of the ply so that I knew where to stop.
I then sanded the shelves to get rid of any burn marks left by the router and smooth everything over.
I used a block plane to break the hard corners of the bottom edges of the shelves.
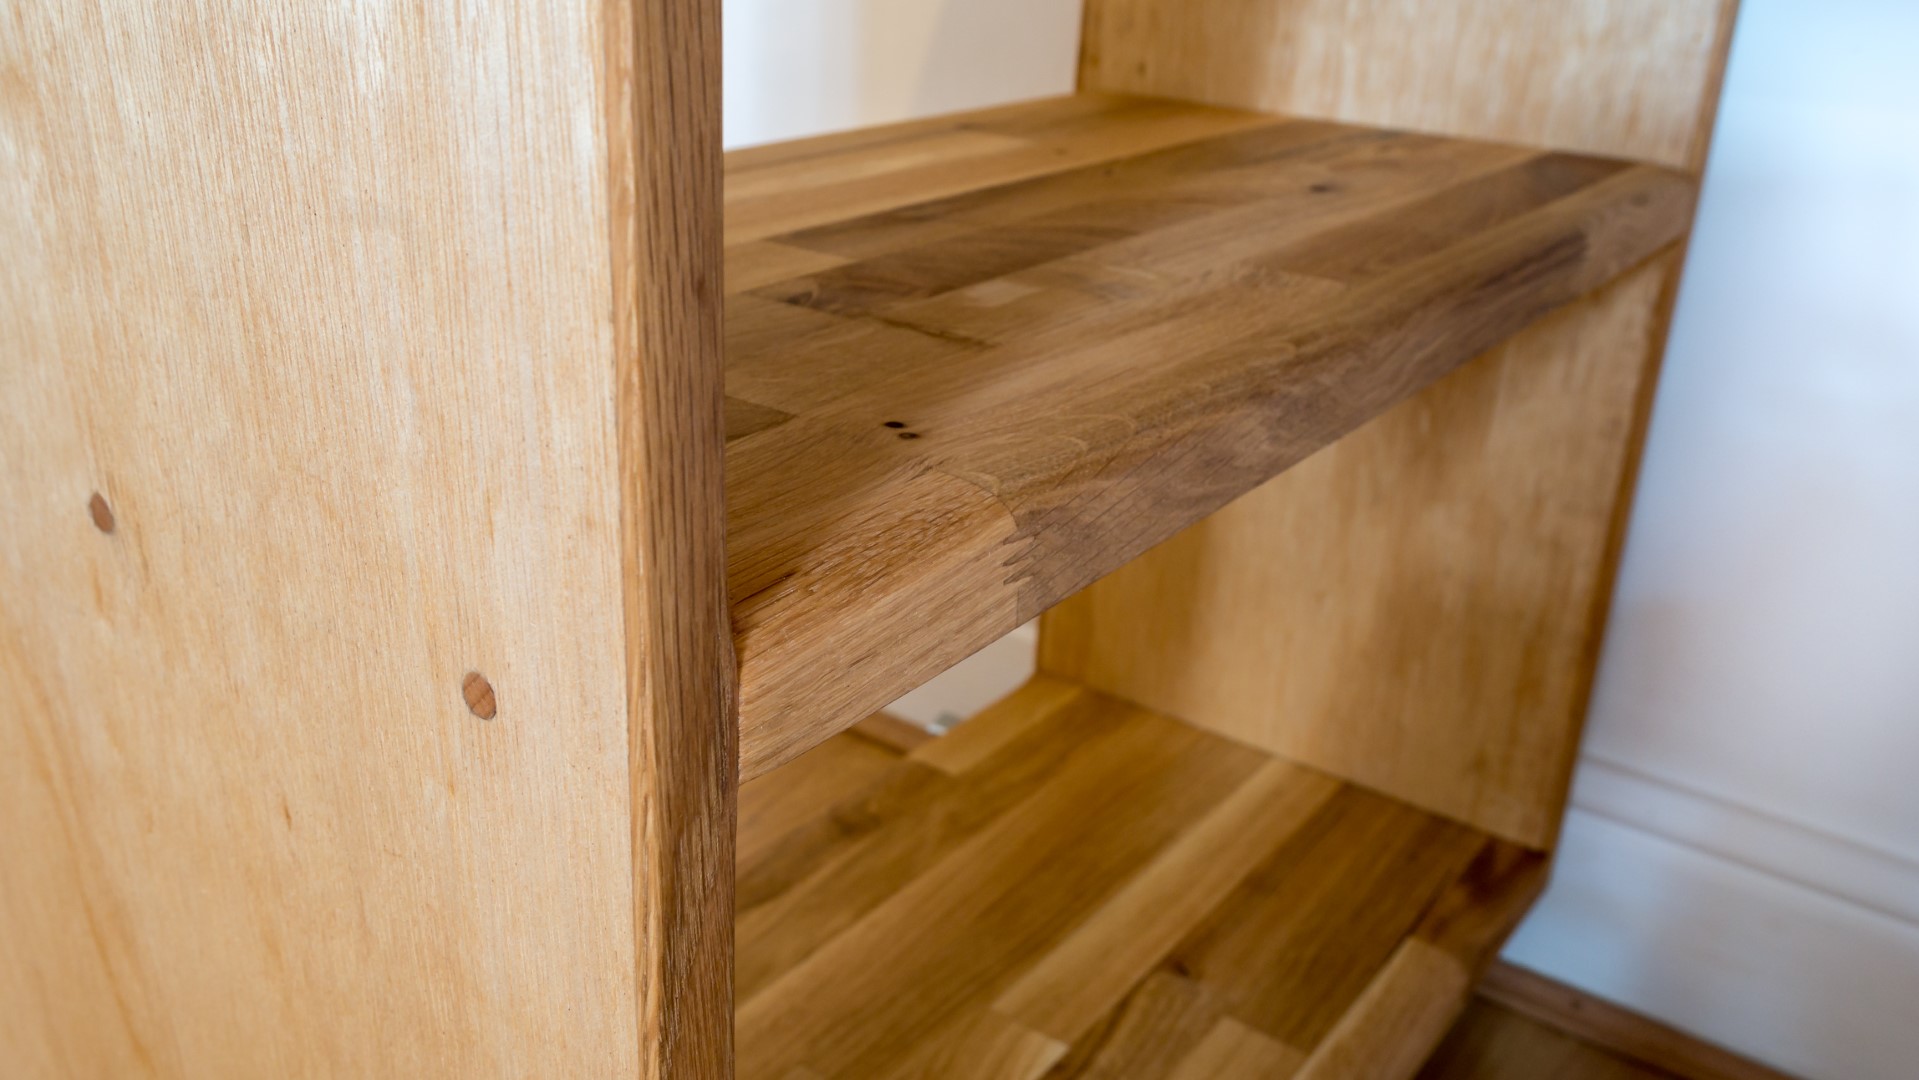
To assemble the shelving part of the desk, I laid out the pieces on my workbench, and I used some 5mm spacers to position the plywood side panels where I wanted them because I'll later be adding a 5mm trim piece to the edges of the side panels.
I added glue and then clamped on some plywood clamping squares to keep the two panels at 90 degrees. I got the idea for these clamping squares from a Peter Millard video which I'll link to in the description box - they're really handy and really easy to make too.
As the bottom panel will later have castors added to the bottom I offered one up so I could figure out where I wanted to drill the holes.
And then I drilled pilot holes with a countersinking bit, and added screws.
I was happy to use screws here because they won't be visible down on the bottom
Then I checked that the upper shelf would fit, and that looked fine, and I marked up where I wanted to add some beech dowels to secure the shelves.
Again I used clamping squares to keep the shelf square.
I added glue, and used some parralel clamps to hold it in place once I was happy that it was sitting level.
And then I could drill pilot holes, add glue to the dowels and hit them in place. I used a japanese pull saw to trim them flush with the side panels and then sanded with some 120 grit.
I then went hunting for some pieces of oak that I could use to trim the plywood edges of the side panels.
I ripped the oak in to 5mm strips.
I offered them up and marked them to length and then cut them at the bandsaw, and then I could glue and clamp them in place.
Eventually I ran out of clamps while I was clamping up the second one, so I moved the clamps from the first one over to the second one after the glue had had a bit of time to set.
I also needed to trim the edges of the right and side panel of the desk, so I found another piece of oak. This is the stuff I salvaged from a local church refurbishment and the wood had moved a bit since I brought it in to the workshop with seasonal changes, so I first needed to get a square and straight face on it.
I could then offer up the flat face to the rip fence on my tablesaw and rip some more 5mm thick pieces. I made this cut in several passes raising the blade each time as this wood is very hard and very dense.
I used the handplane again to straighten up the edges of the trim pieces, and then I ripped them to width which would be the same as the thickness of the plywood - 18mm.
I then used some oak wood filler to fill any small gaps between the panel and the trim.
It was a pretty hot day and my cat found a bit of shade to cool down.
I needed to add a top panel to the shelving part of the desk, which would be used later to attach the worktop.
So I measured up and cut one of the offcuts of ply to length. I marked up a centre point on both the side panel and the piece of ply and glued and clamped it in place with the marks lined up to ensure it was centred.
And once the glue was set, I added dowels again to re-enforce the top panel.
I wanted to avoid sanding the plywood as I didn't want to risk sanding through the veneer, so I used a cabinet scraper instead to smooth everything over. And I used the sander just to ease over the oak trim edges.
For finish I used boiled linseed oil. This raised the grain slightly so I did some gentle hand sanding with some 400 grit wet and dry paper to smooth everything over after the oil had dried and then applied a second coat of oil.
The side panel got the same treatment of sanding.
Then I flushed up the trim pieces on the side panels with a block plane and some more scraping before oiling those in the same way.
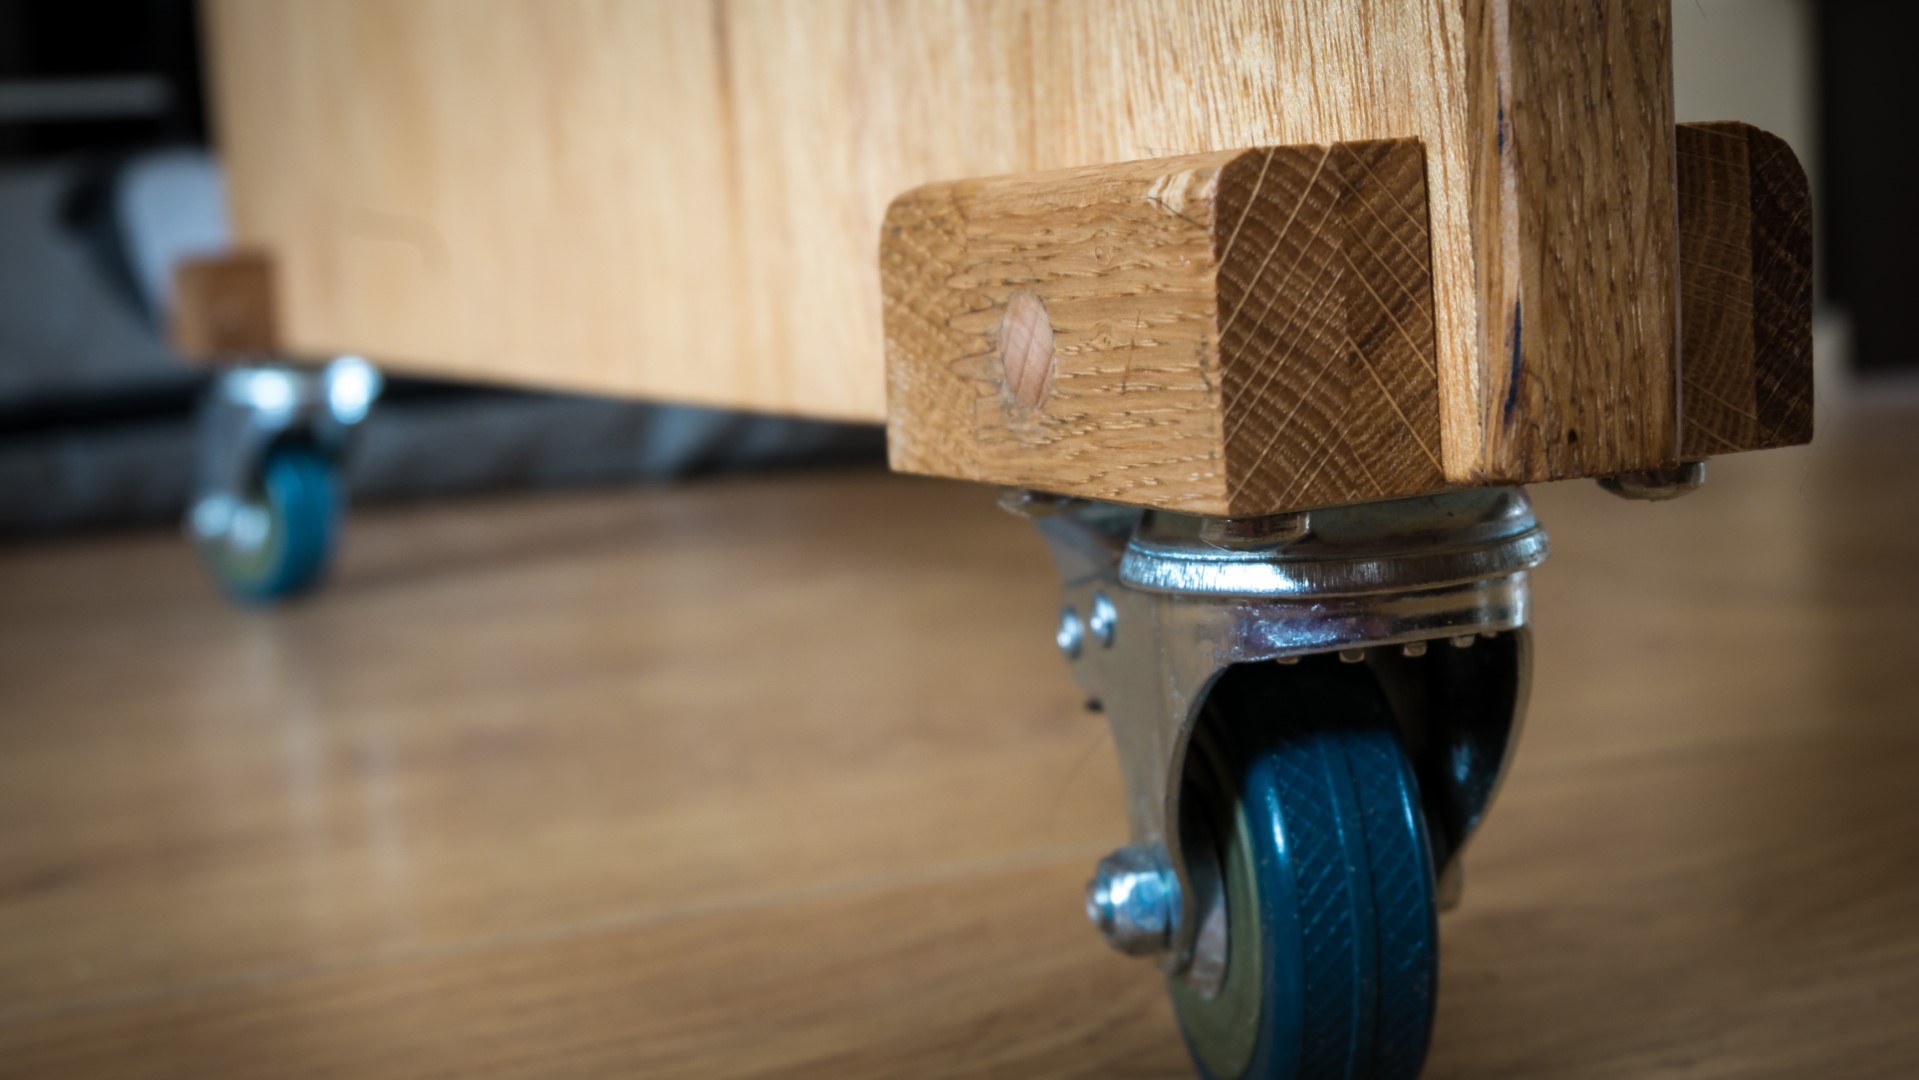
I could then add the castors to the bottom of the shelving side of the desk and I used some 15mm pan head screws for that after drilling pilot holes.
Images: