In this video I make a wooden cat radiator bed out of some offcuts of mahogany.
In this video I'm going to be making a radiator cat bed for my cat Dylan, I've noticed that in the winter, he spends a lot of time sitting near the radiator and I wanted to make something a little more comfortable for him. I considered buying one but the ones you can buy are kind of ugly so I wanted to make something that looked a little nicer, and also I thought it'd make for an interesting project.
I took some measurements of the radiator and did a quick SketchUp drawing to represent what I wanted to build. This drawing and a full cut list will be available via my Patreon page if you're interested in building this project.
I had lots of small but long strips of mahogany and I ripped them down to about 6mm in thickness using the tablesaw.
And then I could cut all the pieces to length at the mitresaw using a stop block to make consistent length cuts.
Some of the pieces were quite short so I used a push stick to hold down the workpiece to keep my fingers away from the blade.
With all the pieces cut, I'd start by assembling two brackets
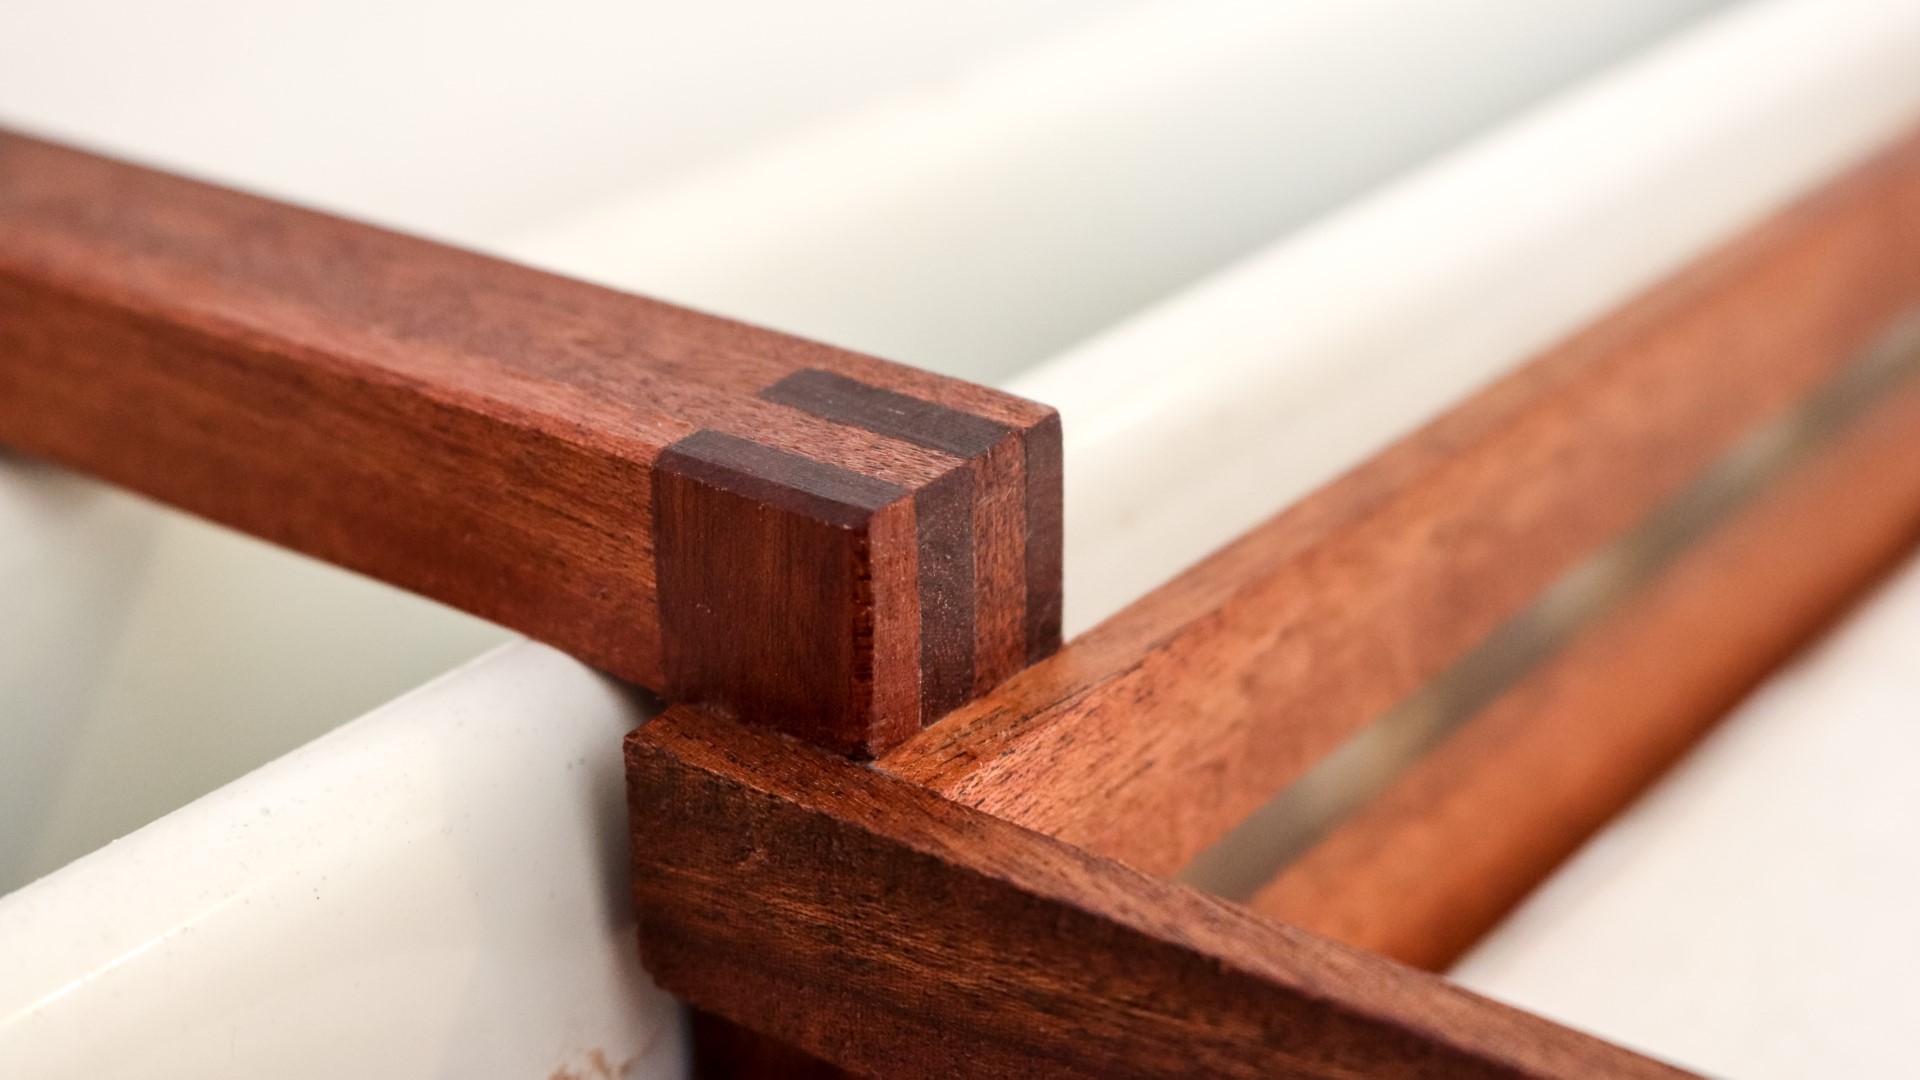
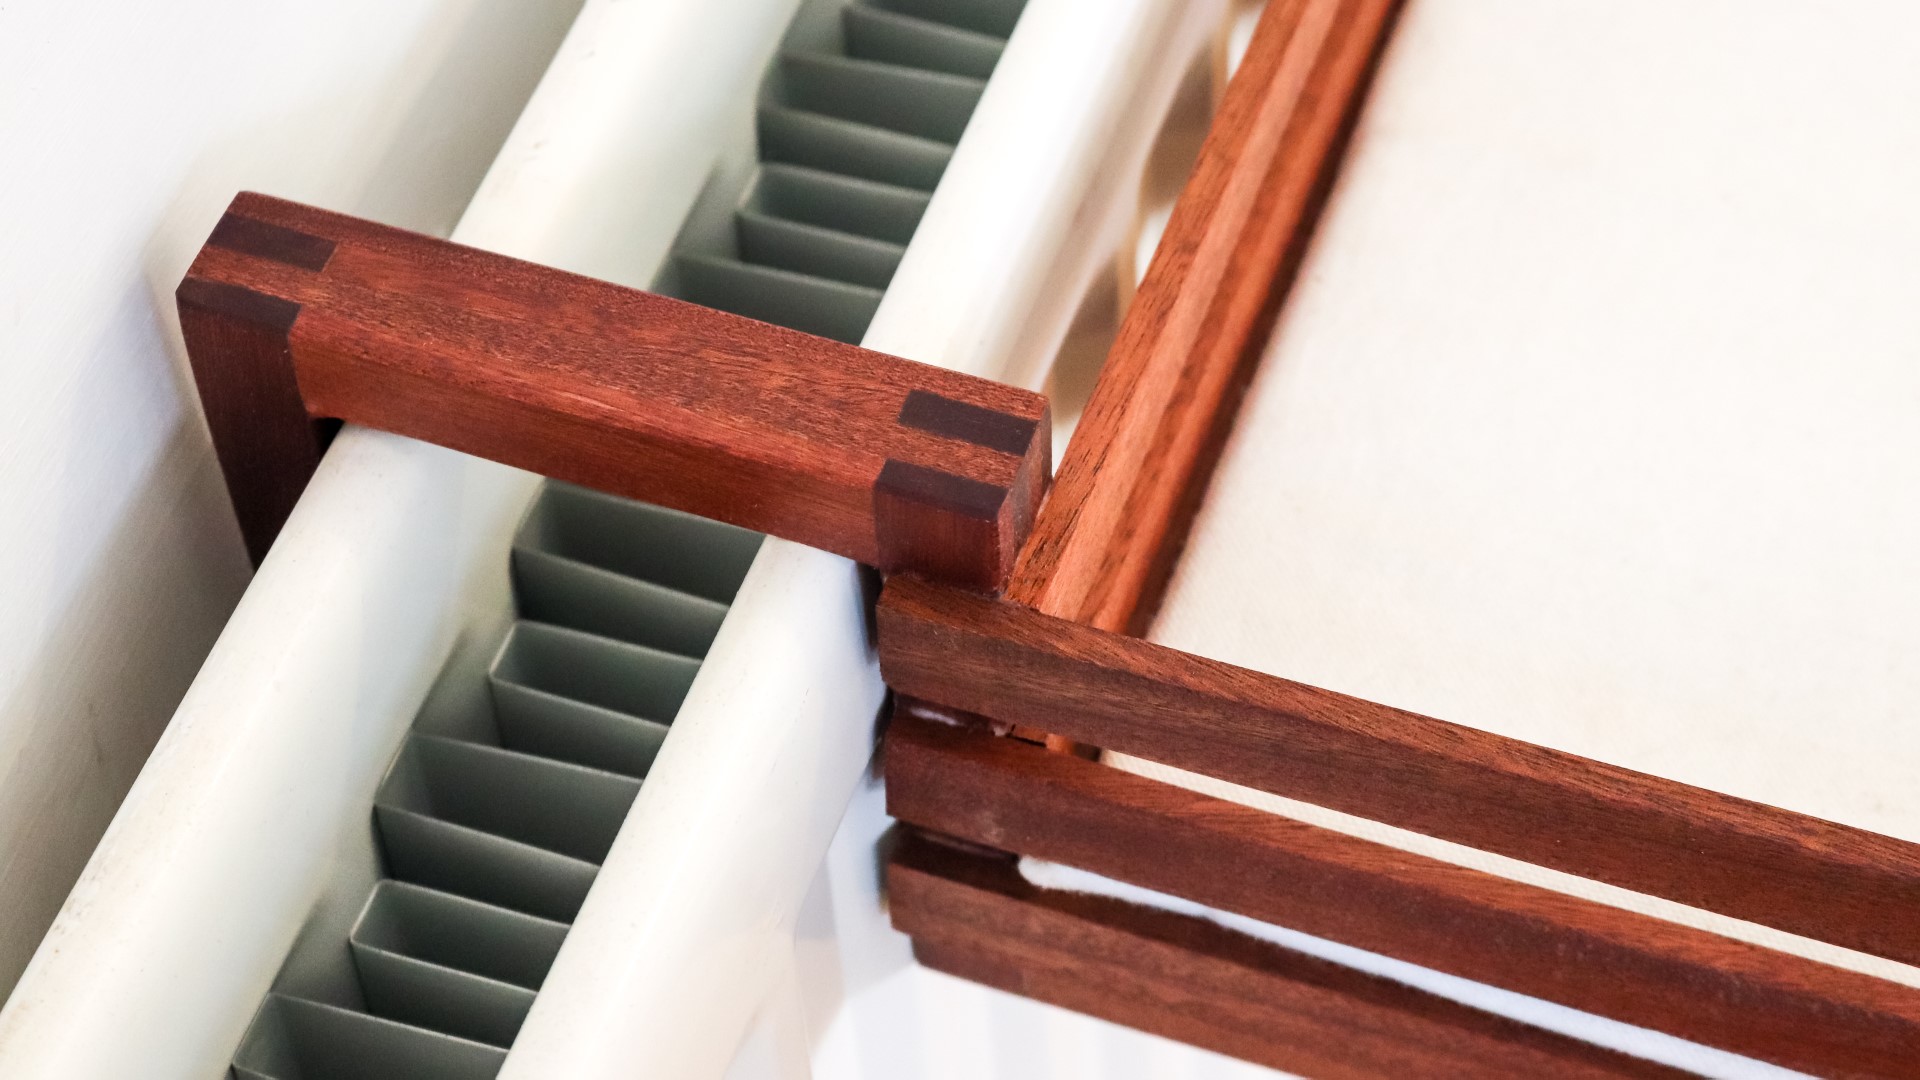
I applied glue and started to assemble the pieces, and you can see here that I'm alternating betwen laminating together short pieces and longer pieces, and that's because I want to form some finger joints at all the corners in order to create lots of gluing surface to maximise the strength of the bed, becaise it's going to be cantilevered off a radiator and needs to hold the weight of my cat who is getting pretty chunky lately. Too many Dreamies.
Once all of the pieces were positioned I checked for square and fired in a few brad nails to keep everything held in place while the glue dried.
I could then wipe away excess glue with a damp cloth.
Here you'll see that there are some additional finger joints at what would be the front of the cat bed, and this wasn't actually needed here as it won't join on to anything, so later in the video you'll see me cutting these pieces off flush, and I've corrected the plans to reflect that too.
Once all that was done, I decided to add an additional layer of strips just to hide the brad nails I'd fired in and this would also add even more strength to the bed.
Those face pieces got clamped in place.
Once the glue was dry I could then clean up all the faces. I did most of this at the bench top sander but there were some places that were difficult to get to, so for those I used my electric file.
When all the sanding was done, there were a few small gaps visible between some of the joints, so I rubbed in some wood glue and then sprinkled on some dust from my belt sander's collection box. I rubbed that in and then scraped the surfaces and then the gaps were no longer an issue.
I did some final sanding using my random orbit sander.
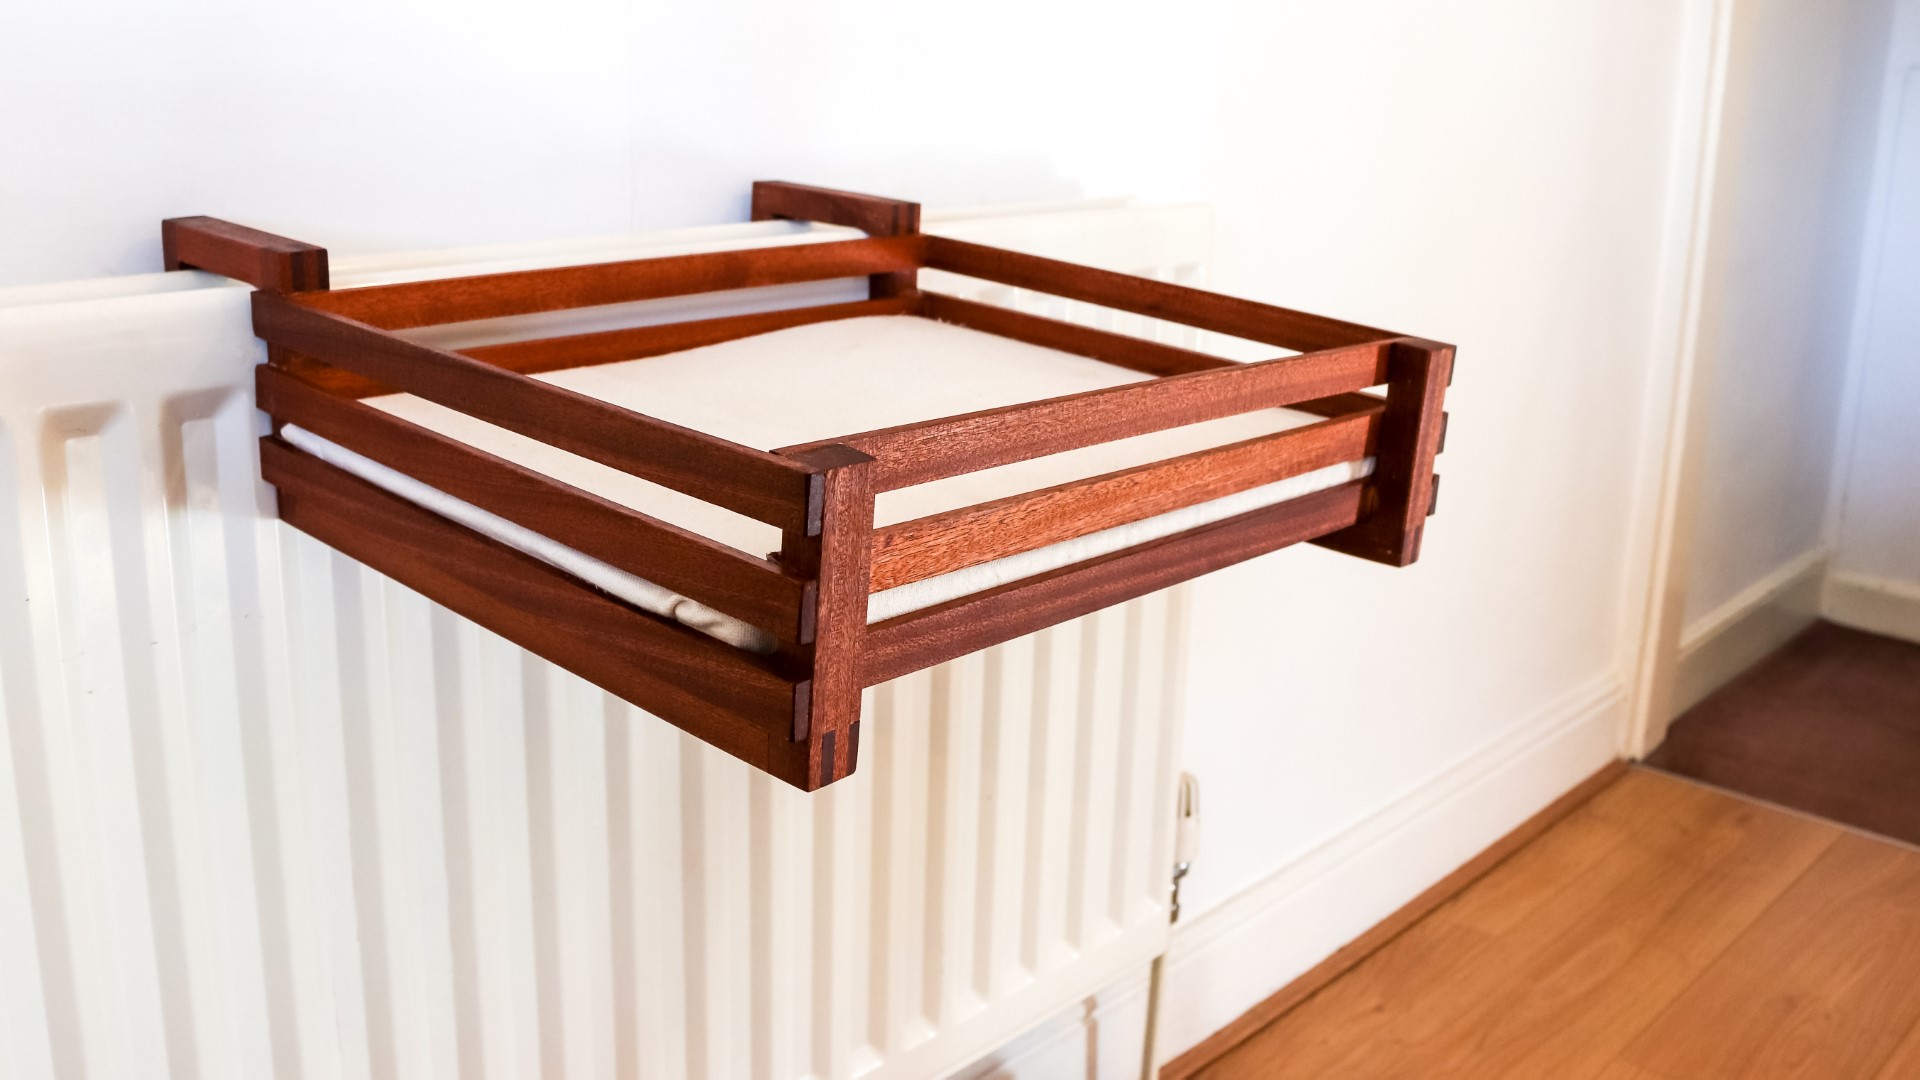
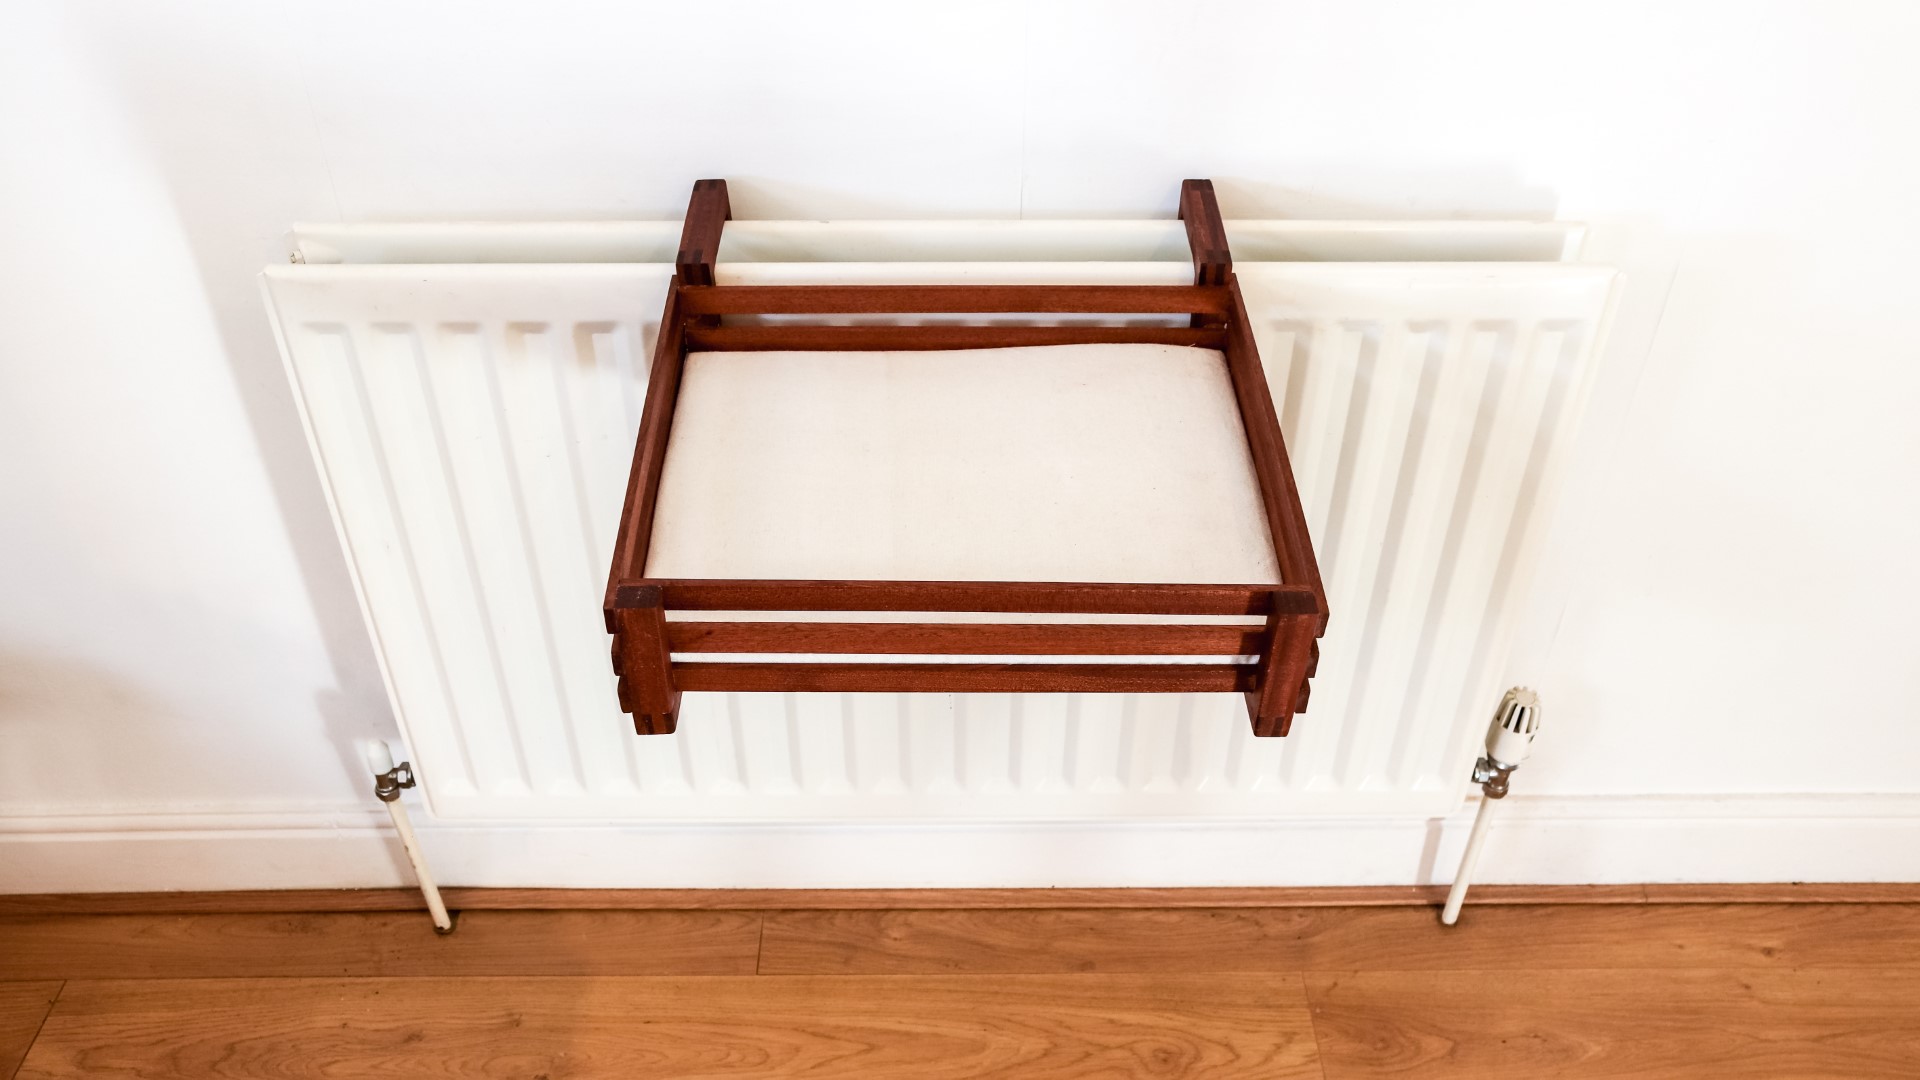
At this point I wanted to check that the brackets fitted over the radiator ok, as I wasn't sure if the window sills would interfere, but they slotted in there perfectly.
For the base of the bed I'd use some of this thin plywood which is about 5mm thick. It was already almost the right sze but I needed to cut it to length, and then I could glue and nail it in place.
This plywood was perfect because it was nice and light so it wouldn't add too much weight to the bed. It is quite thin though and without bracing it would be prone to sagging over time, but I'm going to be adding these pieces to all 4 sides of the bed which will make it nice and rigid so the plywood won't be able to sag.
After marking for length and cutting I applied some glue and nailed them in place. I first did a bottom piece, then a top piece, and then I could add a centre piece just by eye to get it sitting level and equally spaced.
I did the same for the back of the bed.
Then I switched to the sides and here I'm using epoxy rather than wood glue because it was a cold day so wood glue was taking a while to set and I wanted to get this project done in a day. The side pieces could be lined up to the front and back pieces again just by eye.
And I clamped those in place.
I mentioned earlier that these finger joints at the front were not needed, clearly I cut these pieces without thinking it through properly, so here I'm cutting off the joints with my japanese pull saw.
I did some final hand sanding just to break over any sharp edges.
And then I applied some of my handmade oil wax, I'm using the food safe version here which is a mixture of mineral oil and beeswax an applying it with a paint brush to get in to the nooks and crannies. This wood finish as well as the original recipe is available to buy via my Etsy store if you're interested in trying it out.
It really makes the grain pop really nicely and made the joints look really cool too.
Once everything's coated, I wipe away all the excess with a cloth.
The final job was to make a cushion for the bed, and I had some 400mm square foam pieces which were 25mm thick which I bought from eBay.
I marked it up for size and used a sharp knife and a ruler to cut it.
And I'd wrap this in some fabric which I had leftover from some curtains which I bought in a charity shop.
I didn't want to add a back panel to this because I wanted to keep it as light as possible so I just wrapped the fabric around the foam and used my hot glue gun to glue the fabric to itself.
And then I could fold in the edges and glue them in place too. The hot glue worked great to hold the fabric in place.
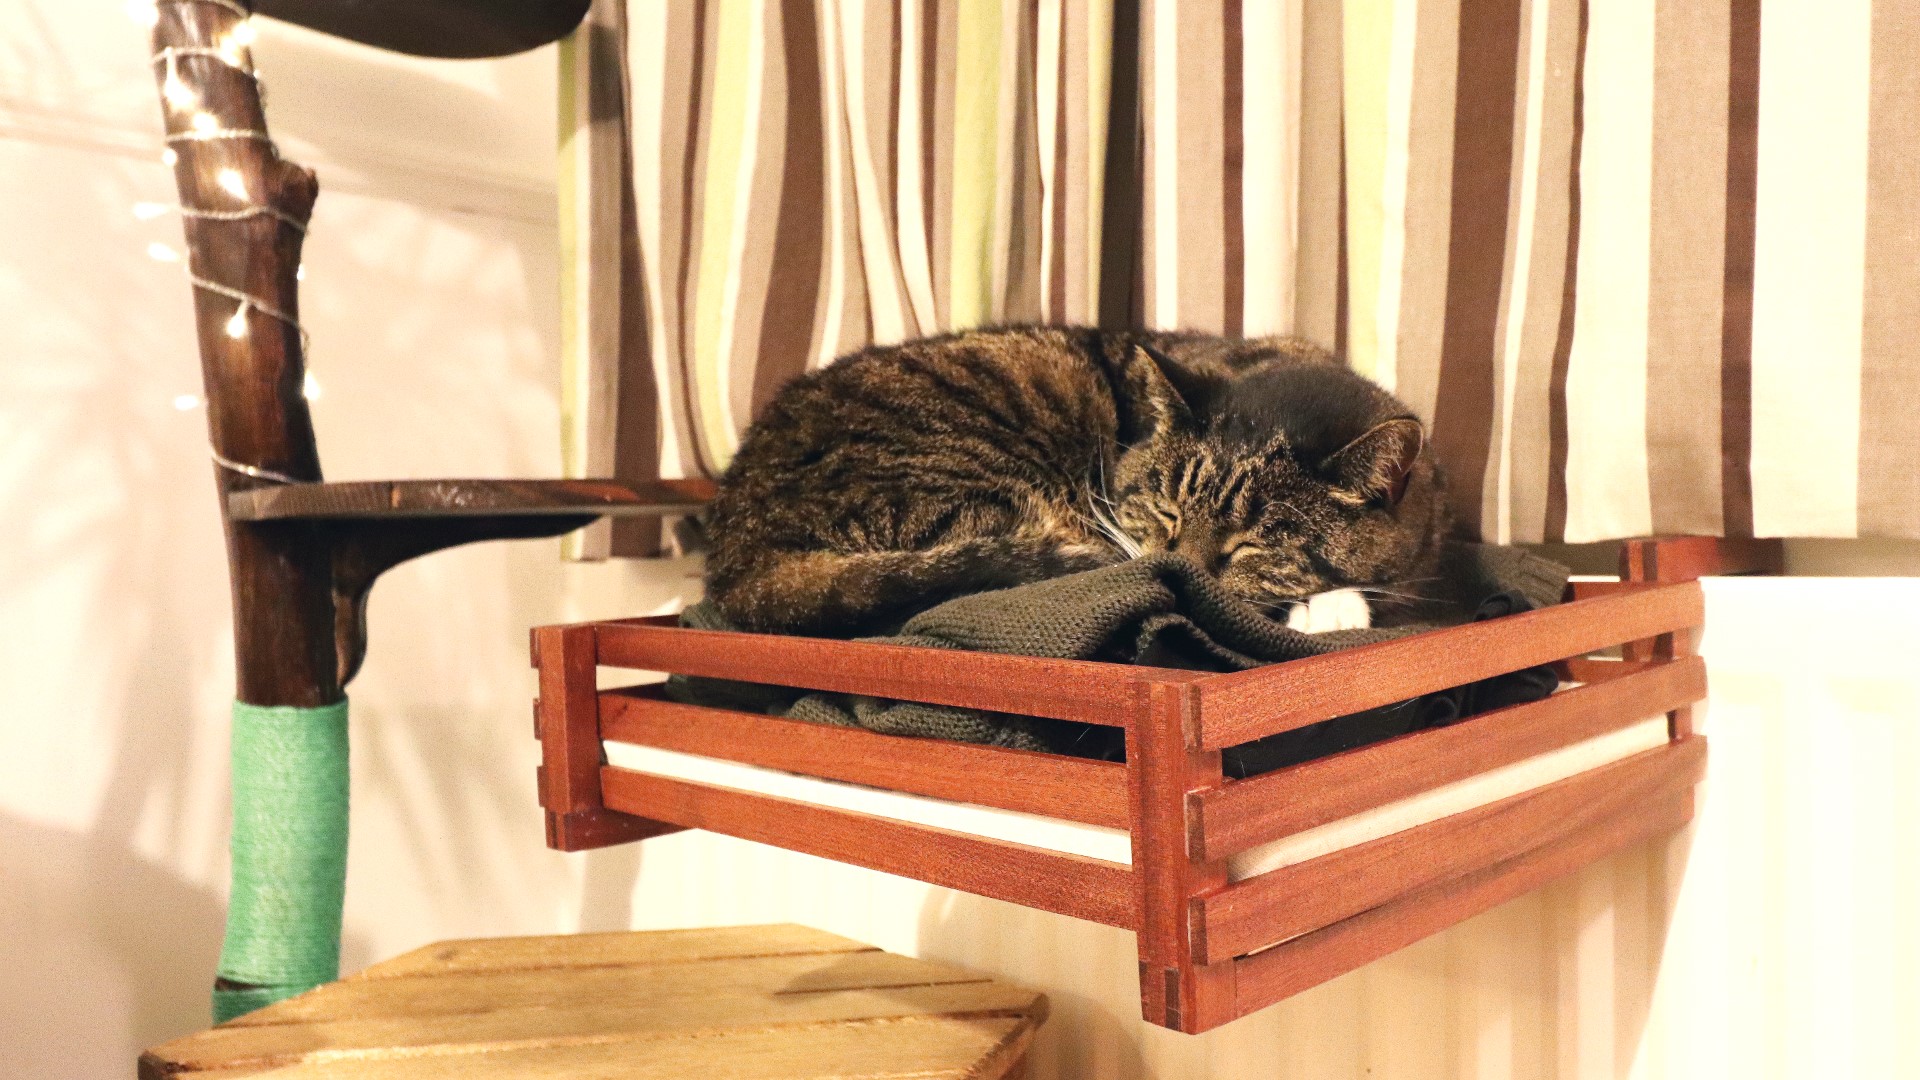
Then I could install the bed to the radiator. And then I added the cushion. And wheneveer I want my cat to notice something new, I always put some worn clothes on top, because cats like the scent of their owners so this is a good way to encourage them to use it. And sure enough a little bit later that day, I found him on the bed, and a in the evening he really made himself comfortable. I can then remove the clothing now that the bed has my scent on it, and now he knows it's a safe place to curl up and get comfortable
Images: