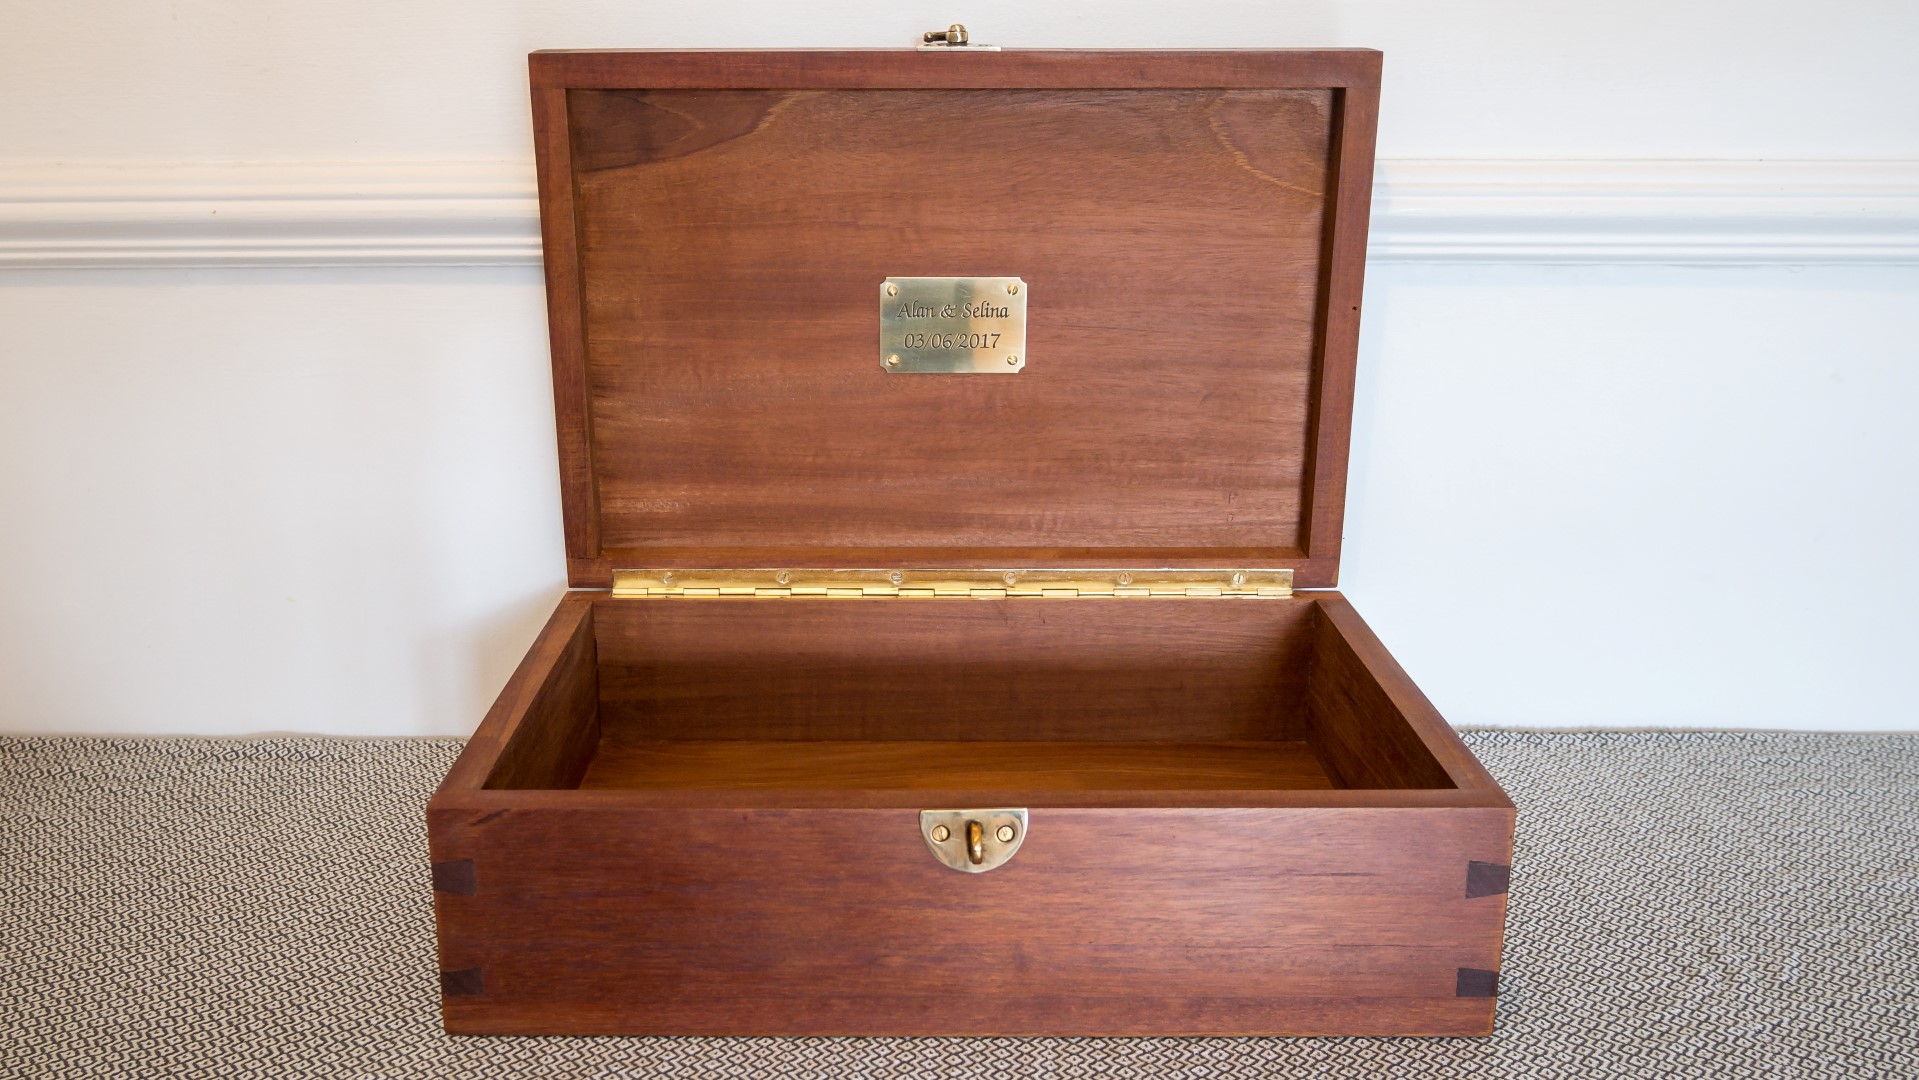
The next job was to fit the piano hinge for the lid. I cut the hinge to length with a hacksaw.
The hinge was around 3mm thick so I wanted to cut a recess for the hinge to sit in, in the rim of the box.
I set up a straight edge and used my router with a straight bit to make the cut, squaring up the corners with a chisel. Before adding the screws, I first glued the lid to the hinge using some epoxy so that I could ensure the placement of the lid was right. After the glue had set, I could then fit the hinge with the brass screws after drilling some pilot holes.
I sanded the box by hand at 120, 240, 320, 400, 600 and then 1200 grit - much higher than I'd normally go, but that's because I wanted the brass to look really nice.
For finish, I'd use Teak Oil which I applied with a cotton cloth.
Finally I applied some clear Briwax, and buffed out the finish once dry.
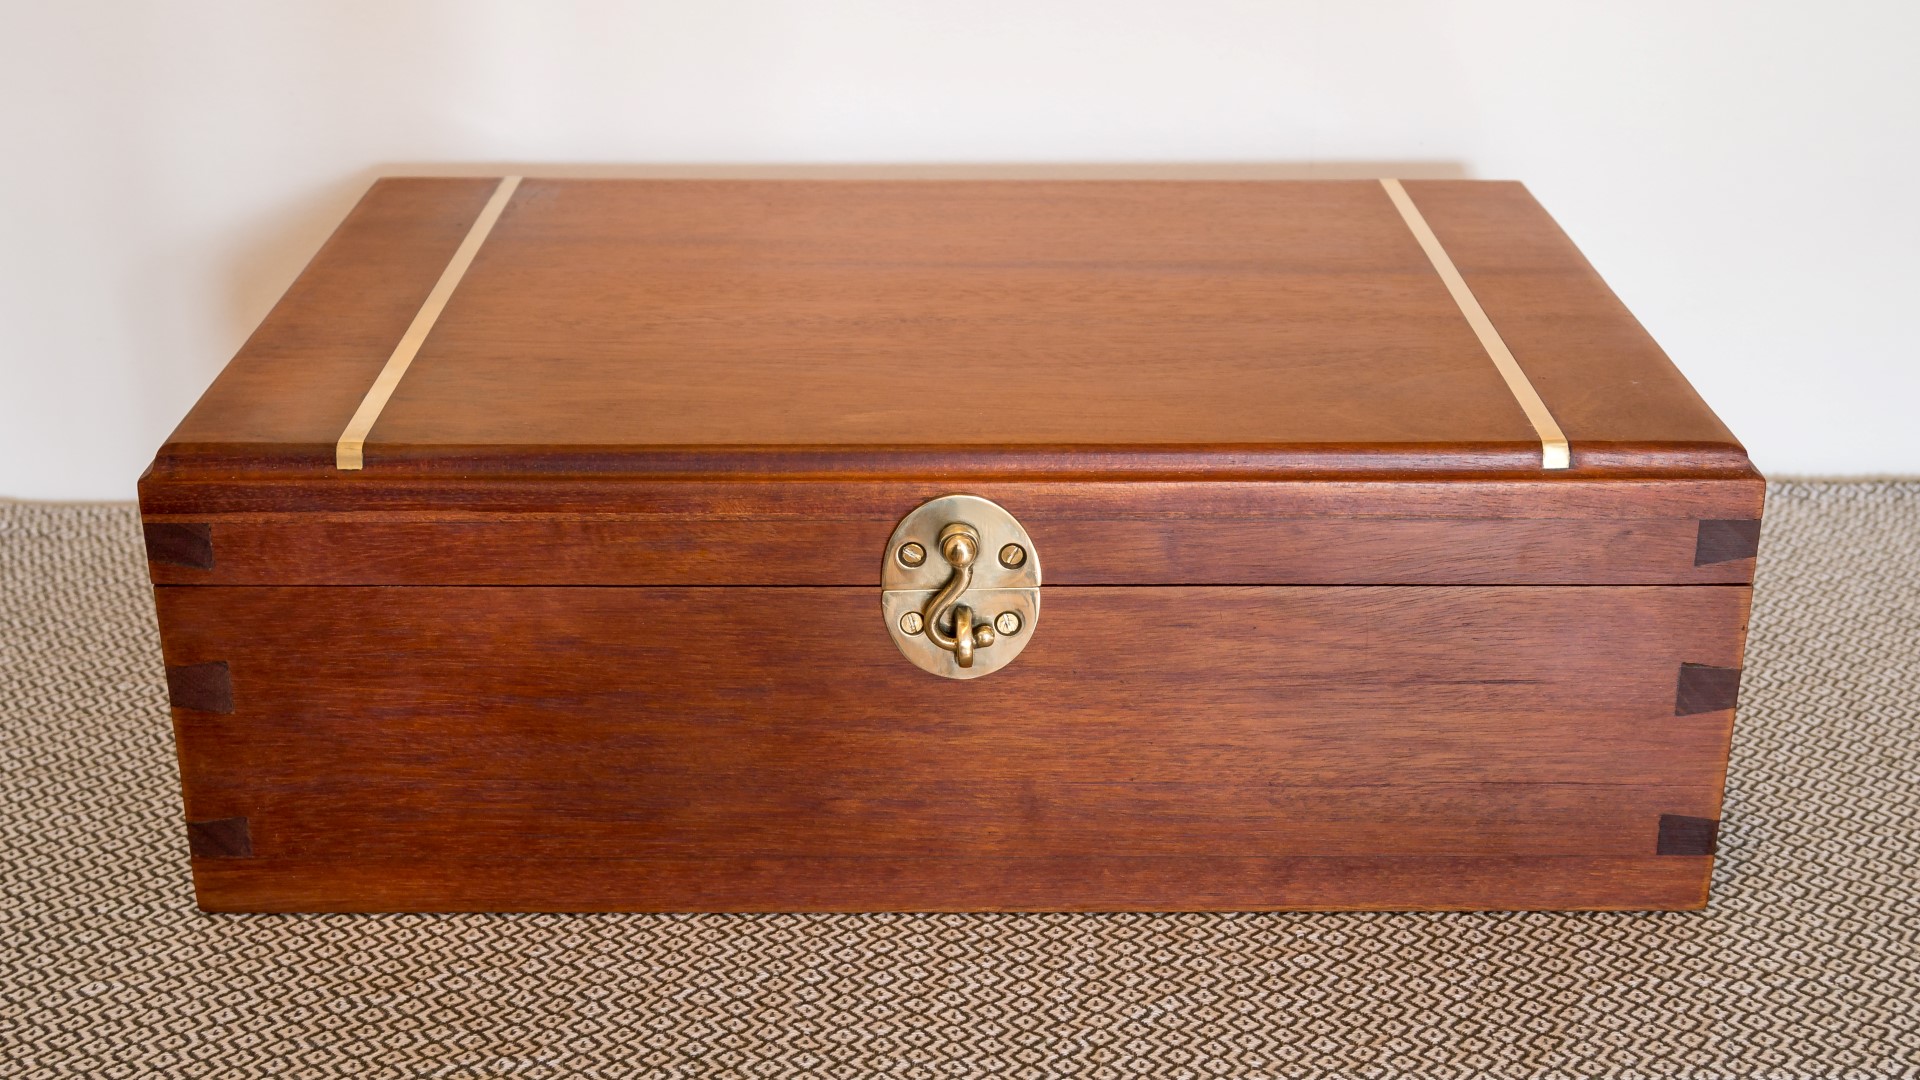
I used some upholstery pins as feet for the bottom of the box just to create an air gap under it. These were fitted with a mallet, evenly spaced in from the 4 corners.
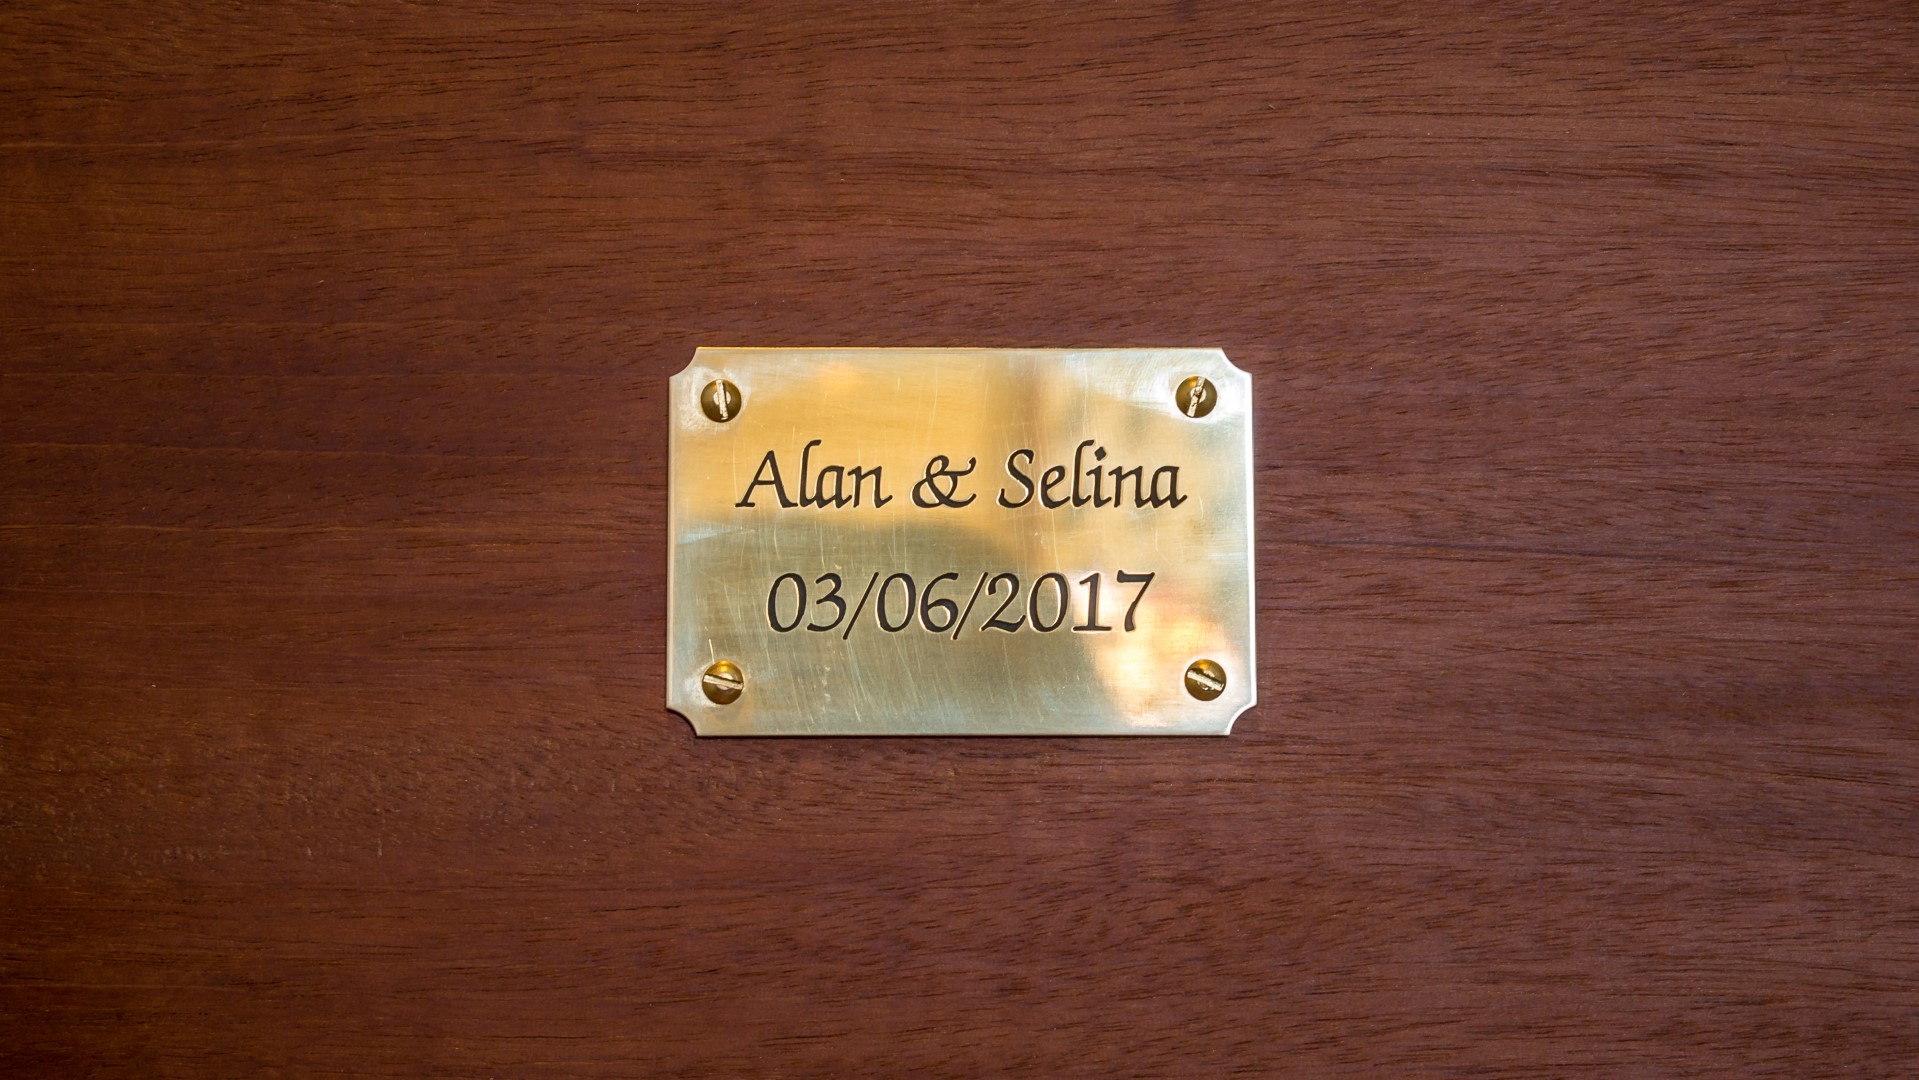
I bought a brass plaque to go on the inside of the lid which I purchased from The Engraving Shop - this was mounted with screws.
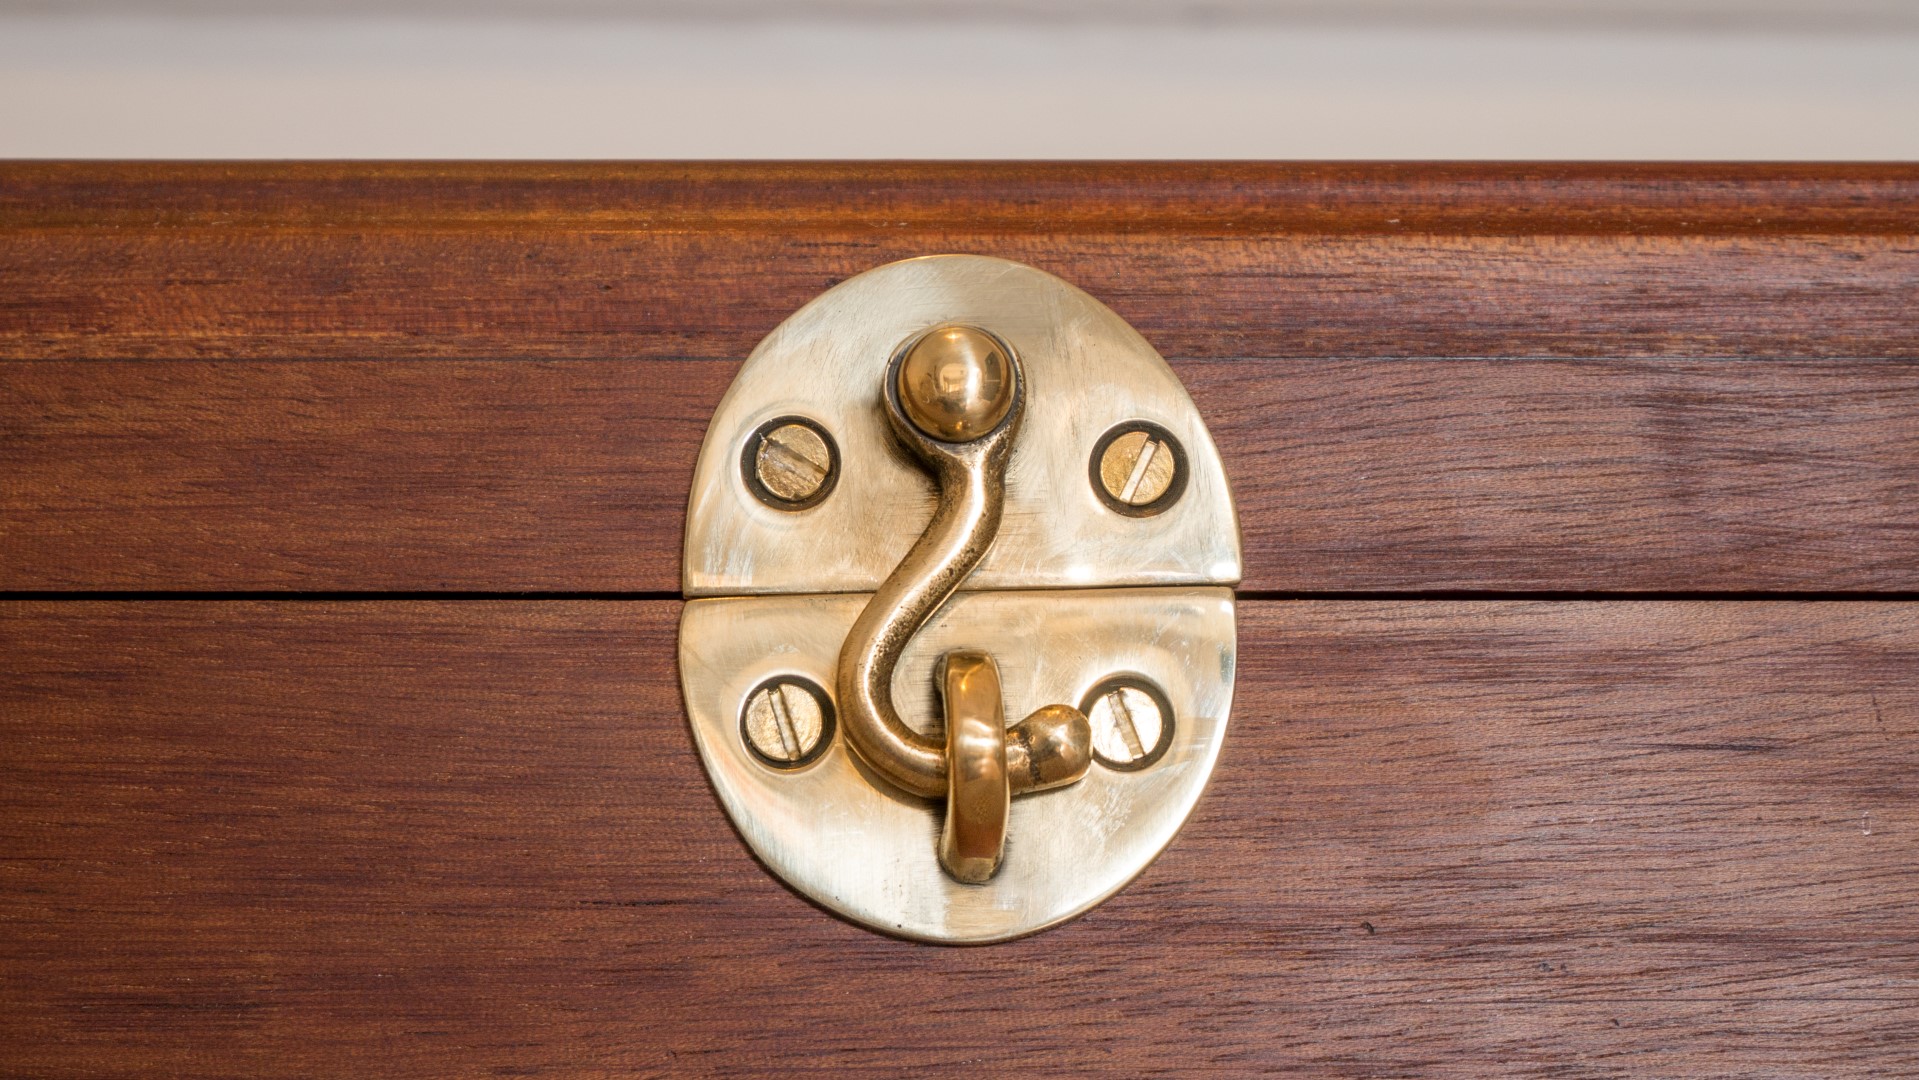
I had some difficulties finding a good quality brass latch that was the right style - I bought many different ones and none of them looked right. Eventually I found one on Etsy that was nice but needed some adjustments as it was too big and not shiny enough.
I adjusted the height of the latch at the disc sander which worked quite well.
To get it to be shiny, I sanded it by hand at 600 grit and then buffed it using some green polishing compound on a buffing pad in my drill. That worked really well.!
I could then fit the latch with screws and the box was complete.
Images: