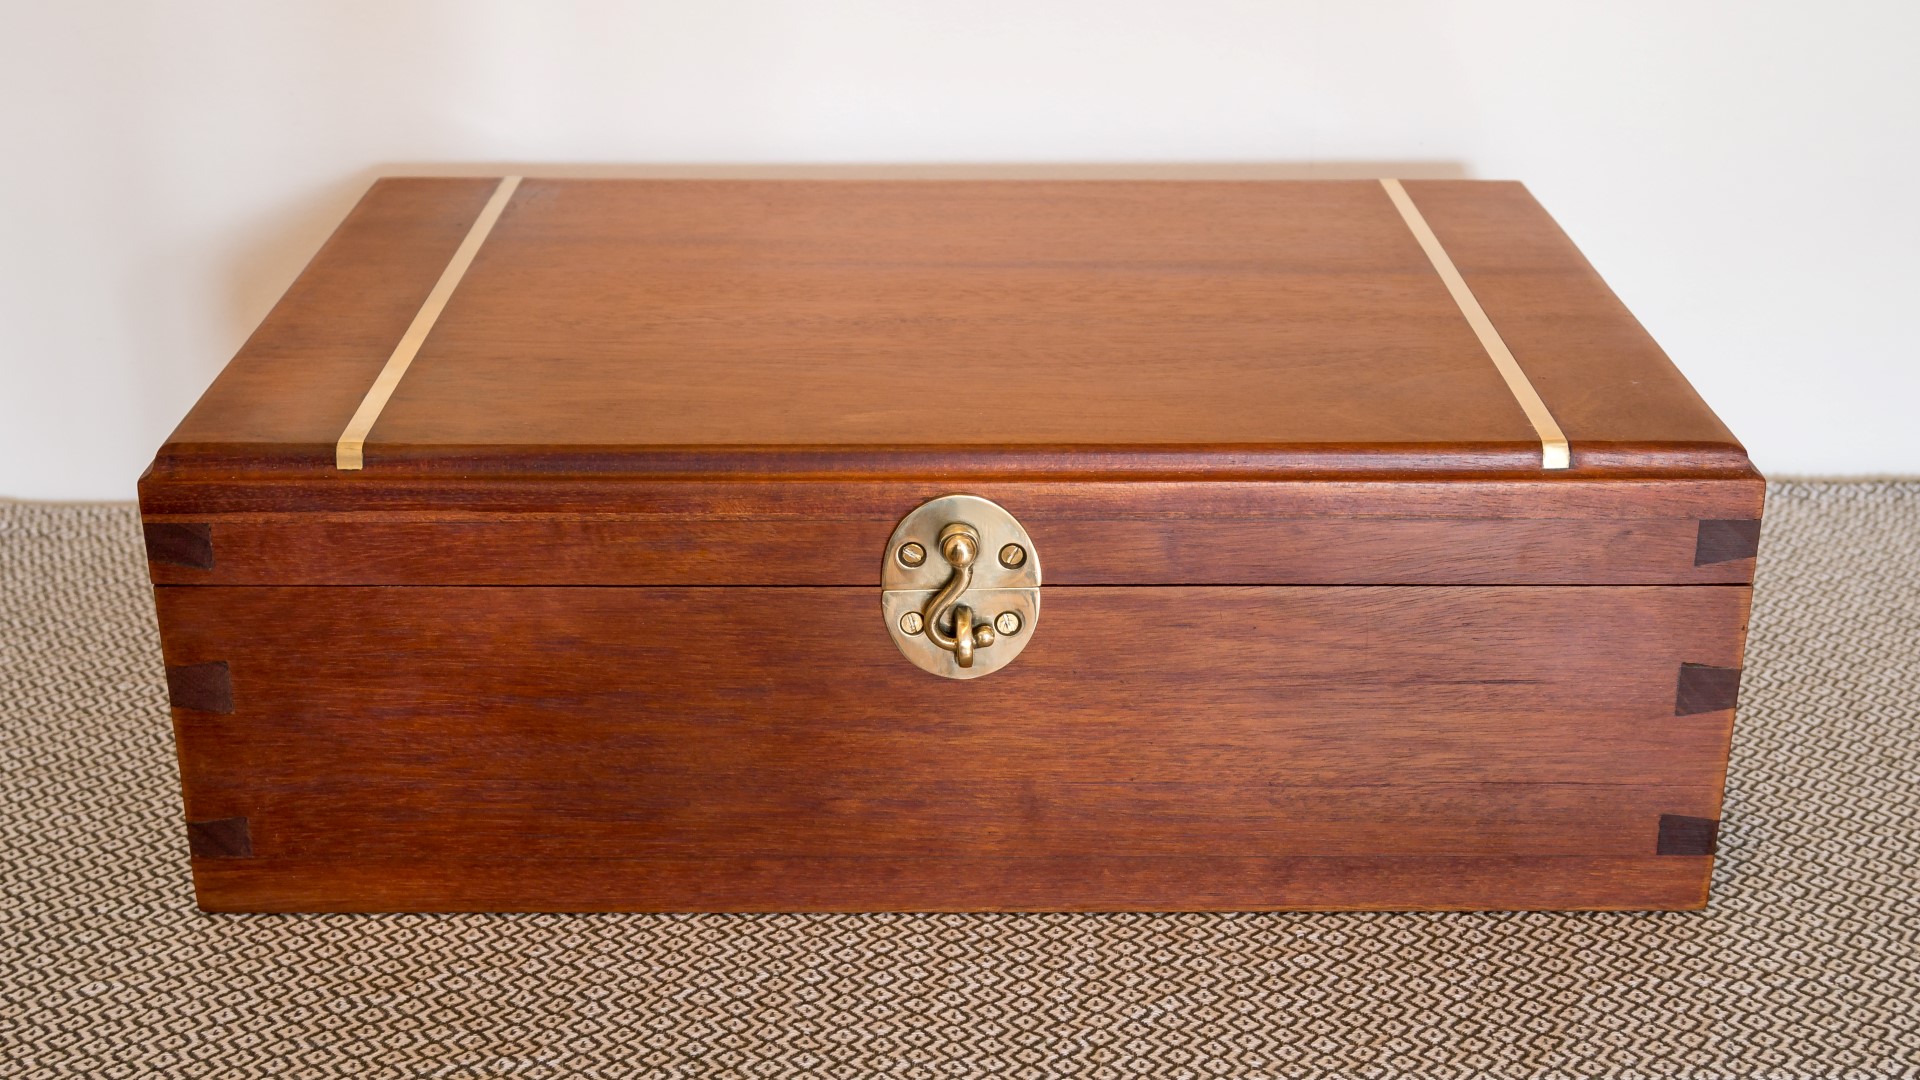
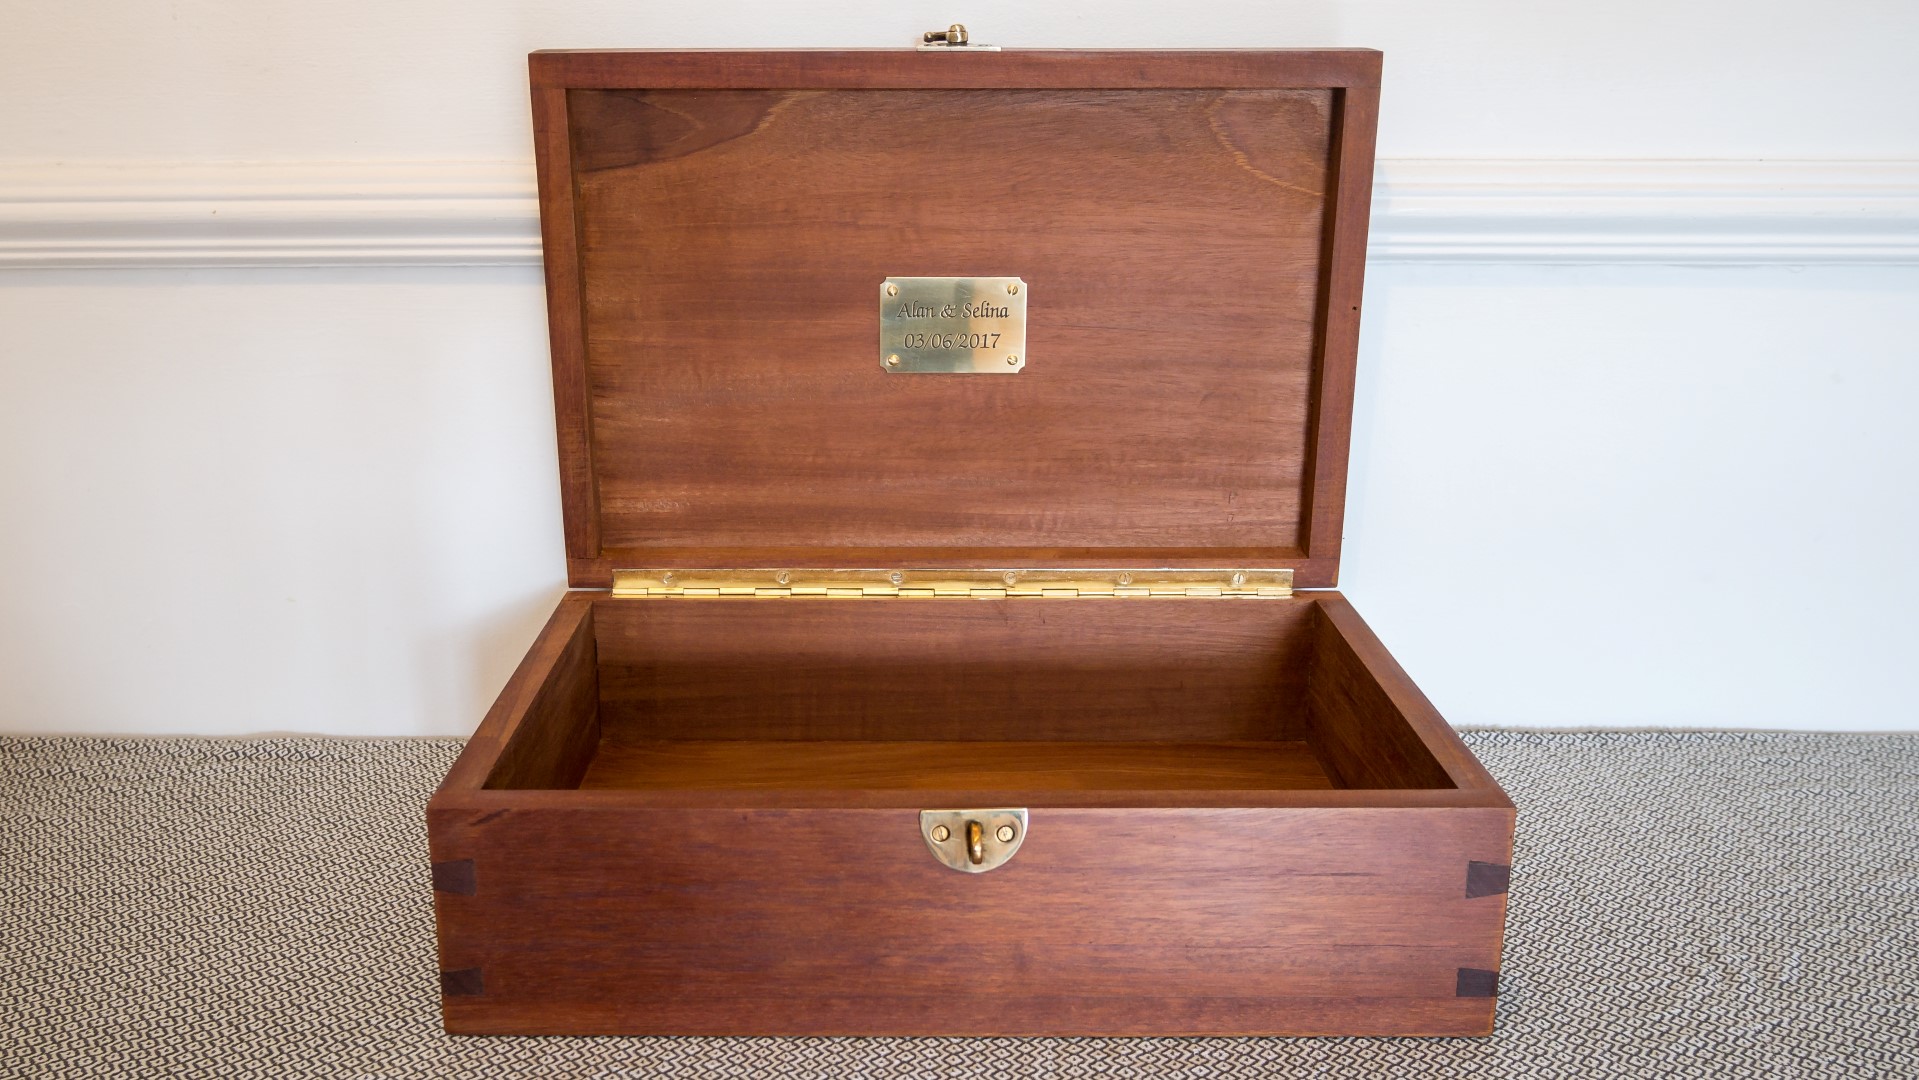
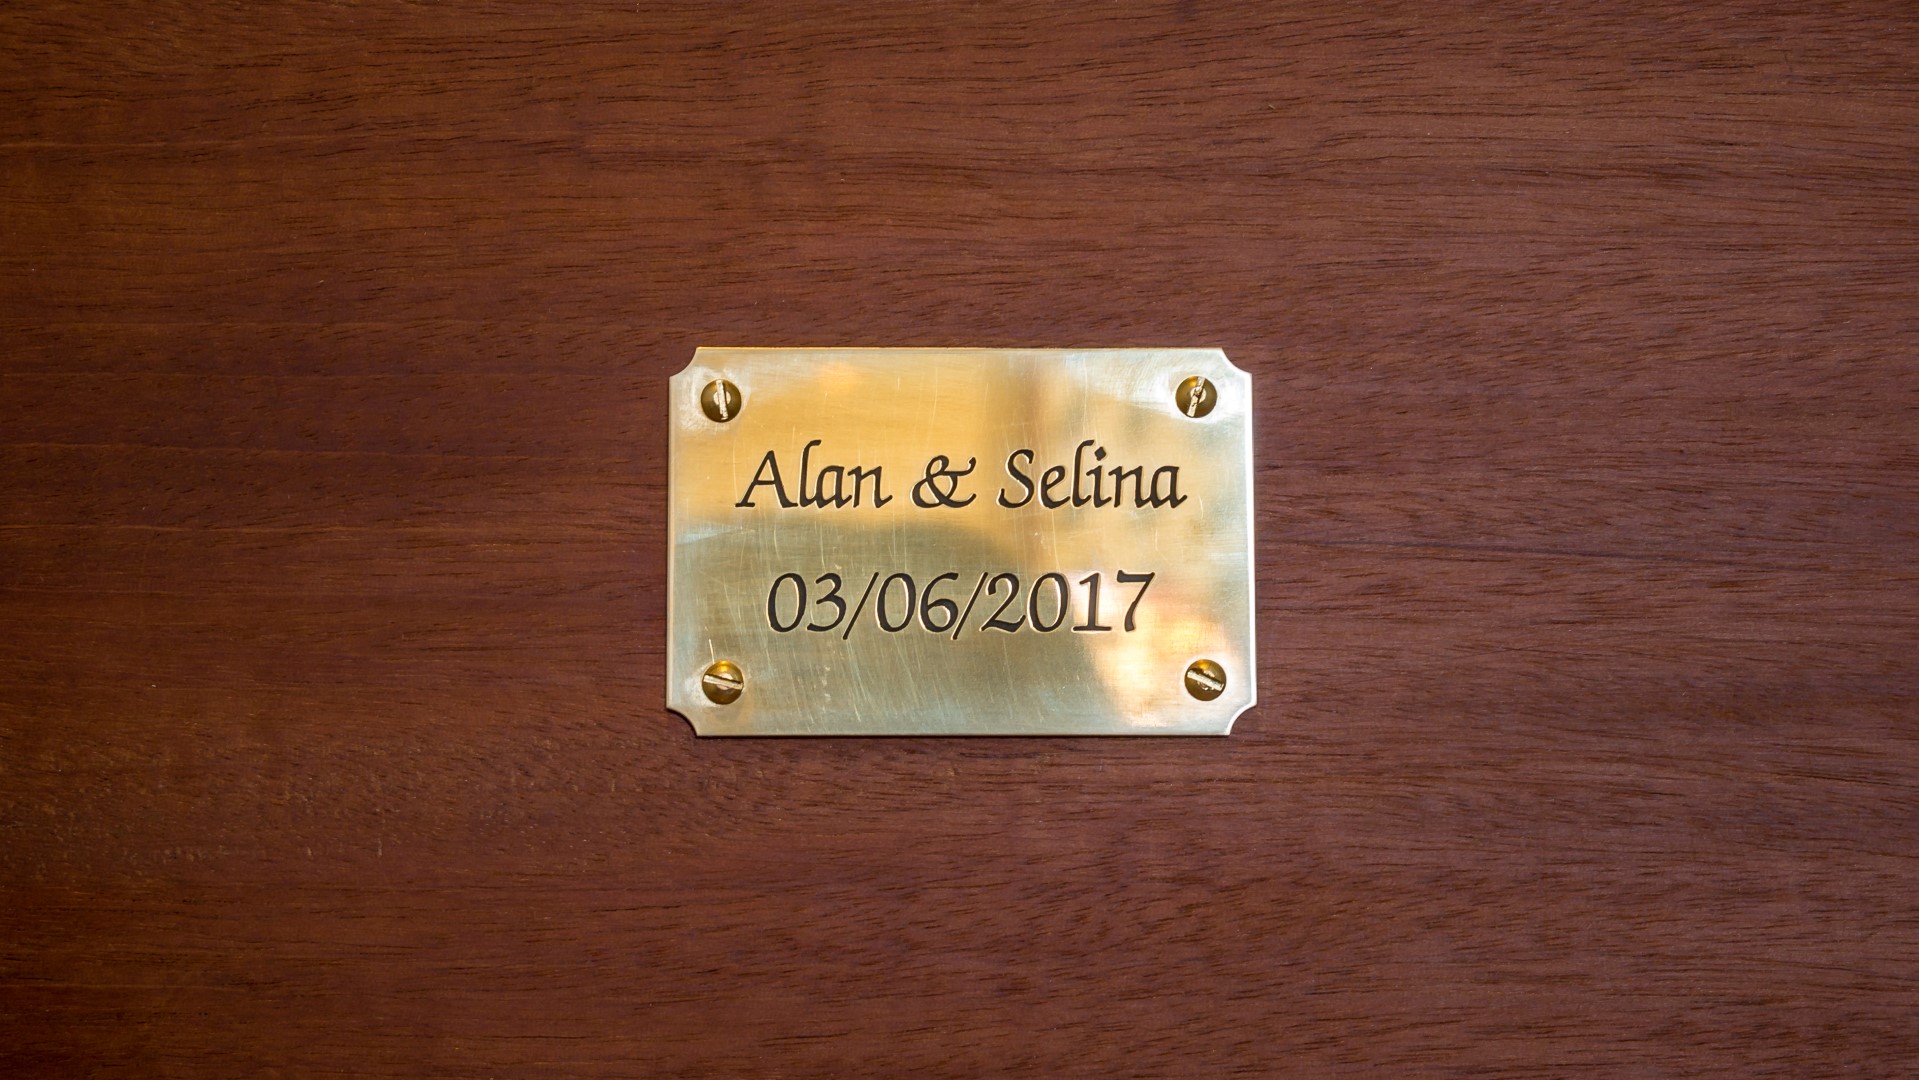
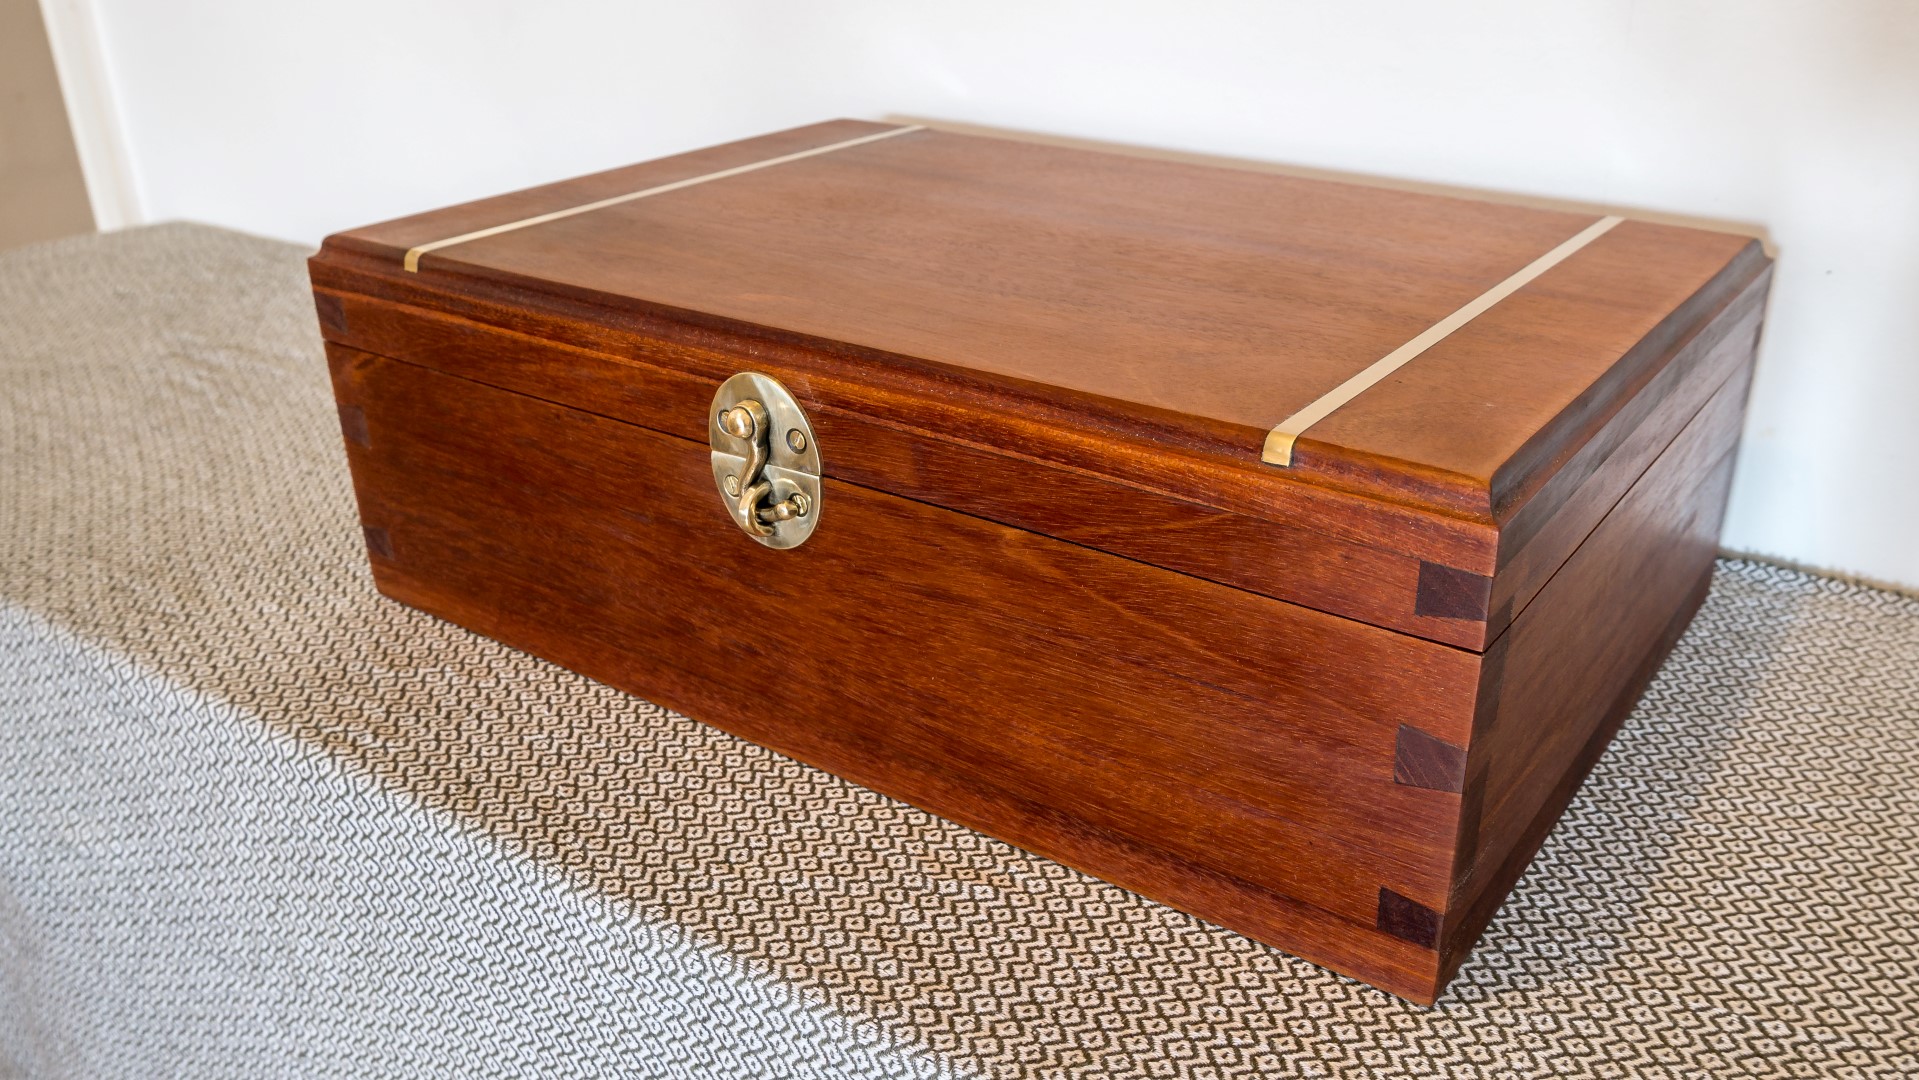
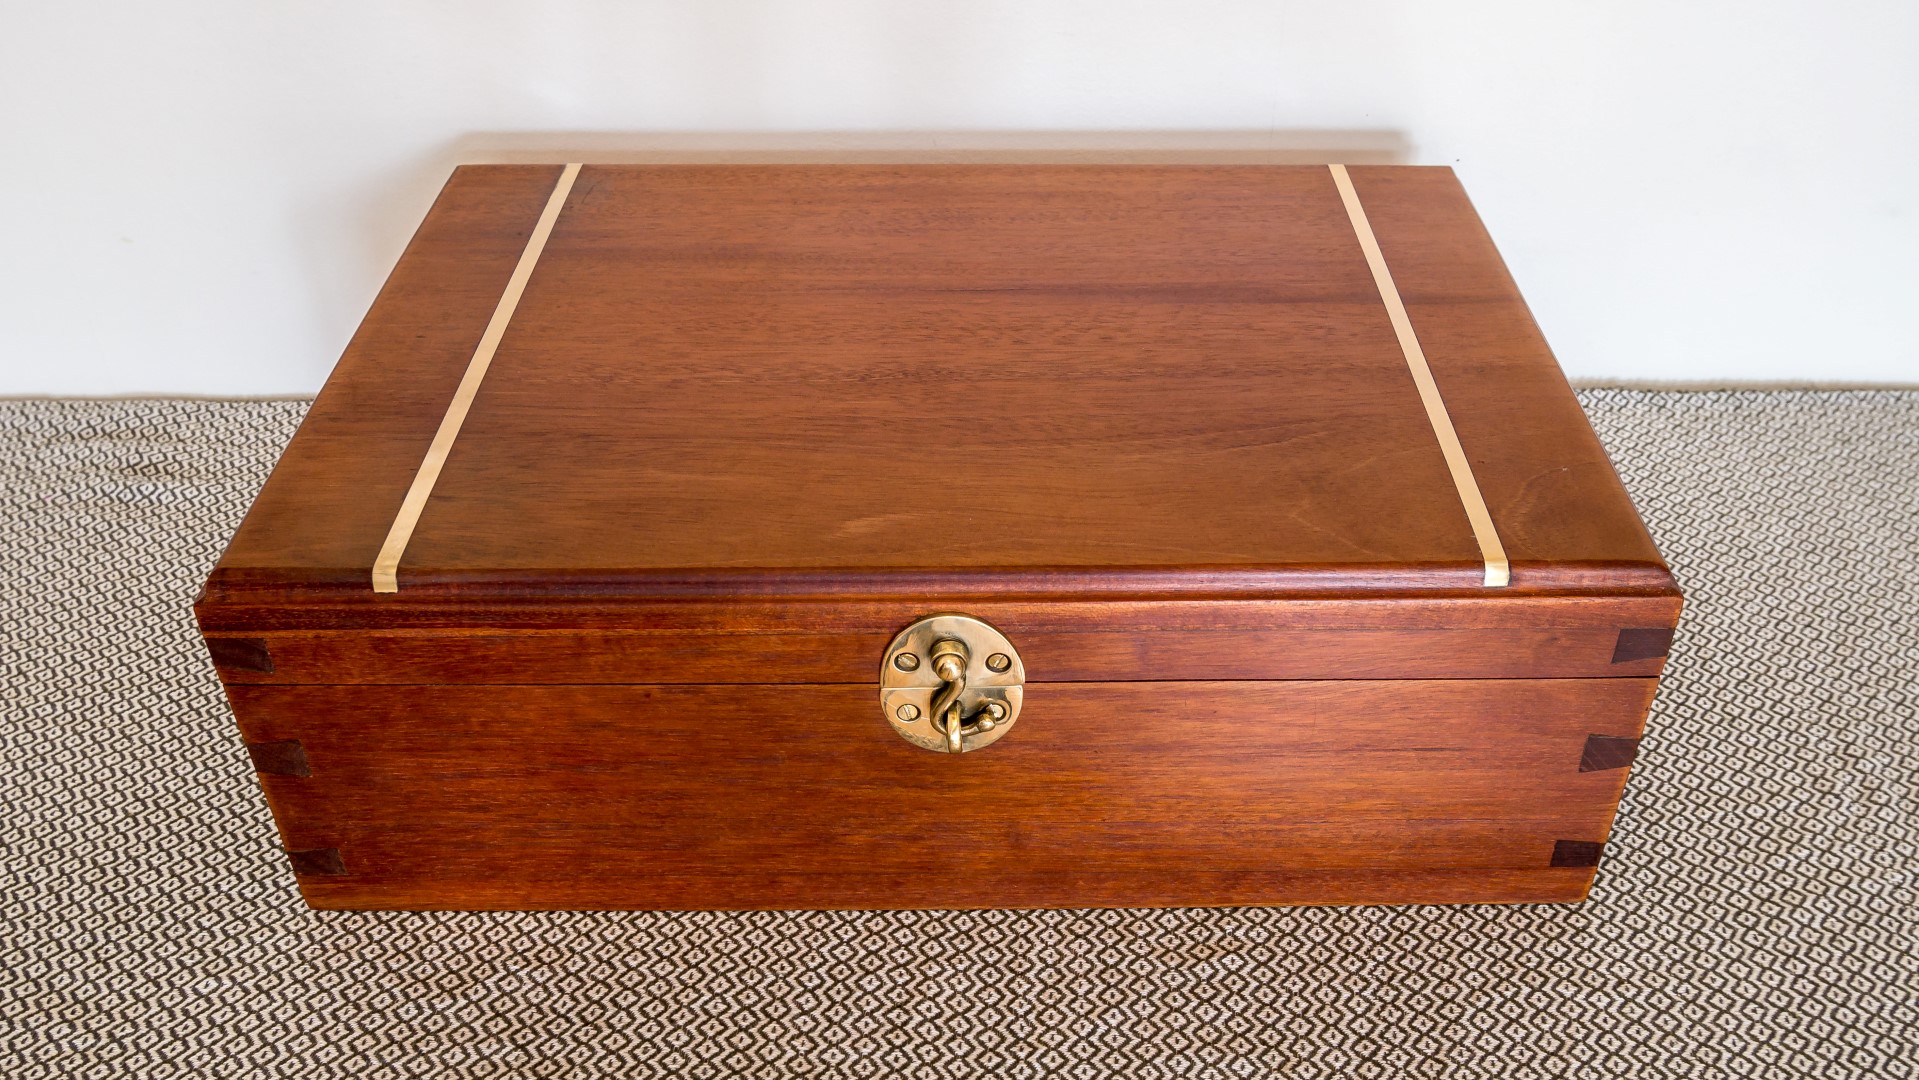
In this video I'm going to be making a box as a gift for my brother and his fiance's wedding. As it's a special occasion I wanted to make something a little special, so this is going to be my first attempt at handcut dovetails.
For materials I'm going to be using some reclaimed mahogany wardrobe panels. Recently a work colleague of mine mentioned he had a couple of solid mahogany panels from an old wardrobe and he asked me if I wanted it for anything. To be honest I was expecting the panels might be plywood with a mahogany veneer applied, but to my surprise, they were indeed solid mahogany panels - and I've been keeping them aside for a special project as I don't come across mahogany very often.
There were a lot of old nails to pull out of the mahogany, mainly in the sides of the panels but there were also a few random ones elsewhere.
With the material de-nailed, I clamped a straight edge to it and used my cicular saw to cut a new clean straight edge. to get rid of some of the old nail holes.
Then I cross cut a piece of the panel in the same way to the size that I wanted the length of the sides of the box to be.
This piece would form the four sides of the box. I first checked that my cuts were square with a framing square and then ripped 4 equal pieces ot the tablesaw.
Next I used the planer to get one of the faces on each board flat, and then thickness planed the opposite face of each board, and at this point I think they were around 19mm thick.
Next I cut the pieces to length at the mitresaw using a stop block to get consistent cuts.
With my four sides of the box cut the next job was to cut the dovetails. I'd never cut doevtails before, by hand or machine. I first watched some instructional videos on YouTube by Paul Sellers. And before I started working with the mahogany I wanted to do a test run on some scrap pieces of pine. I'm really glad I did this as I learned a lot. I also tried a couple of different saws for the cuts to see which worked best. The dovetails didn't turn out brilliant, there were some pretty big gaps. but it didn't really matter as I knew that when I was working on the final piece I would take my time a bit more and concentrate on getting them as good as I possibly could.
I transferred that on to all faces and edges of each board, and then started to lay out the dovetail cuts, marking up the waste material with an X. First I would work on cutting the pins, and then the tails. I took my time with these cuts, continuouslly checking to make sure that my cuts were accurate.
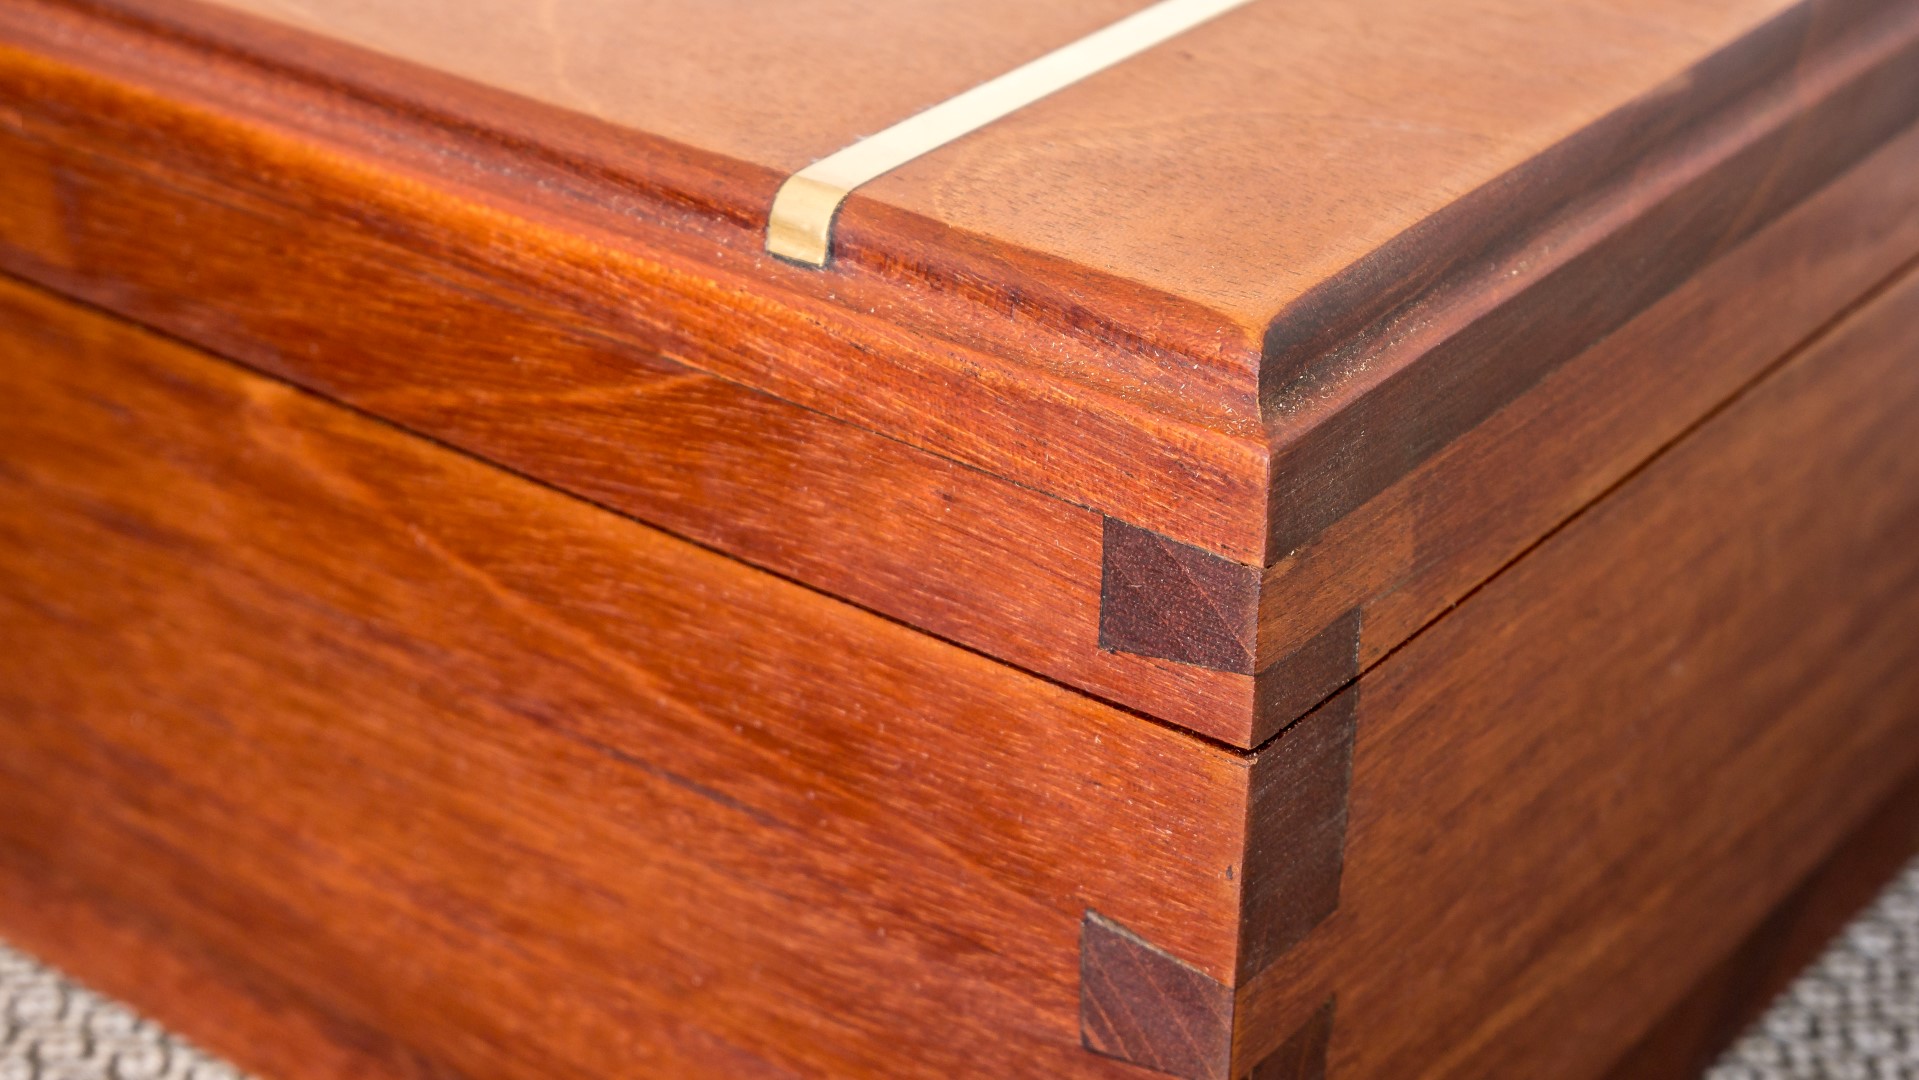
I used a chisel to clean up the joints and could then assemble the four sides of the box
The dovetails turned out pretty good for a first attempt, but I did have some small gaps so I filled those with a glue and sawdust mixture
Images: