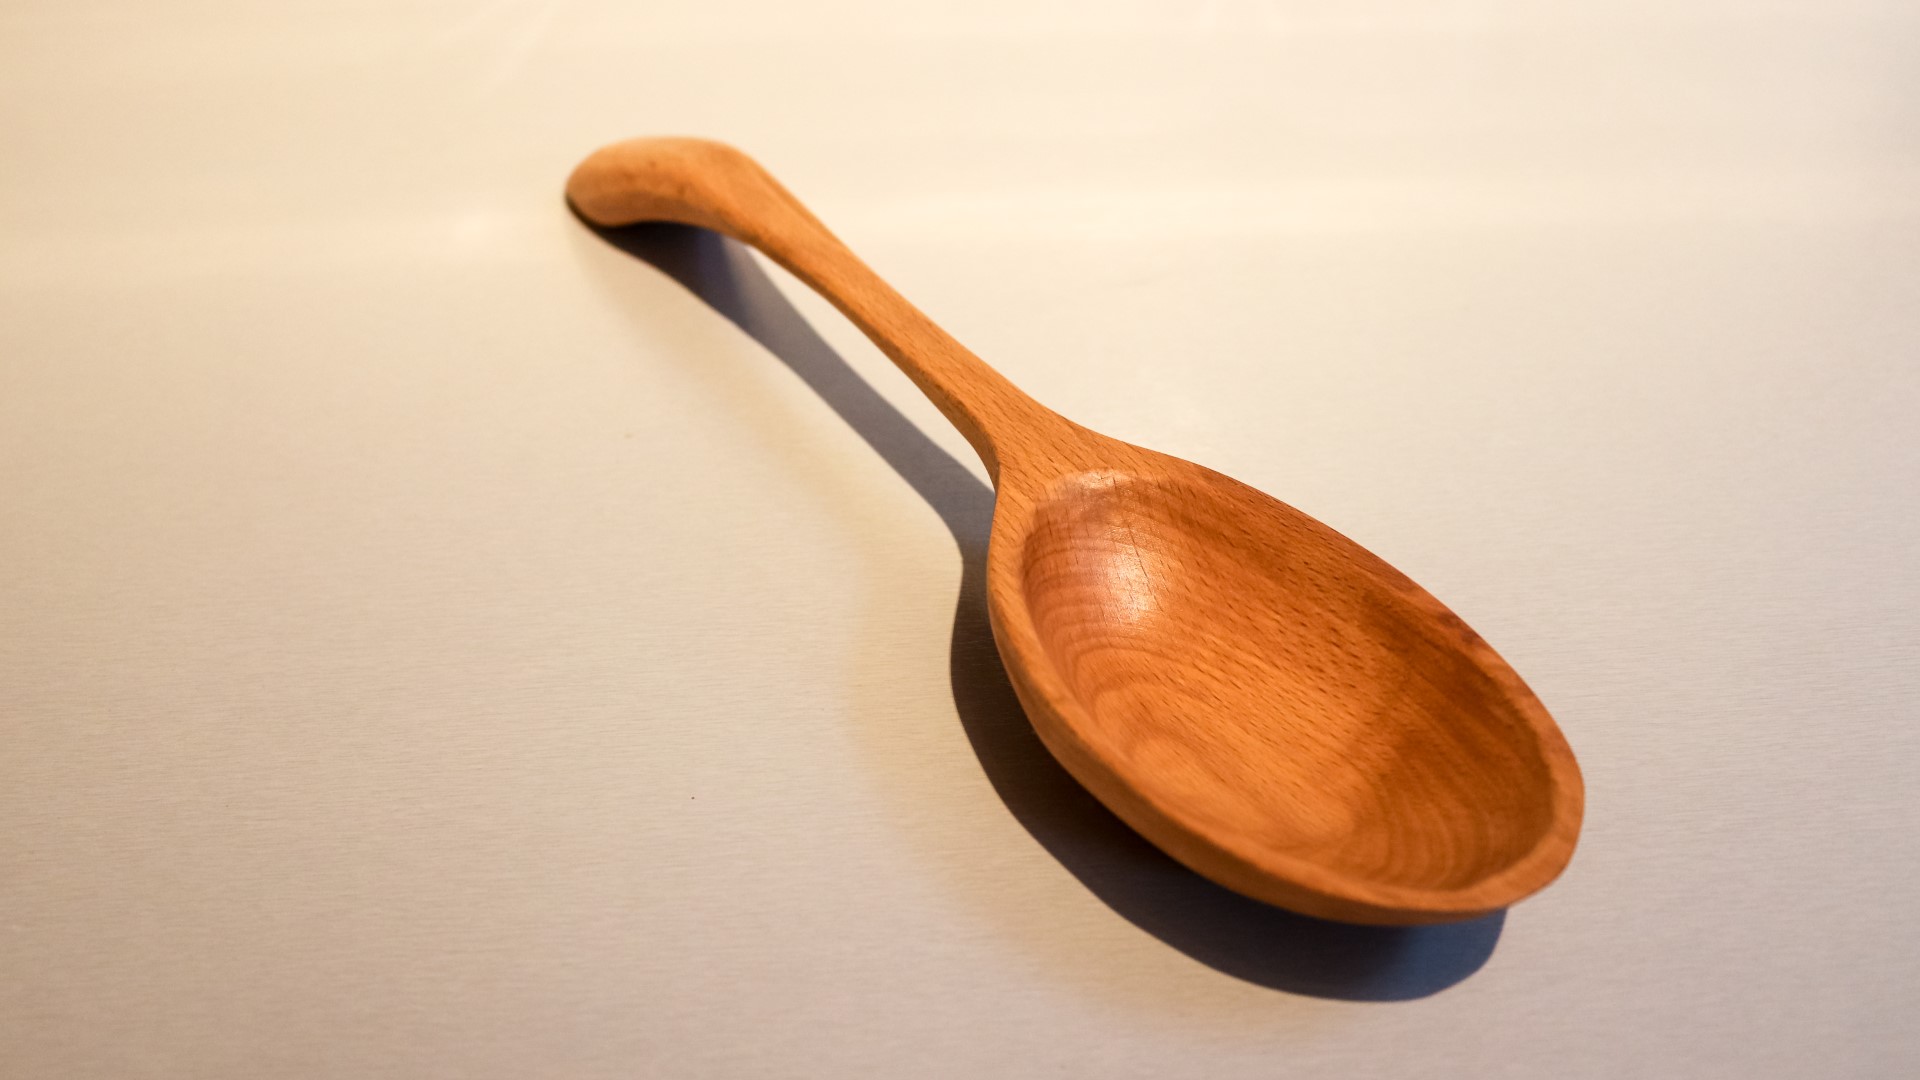
In this video I carve a wooden spoon from a piece of beech using hand tools only - I use a coping saw, chisels, a rasp, a spokeshave a handmade scraper and gouge chisel.
Here are the tools I use for making the scraper:
Narex Burnisher https://amzn.to/2PR9gFd (UK) https://amzn.to/2xtA6vu (US)
Diamond Plates 360/600 https://amzn.to/2PLmfYJ (UK) https://amzn.to/2NnbTSb (US)
As an Amazon Associate I earn from qualifying purchases
First I taped a couple of bits of paper together and created a template for the shape of the spoon.
I marked up a centre line just by eye
And I thought I'd make the spoon as big as I could, so it'll be kind of a serving spoon I guess.
After marking up a shape on to one half, I cut it out with a knife and then I coul flip it over to mirror the shape on the other side.
I marked up a shape for the profile too.
I started cutting the profile first with a coping saw.
This took an awfully long time, and the temptation was to use the bandsaw but I stuck with it until eventually breaking the blade in the coping saw, and it was the only blade I had but I was almost done with the cut I probably had about 20mm left to cut, so I made a relief cut with my japanese pull saw, and then I could knock out the waste with my mallet
And that gave me the space I needed to get in there to cut the remaining part.
I'd use chisels to get rid of the rest of the waste to create the shape of the spoon with the bevel side of the chisel down.
Here you'll see I'm holding the chisel with the bevel up to clear this piece of straight grain and then I swap back to bevel down to shape the handle.
For some of the chisel cuts it was much easier to take away just with the corner of the chisel like I'm doing here, particularly on the end grain cuts.
I did a bit of pairing with the chisel too.
Next I could start shaping the bowl of the spoon so I marked up a shape and I'd use a gouge chisel that I found recently at a car boot sale for 50p which I'd spend some time on sharpening up the bevel.
This was definitely the most enjoyable part of the project. It was great fun watching the spoon start to take shape.
I kept honing the cutting edge on my leather strop, I think I needed to do this twice while I was carving the spoon to keep the edge sharp with a mirror finish so it would cut nice and clean
I cut mostly with the grain but I did a few light cross grain cuts too.
Here I'm making a rounded scraper using some steel from an old handsaw. I shaped it on the grinding stone, and then polished the edge on a 400 grit sanding belt, trying to keep it as close to 90 degrees as possible
Then I polished the faces on 360 and then 600 diamond plates. And I did the same with the edges too.
Then I burnish the face, and then the edges using my burnisher until I can feel a burr on the edge.
I'll leave links to all the tools I used here in the description box.
This scraper worked great. I could have just sanded the bowl, that may have been slightly quicker than making a scraper from scratch, but now I have a round scraper which I can use on future projects and scraping leaves a much smoother finish than sanding, and it's also quicker and more enjoyable too.
Next I use my spokeshave to shape the handle of the spoon
I did a bit of knife carving at the end of the handle.
To rough out the shape of the back of the bowl of the spoon my first thought was to use the handplane, but that was going quite slow so I switched to a rasp, and that worked much quicker.
And once I had the shape roughed out I could use the spokeshave to clean up the cuts and get a nice smooth finish.
I did some sanding next at 100 grit
That was all the shaping done
For finish I'd use some of this mineral oil which is a food safe oil.
I applied one coat, and then kept re-coated maybe once or twice until the oil stopped soaking in.
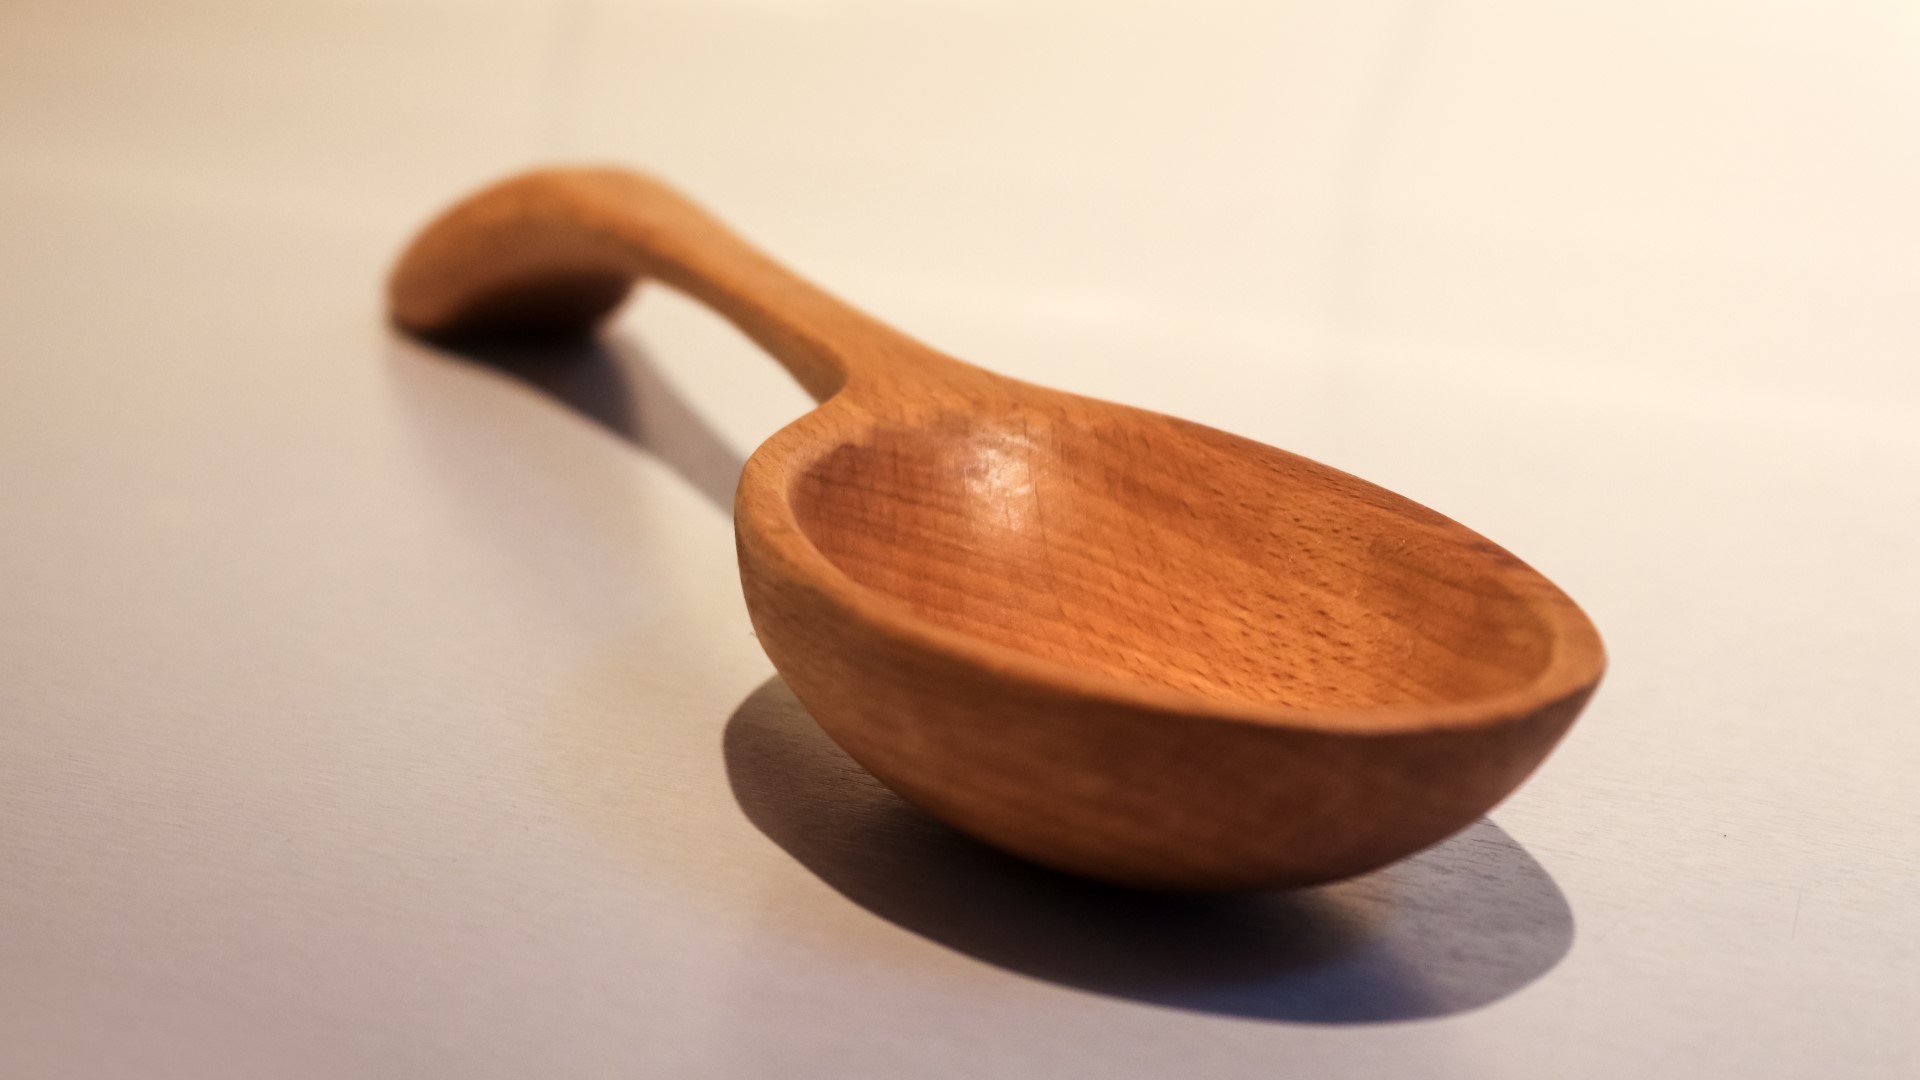
And then I used some of my home made food safe oil wax, this is a blend of mineral oil and natural beeswax and this gave the spoon a nice smooth finish and a nice natural shine too. This is available for sale on my Etsy store if you're interested, there's also an original blend which is best for projects that aren't in contact with food.
I rubbed in the wax, and then immediately rubbed off any excess and buffed it out, and it looked great.
Images: