Recently I salvaged some metal coffee table legs - these were being thrown away as part of an office clearance at my place of work, and originally they had melamine tops which were really badly worn and damaged after years of use, and I knew I could make use of the metal legs, so I asked for the metal legs to be put aside for me. I think I took about 6 or 7 pairs of these in total.
And in this video I'm going to make a solid wood table top for one of the pairs of legs and I'm also going to grind off the paint from the metal legs which you'll see later in the project.
The wood I'm going to be using for this project came from some solid beech dining table legs that I found by some bins. The dining table top was with the legs but it was a veneered board and it was in really bad shape so I left that and picked up the legs only.
First I removed the bolts from the legs which were screwed in to some threaded inserts at the top of each leg.
I always keep old salvaged bolts, washers and nuts, because you enver know when they'll come in useful.
The table legs had a round over on each corner so I ripped those off at the tablesaw. I made this cut in two passes to take it easier on the saw blade as this wood is quite hard and dense.
Now that I had one good flat and straight edge, I wanted to get two pieces from each of the 4 legs to give me 8 beech pieces in total, so I measured up to figure out what thickness I could get out of them and ripped them at the tablesaw. The pieces were about 25mm thick.
I had to be careful here not to cut through the threaded inserts because that would damage my tablesaw blade.
Originally I was thinking about ways I could keep the original length but I realised there'd be no way to easily hide where the bolts were other than adding a trim to the table top which I didn't really want to do on this one so I decided to just cut the ends off at the mitre saw instead.
And then with the fence still set on my tablesaw I could finish off the cuts.
These offcuts from where I cut off the roundovers will be useful in future projects for things like making trim pieces, so I taped them together and stashed them in my offcuts bin.
I then cleaned up the edges of each of the beech pieces at the tablesaw just by trimming off a small amount.
The table legs measured 600mm so that is the size I needed for the table top.
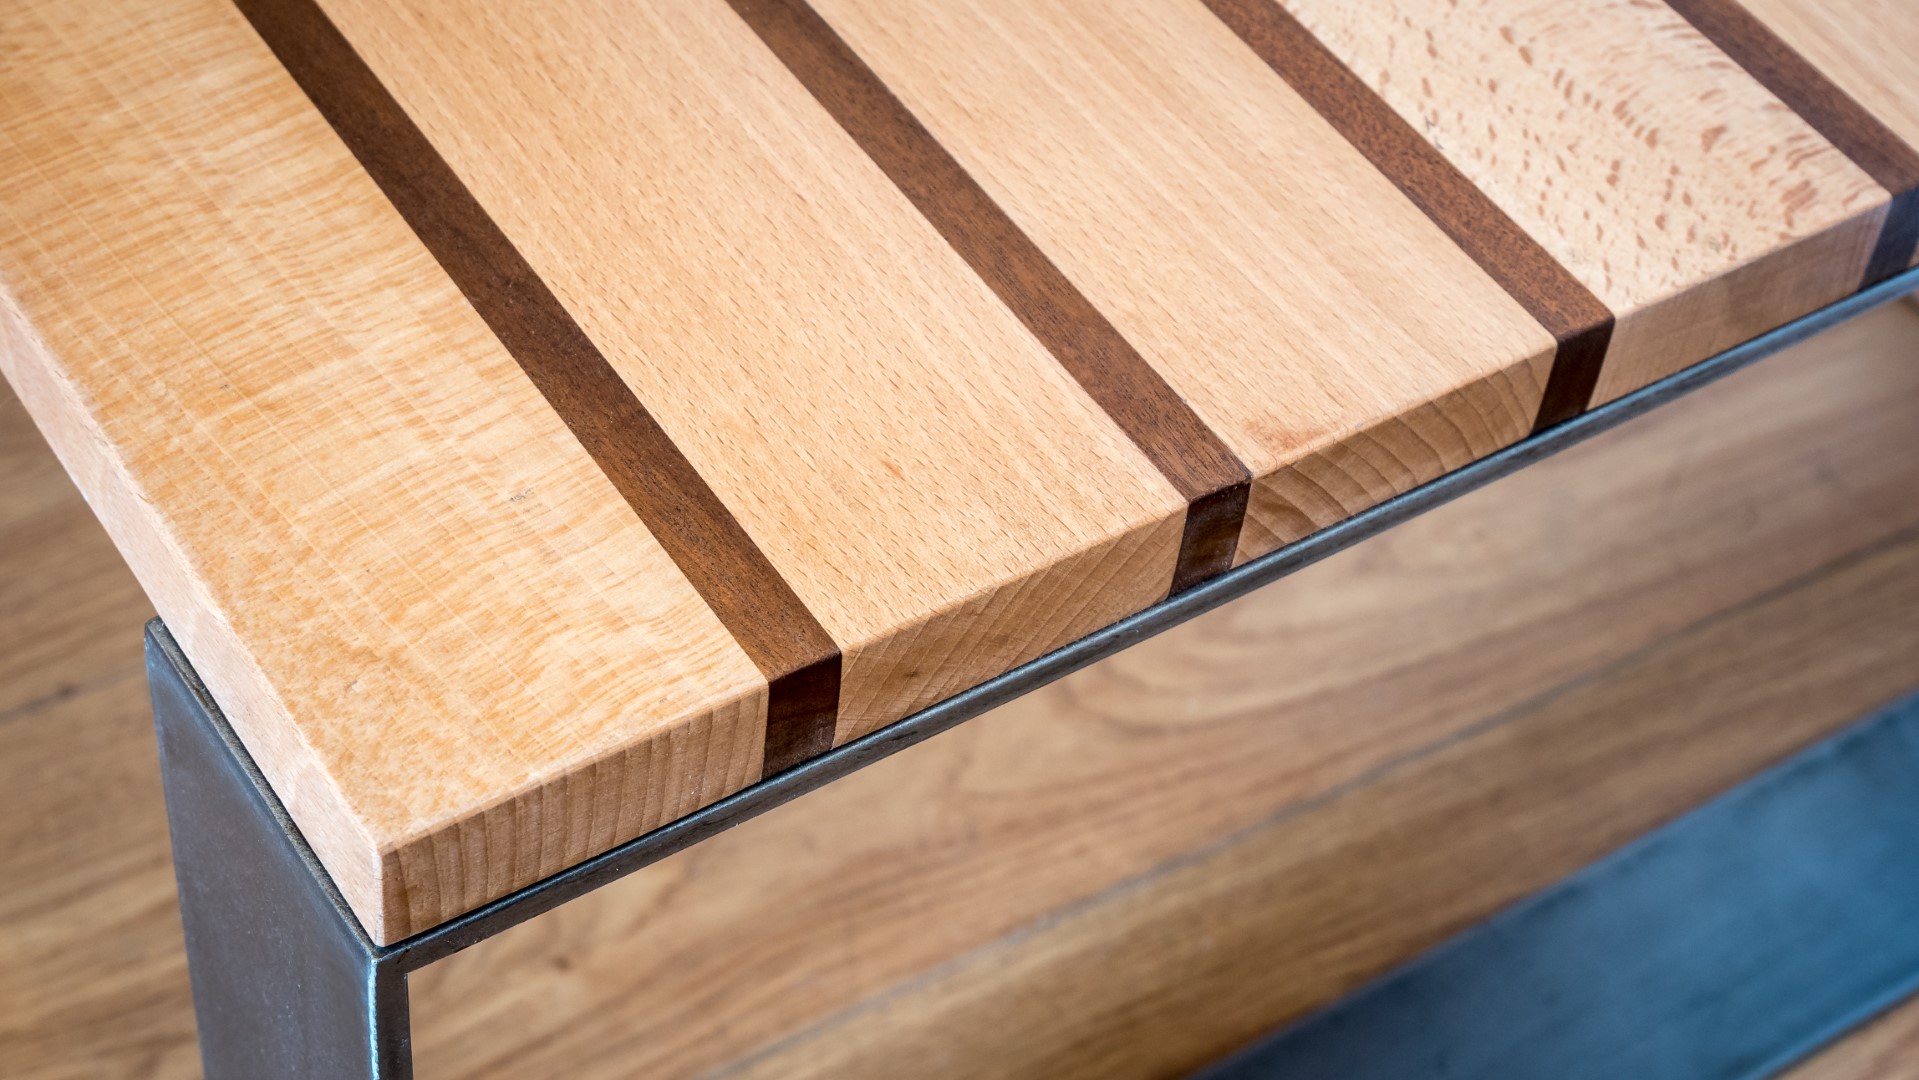
And with all of the beech pieces cut to size I measured the combined width of the beech pieces at 510mm which meant I needed to make up the difference of 90mm, which I wanted to use a contrasting dark wood for.
So I did a quick calculation - 90mm divided by 7 which would be the quantity of dark wood pieces I needed in between the beech. And that gave me a measurement of just under 13mm - so that was the width I needed to cut the dark wood to.
I had some sapele I could use for this. I pulled out a couple of pieces that I could use to get the right thickness and width and then ripped them to size at the tablesaw.
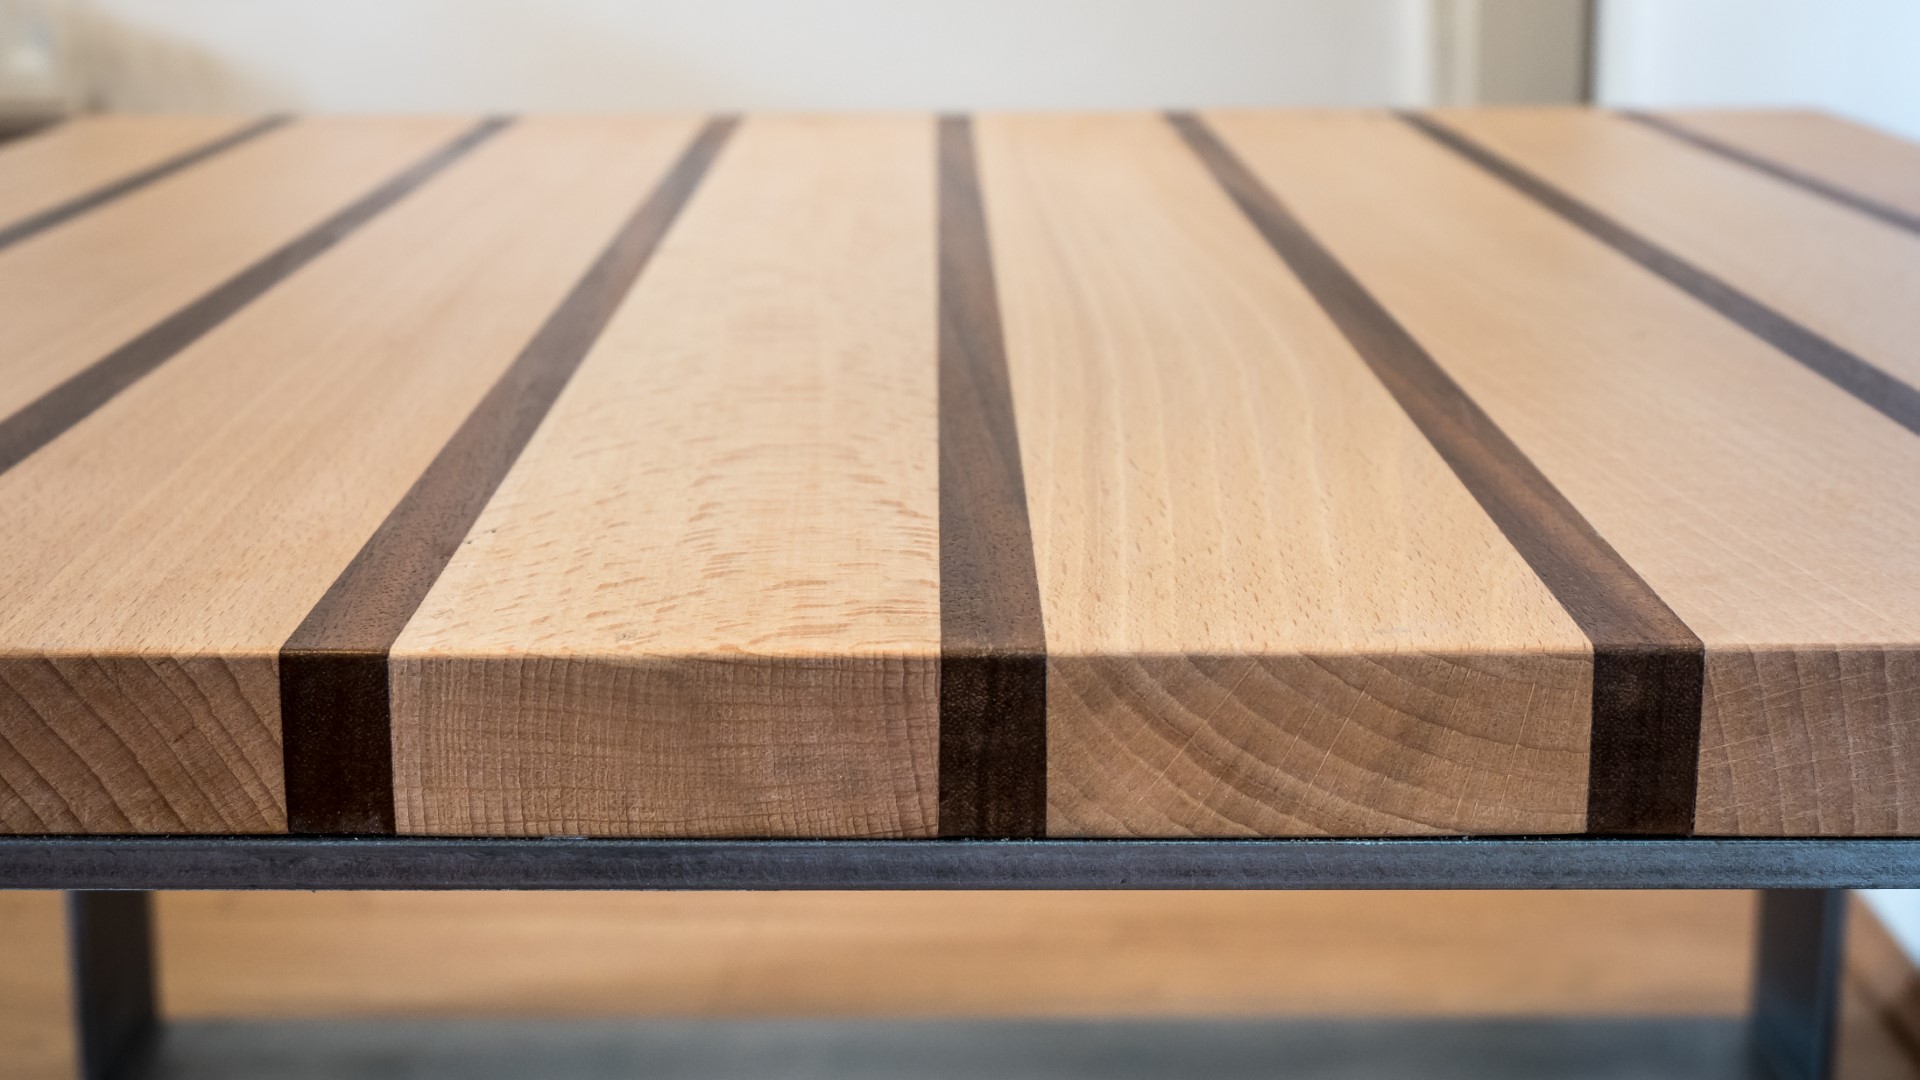
So here is how the tabletop would go together with alternating pieces of beech and sapele, and with all of the pieces placed together, here you can see that I now have the 600mm I wanted for the table top.
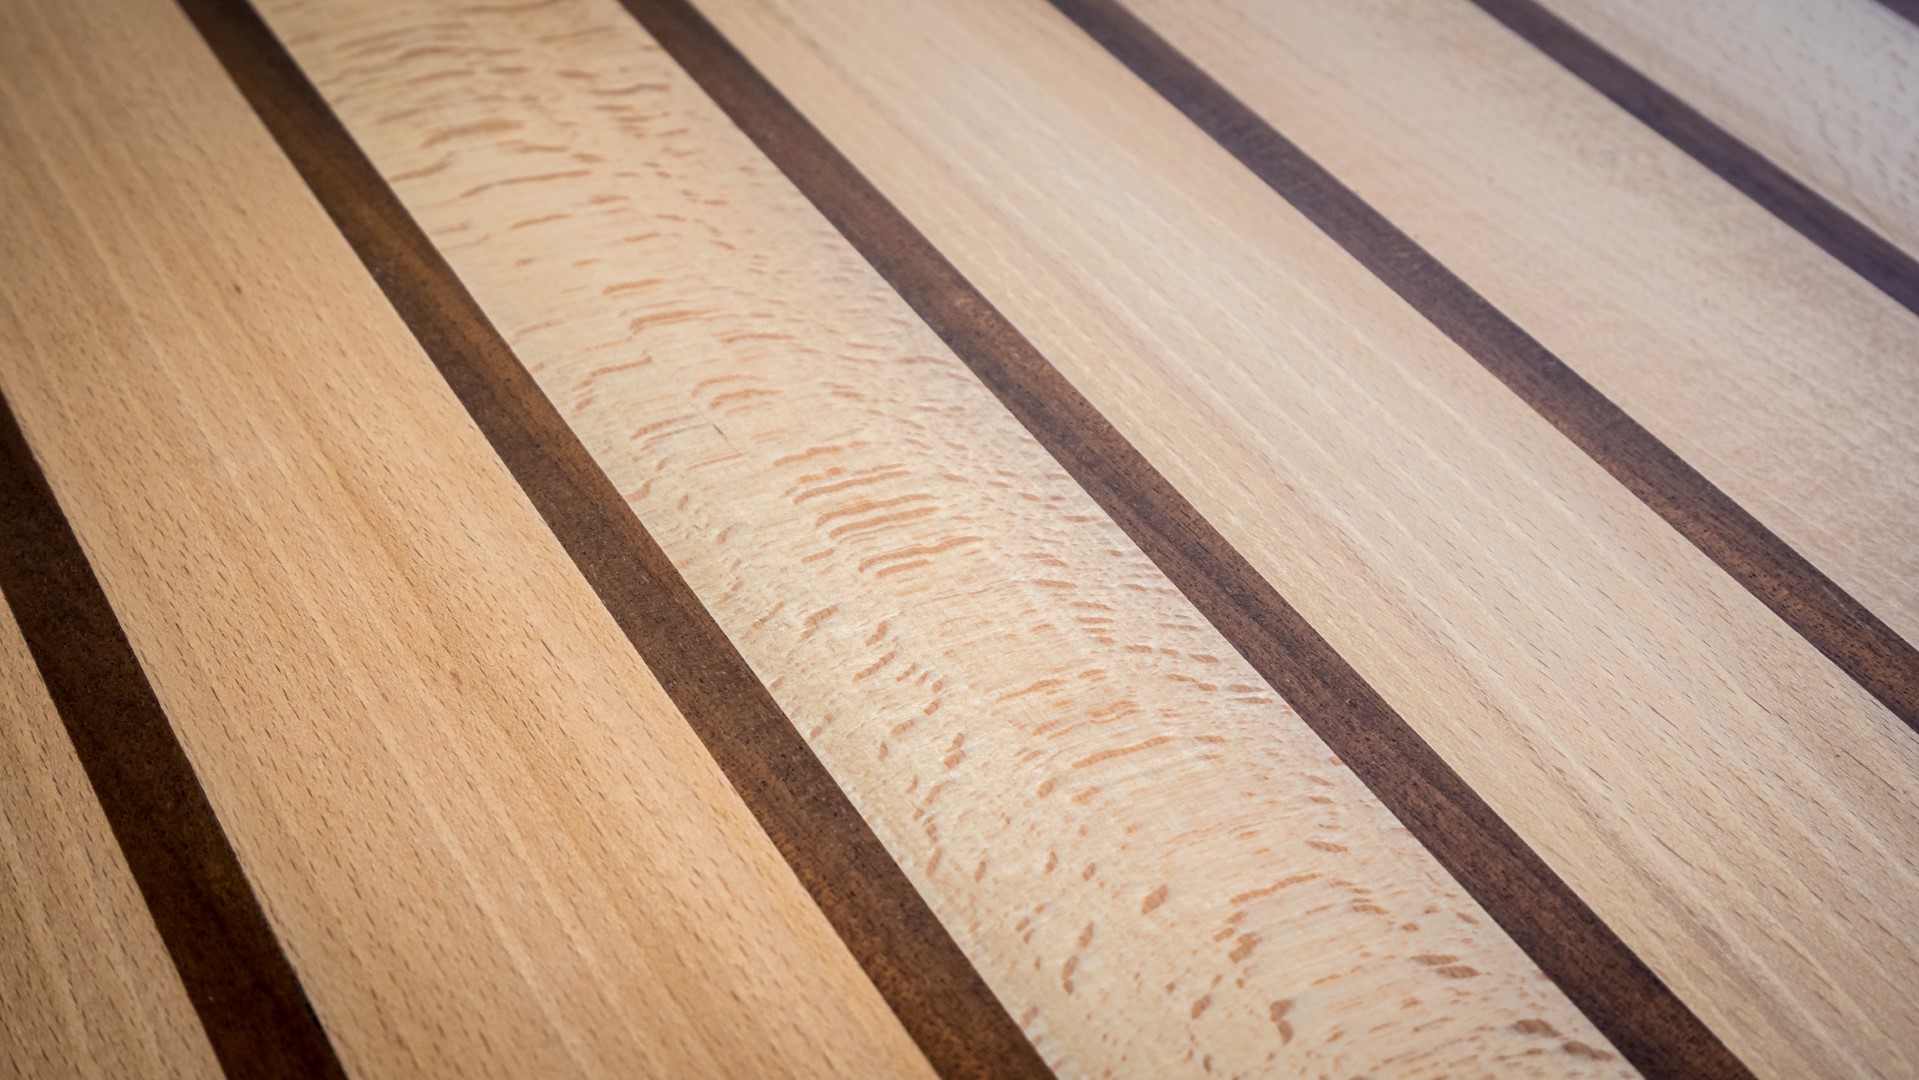
Some of the beech had really nice fiigured grain, so I moved a few of them around to get a grain pattern placement that I was happy with.
Then I could start to glue up the pieces in to panels.
And I did the glue up in three panels initially, mainly because I wanted to run the panels through the thickness planer later and my planer can only handle panels of 260mm in width so I kept all three panels under that width.
Here I'm using my mallet just to get the pieces level while applying clamping pressure.
And then I left them for a few hours and while waiting for the glue to dry I started working on the metal legs.
I first removed these floating top spacers.
And I wanted to get rid of the silver paint from the legs for two reasons. I did this mainly because I didn't like the silver paint look, but also because the paint was pretty worn.
For this I used a wire wheel in my angle grinder.
It took a couple of hours and a fair bit of effort to get all the paint off both legs and by that point I could take the clamps off the panels for the tabletop.
I used my card scraper to get rid of any glue squeeze out.
I also used my hand plane to flatten one face of each panel. And whenever I do this I usually get asked why I'm not just using the electric planer for this and there's a few reasons.
Firstly I didn't want to remove too much more thickness from the panels, and using the handplane gives me more control of how much material is removed. Secondly, I don't have my planer set up permanently due to a lack of spcae in my small shop and setting up the planer takes a while and often it's quicker just to grab a hand plane and do it by hand. And thirdly I think I just prefer doing it by hand, I find using a handplane much more enjoyable and it really doesn't take long at all, if anything it's probably a little bit quicker for me to do it this way.
Then with the flattened face placed down, I clean up the opposite faces by putting each panel through the thicknesser, taking shallow passes, trying to get a consistent thickness without taking away too much material.
I could then glue up the three panels to form the tabletop.
I added clamps from above and below to try to keep the tabletop from bowing, but when I looked underneath I could see that there was a small gap in the centre, probably around 5mm.
But that was an easy fix, I just clamped down a scrap piece of wood to each side to straighten it up while the glue set.
Once that was dry, I made some final refinements with my handplane to make sure that all the pieces were flush with one another and that the tabletop was straight and I used a steel ruler to check for flatness.
The planer had left some grain tearout in some of the more figured pieces of beech, so I used my card scraper to clean that up where it was needed.
And then I did some sanding at 120 grit. I also sanded the metal legs, and that really cleaned them up nicely and gave the metal more of a shiny finish.
I could then trim the edges flush using my panel sled at the tablesaw. After cutting the first side, I measured and marked up 600mm and cut the opposite side.
Originally I was going to use the floating top fittings to attach the tabletop to the legs. There were three components, a metal plate that attaches to the tabletop, a threaded spacer that attaches to the legs, and a bolt from underneath to secure the spacer to the top plate.
With the parts fitted, I first applied some hot glue to the plates, and then I could position the table top where I wanted it. After a few seconds when the glue had set, I could remove the tabletop and secure the plates more permanently with screws.
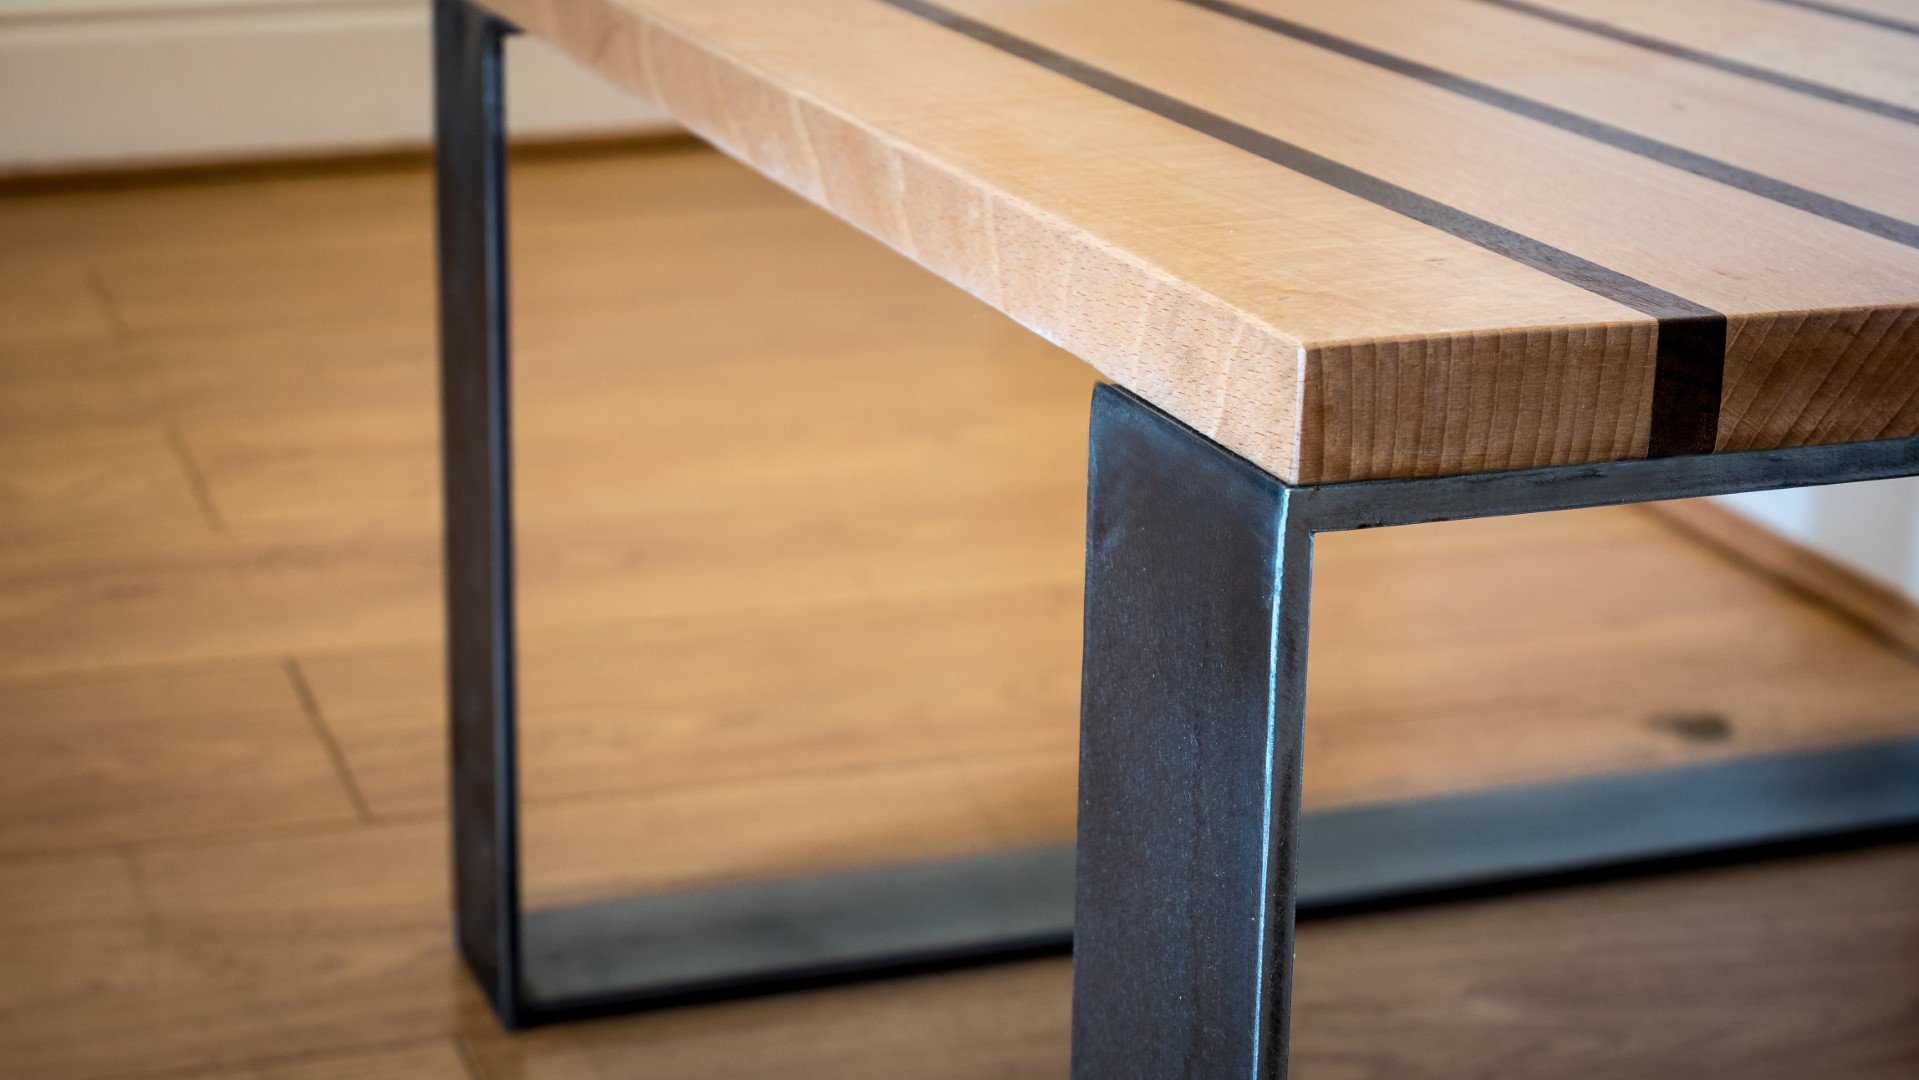
Then you can see here that it's just a case of dropping the top in place and adding the bolts to fasten everything down. And these are allen key bolts.
I then sanded the end grain edges of the table top, and I brok over the sharp edges too to soften them.
At this point in the project, after giving it some more thought, I decided that using the floating top style spacer mounts wasn't the best idea, for a couple of reasons - firstly and most importantly, they wouldn't allow the solid wood top to expand and contract with seasonal changes, which could result in the wood splitting or cracking over time. And secondly, I didn't really like the way they looked. So instead, I decided to mount the top durectly to the legs. I drilled pilot holes through the top of the legs, and then widened them with a step bit. These holes were drilled to about 20mm wide which I figured should allow the wood to expand and contract as necessary.
So I removed the floating fittings from the table top.
Before fitting the legs I first applied a rough coat of finish to the underside of the top.
And then using some large washers and some 25mm screws I could secure the top directly to the legs.
I did some final sanding by hand to the tabletop at 240 grit.
And then I applied a first coat of spray varnish, starting with the edges and then the top.
This brought out the grain really nicely. Sometimes I apply oil first before spray varnish to pop the grain more, but I didn't here because I wanted the beech to be light in colour, and oil tends to yellow and darken the colour of beech quite a lot which I didn't want for this table.
The grain looked great.
When the first coat was dry I sprayed on some water and did some wet sanding at 400 grit to de-nib the finish and keep it smooth.
And then I wiped away the dust with a cloth and applied a second coat. I later wet sanded again and applied a third coat too.
To seal and protect the metal from rusting, I used some of my home made oil wax. And by the way, this is avaiable to buy on my Etsy store. This made the metal look really nice and made it really smooth. And I wiped away any excess with another cloth.
Finally I applied my makers mark to the underside of the table top.
And that was it done.
Images: