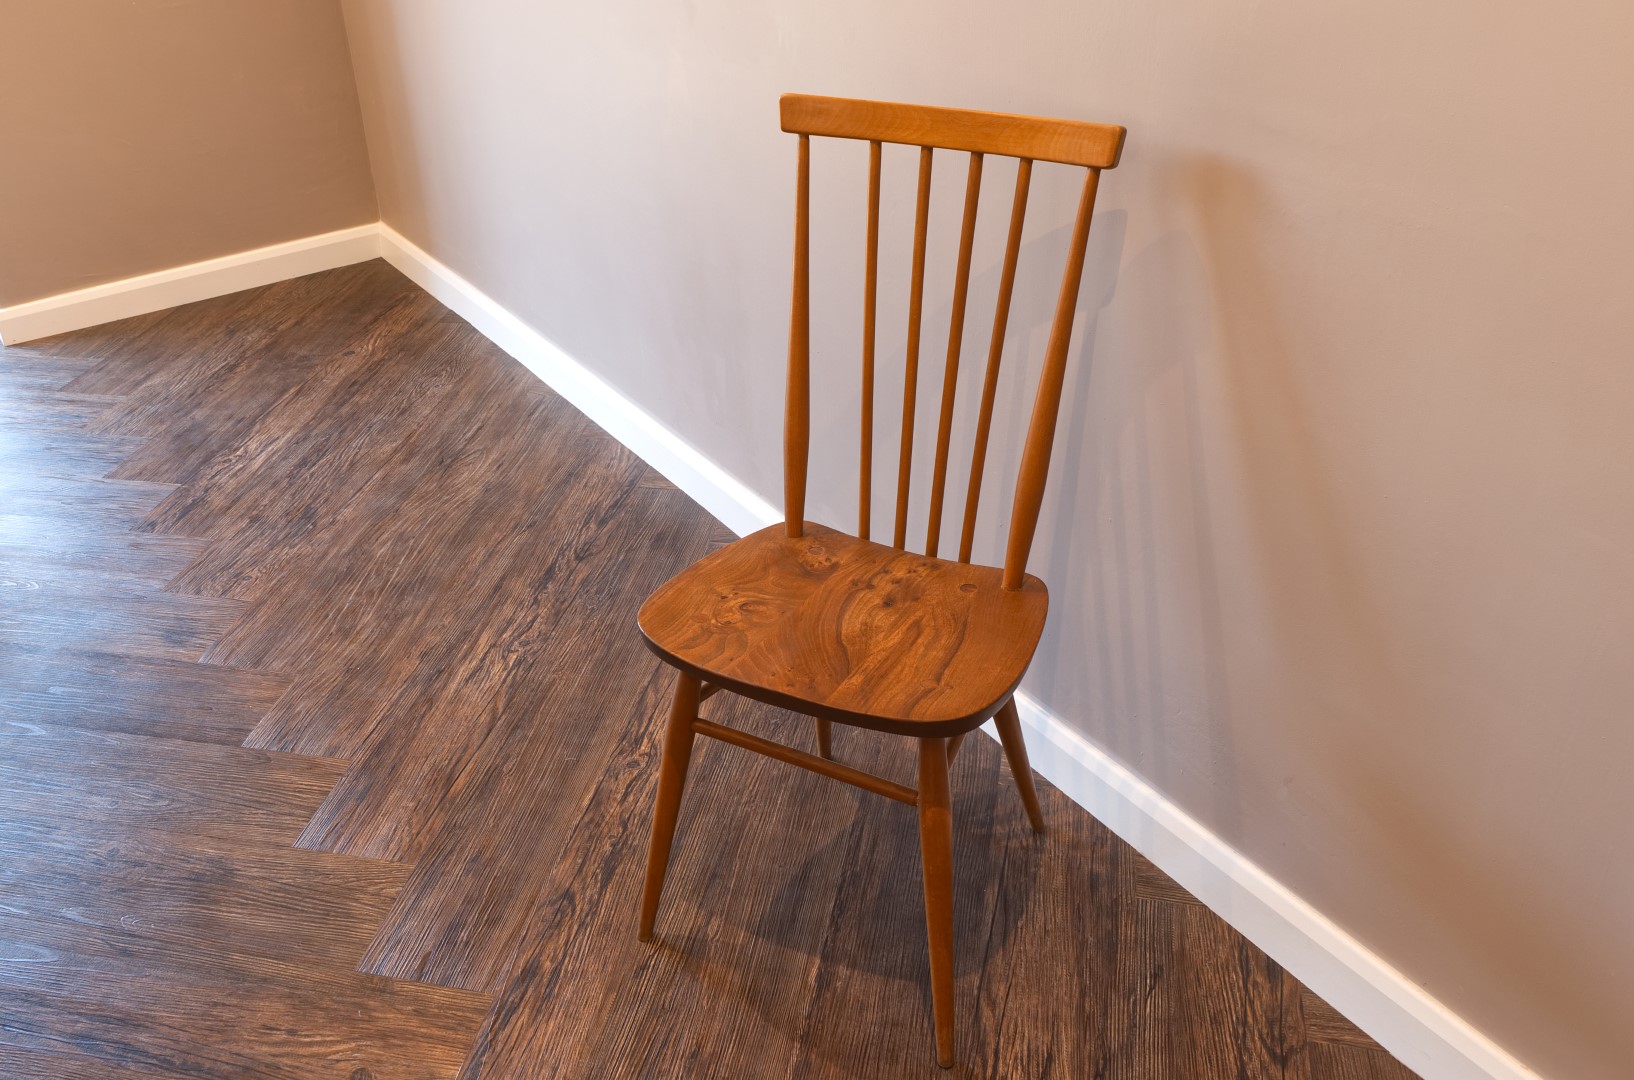
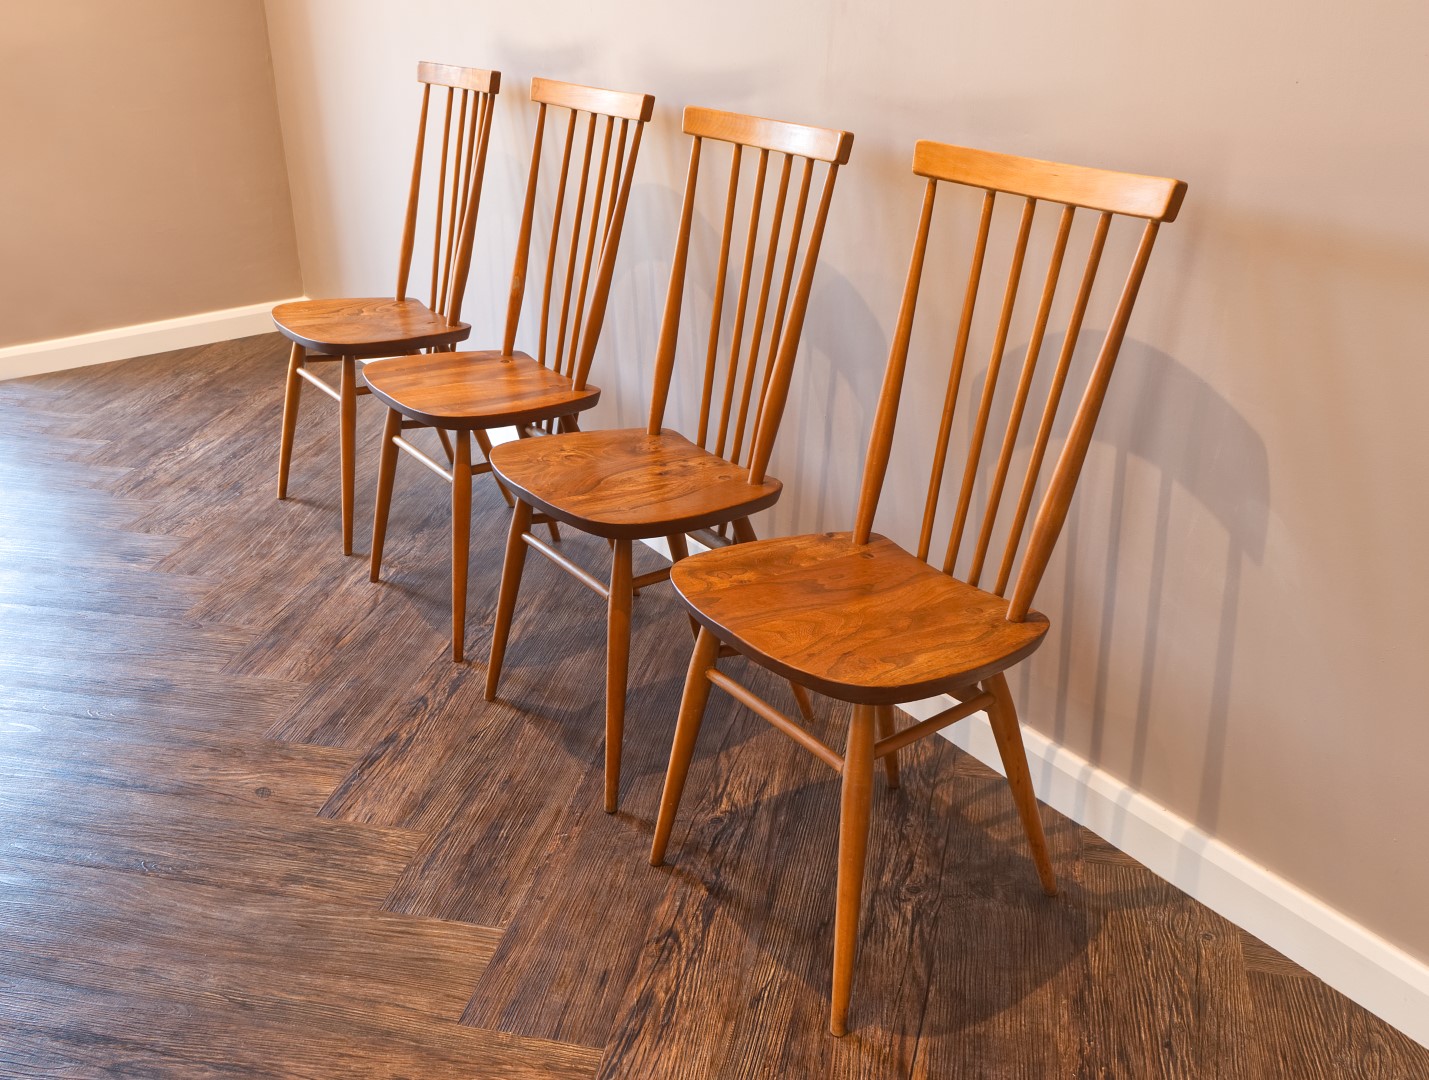
In this video I'll be repairing and restoring a set of mid century modern Ercol Windsor 608 or 684 dining chairs made in 1960 on behalf of a client. This is a furniture repair and restoration video.
The main problems with the chairs were loose glue joints in both the spindles that support the backrest, and in the chair frames that support the seat pad. In addition to that, the finish on the chairs was badly worn and needed rejuvenating.
During the project I accidentally broke one of the spindles as I was dismantling one of the chairs, and that made for an interesting repair challenge which features later in the video.
I began by dismantling the chairs, then I needed to scrape off any old glue before adding new glue and re-assembling the chairs.
The glue I used: https://amzn.to/34iRxyE (Amazon UK)
In this video I'll be working on a set of 4 dining chairs, these were made by Ercol, I believe they are Windsor model 684 and the bottom of the chairs show the a date of 1960.
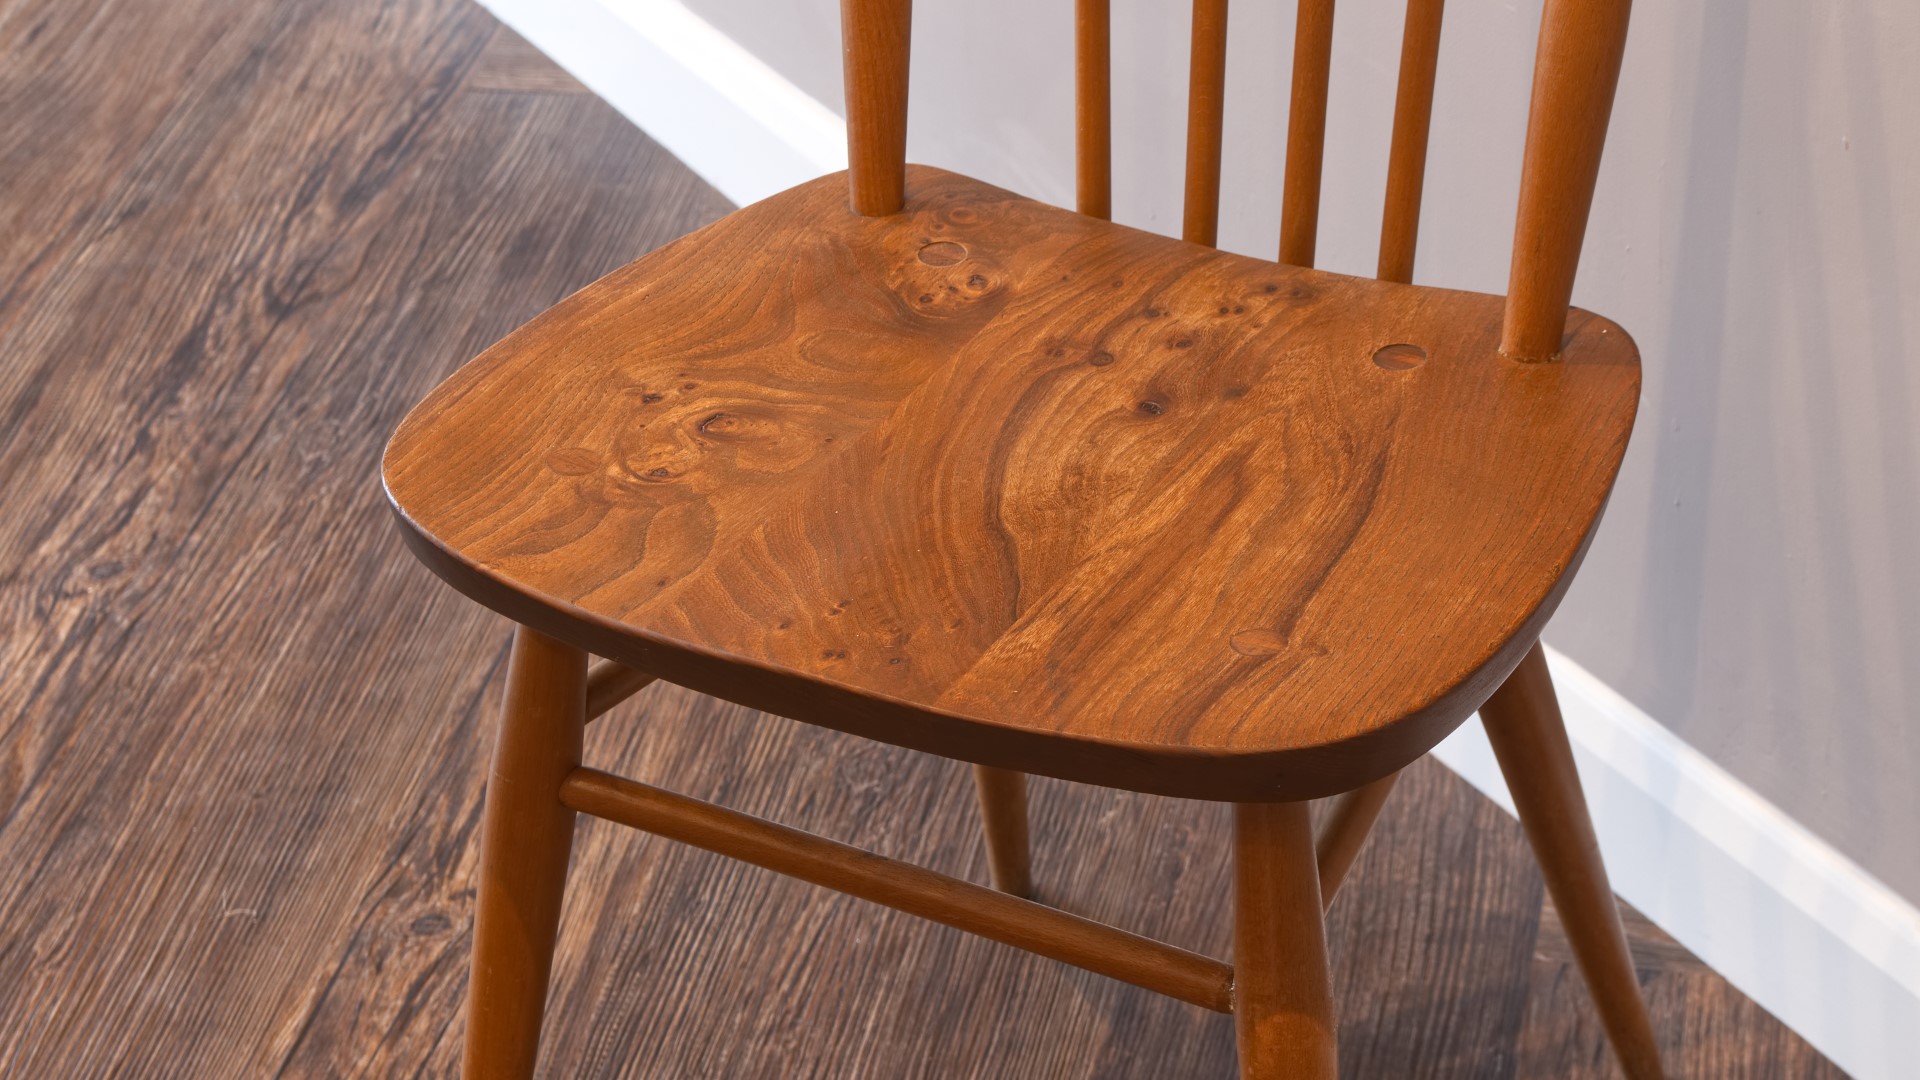
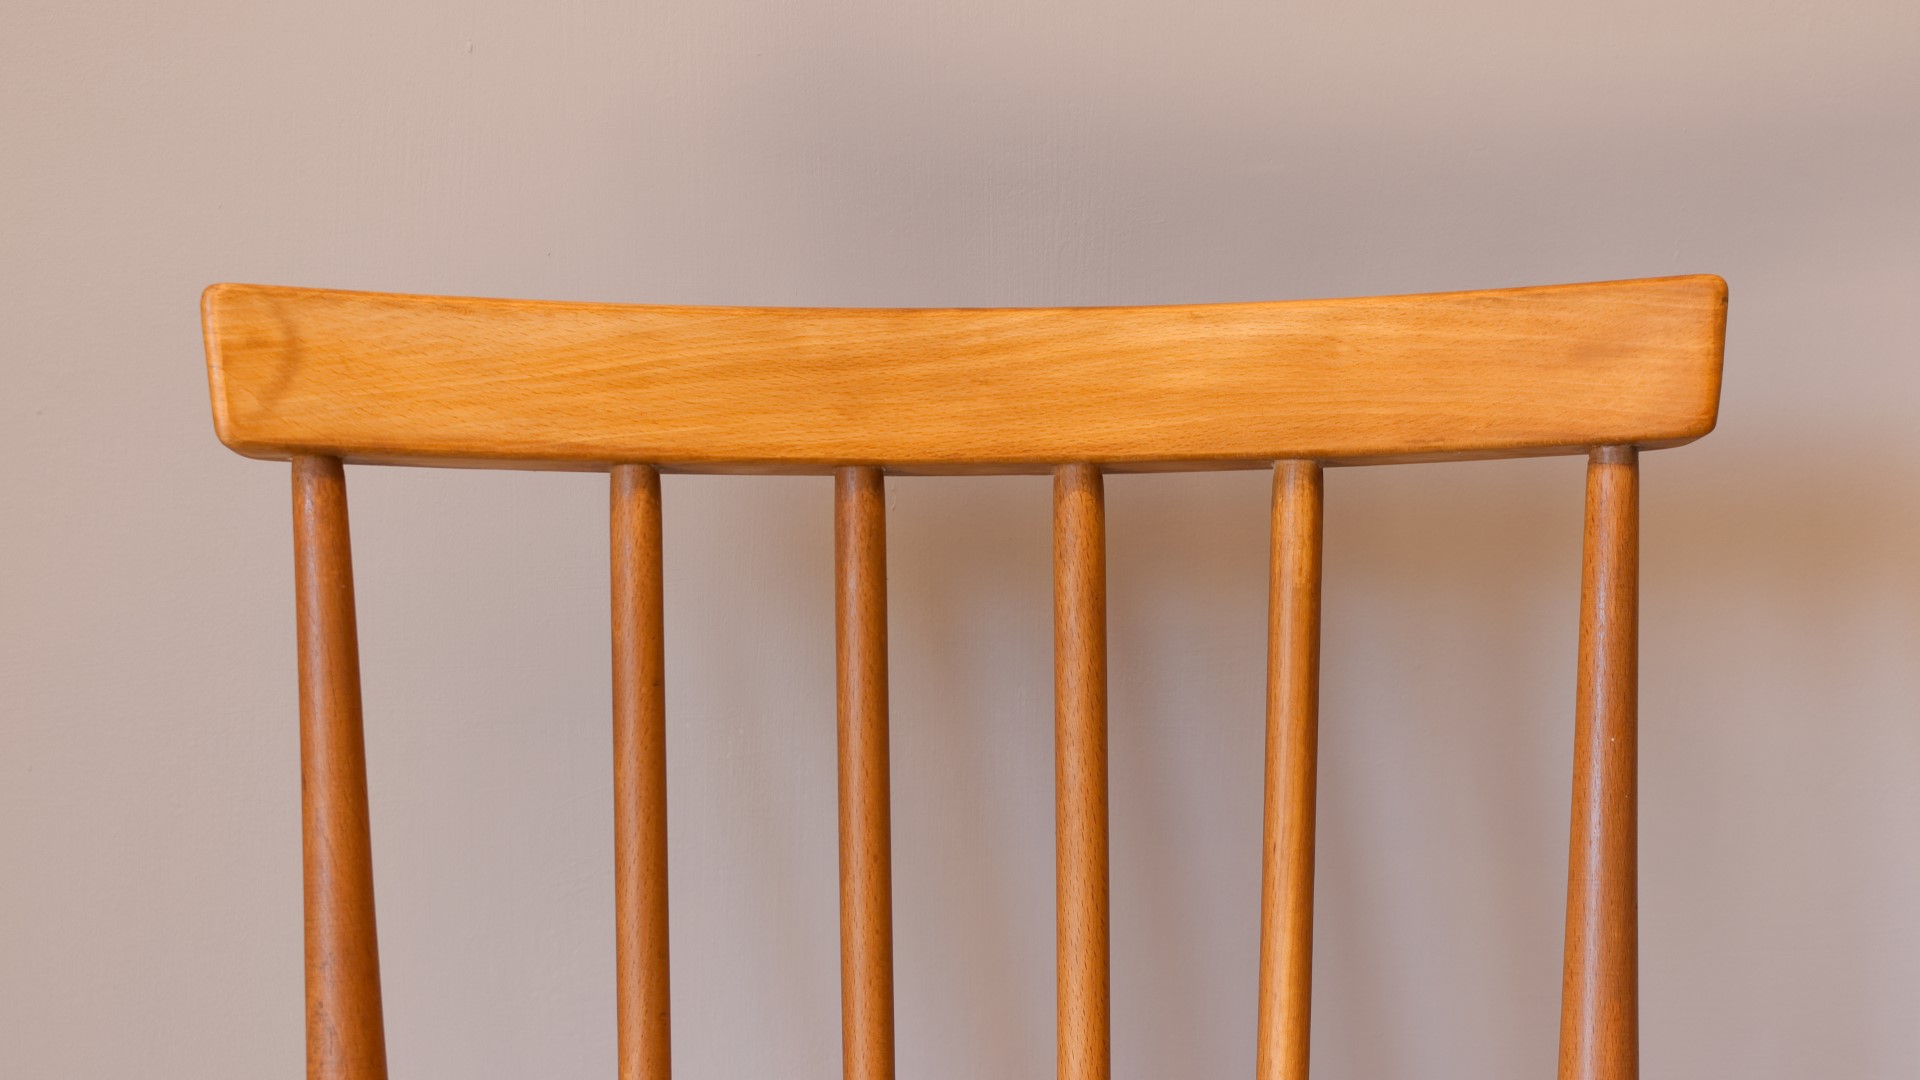
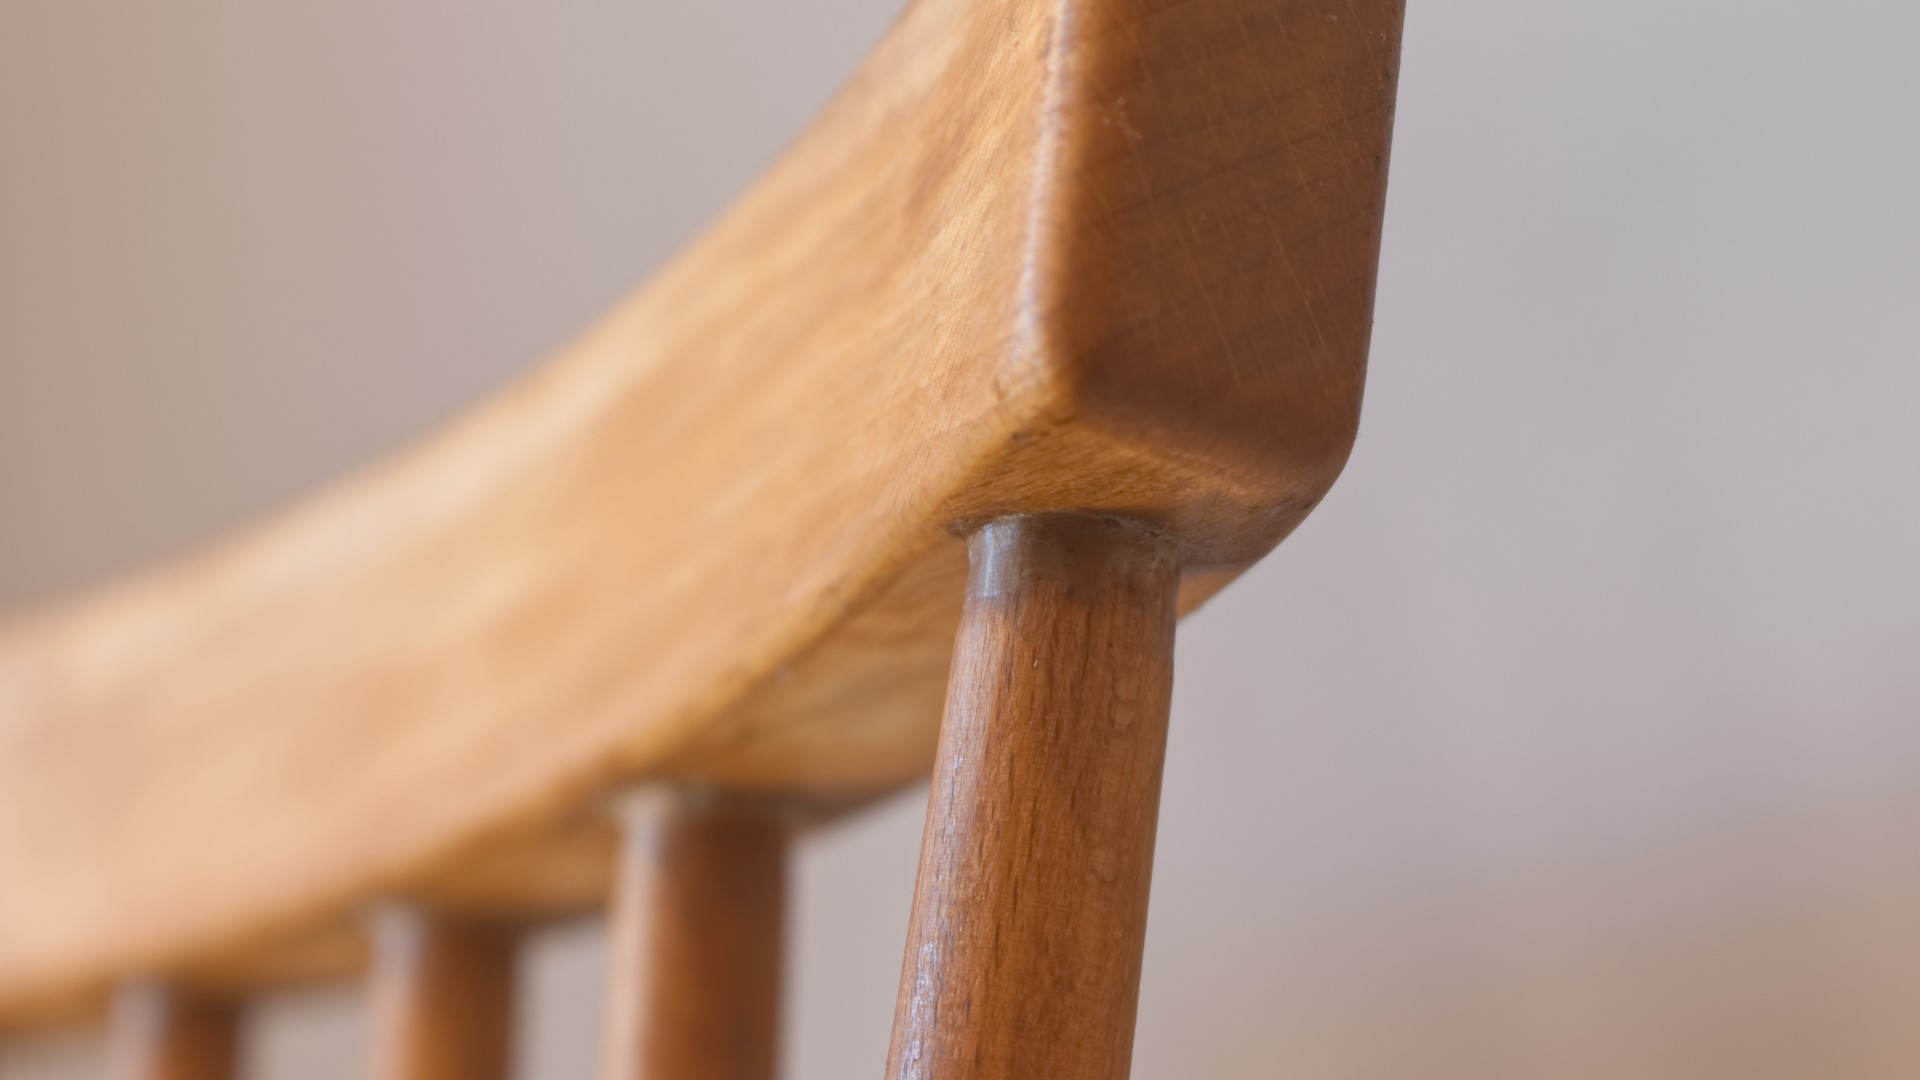
The seat pads on these chairs are solid elm and they were showing signs of wear, it looks like they had a wax finish applied at some point, but that wax is barely there any more, the backrests and spindles are solid beech and in pretty good condition in general, but the main problem with the chairs which is why I was asked to look at them were the loose backrests, it looks like the glue joints were no longer hoding on the spindles that support the back rests, so much so that when I went to collect these chairs from the client, one of them fell apart in my hands as I picked it up.
One of the chairs had also had a not very symathetic repair done to one of the spindles, which doesn't look particularly good, but it seemed really good and solid and the client wasn't bothered about it, in fact he liked the character of the repair, so I don't need to do anything about that.
Most of the chair frames were good and solid, there were a few slightly loose joints, but nothing to be concerned about, but one of the chairs had a particularly loose frame so I'll need to sort that out later on too.
Stay tuned for later in the video where I accidentally break one of the spindles, as that makes for an interesting but challenging repair!
The first job was to get the chairs dismantled, and I put an old towel in to the vise before inserting the seat pads just to help protect the wood.
And then I start adding tape to each of the parts of the chair for two reasons - firstly it means I can number everything so that I can put everything back in it's original place. And secondly it's going to keep things clean of any glue squeeze out when it comes to regluing later on.
I use a block of wood and a few taps with a mallet to remove the backrest.
Most of the spindles came apart really easily.
The main back support pieces were tenon'd and joined in to the seat pads with a wedge, so these were a little trickier to remove but pretty much all of them were loose so they all had to come apart, and I did that by tapping through with the end of a dowel.
Occasionally I found a spindle that was still nice and solid with no movement in the joint, so I left those alone - no point fixing what isn't broken.
It's important to remove the old glue before regluing so that it adheres properly to the wood, so for the mortises, I used a dowel with some sandpaper wrapped around it to clean them up. I'm trying to remove the glue, but not any of the wood, because I want to make sure the joints go together nice and tight.
I use a smaller dowel to tackle the smaller mortises.
And the ends of all the spindles got scraped using either a card scraper or a knife blade.
And I follow that with a little sanding.
This is definitely the most time consuming part of the whole project, and it's pretty tedious after a while - in total there were 48 mortises and 48 tenons to clear of old glue, and that's without counting the chair frame that needs regluing later
I'm going to use a polyurethane glue on these chairs because it does a much better job of filling any small gaps than PVA wood glue would. PVA is incredibly strong, but only when it's a really tight joint, and even though using it probably would have been fine on most of the joints, some of the joints were not as tight as they once would have been, probably because the wood has shrunk a little as it's dried out over the years.
The polyurethane glue adheres best when the wood is damp, so I sprayed on a little water before removing the excess with a tissue, and then applied the glue and I used a nail to spread it out.
I can then re-assemble the chair making sure to put everything back where it came from.
Lining all the spindles up at the same time was pretty tricky but I got there in the end.
I can then seat the backrest with a mallet, and add a couple of clamps - I'm using F clamps here and because they're at a slight angle, to stop the pads on the clamps slipping around I used a bit of folded up sandpaper, and that worked great.
Earlier on before dismantling the chair I had measured the distance between the backrest so that I could adjust the clamping pressure accordingly until it was in exactly the right place. This glue foams up slightly as it's curing and after about an hour I can remove the excess glue by cutting it away with a knife and removing the tape.
All was going well, until....
So here I'm figuring out how it went back together based on the torn out grain and then I make a couple of pencil marks for alignment.
I then mix up some epoxy.
I then smothered it on to the end of the spindle, making sure to get good coverage, pushed it together firmly and then I can check that it's aligned properly by sighting down the length of the spindle.
All looked good, so I wrapped it in some tape to hold it in place while the glue dried.
That seemed to work really well, but next was the tricky part - drilling the dowel down the end of the spindle.
I started with a small 3mm drill bit, positioning it as central as possible by eye, and a I drill, I just need to keep checking the angle of my drill bit is correct both from above, and from the side.
Using an extra long drill bit helps a lot here, because it's much easier to judge the angle.
I drilled basically as deep as I dared to, making sure that the dowel would fully re-enforce both pieces.
Then I stepped up to a 6mm bit, and re-drilled the hole.
And then finally an 8mm bit, and I'm drilling nice and slow, taking my time.
And I have to say, that could not have gone better, the hole looked as perfect as I could have hoped for.
I have some of these 8mm beech dowels, and I pushed it in, marking it up so that I could cut it to length, and then I smothered it in PVA glue - I'm using PVA glue this time because I know the joint is nice and tight, and then I add it to the inside of the spindle.
Once I'd re-assembled the backrest to the rest of the chair, I could then work on tidying up that repair, first by scraping away any epoxy squeezeout. And then I can use these hard wax repair sticks - I bought this set a while back but haven't needed to use them until now. They come in a range of colours so I can select the best one to match the colour of the wood, and I heat up a butter knife on my gas camping stove. I can then use that to melt the wax in to fill any gaps, and this wax dries really hard. I've linked to this set of waxes in the my tools link in the description box below - it's quite expensive, but I expect this will last me a lifetime of furniture repairs so it seemed a good investment.
Once the wax had cooled, I could scrape away the excess with a knife blade.
Here I used the dowel again to get the frame apart.
I then spent some time labelling everything again on to masking tape.
And after scraping away the old glue, I re-assembled - this was much trickier than re-assembling the back rests, as there were so many joints to get positioned correctly ad the same time before the glue started to set.
After fitting the seat pad on to the frame, I used some ratchet straps to pull the joints on the legs and the rest of the frame tightly together
Even though the client just wanted me to re-glue the loose back rests, I ended up asking the client if I could refinish the seat pads on the chairs too, and he was happy for me to do that, I'm not going to charge extra for that, I just didn't want to send the chairs back to the client looking like they did, and it asn't going to take me a long time, first I just scrubbed away the old wax finish using a little white spirit on some four nought steel wool. Then I wiped it dry.
I then rubbed on some boiled linseed oil with a cotton cloth to both the seat pad and the backrest and spindles, I'm applying this mainly to bring out the grain and re-juvenate the wood.
And once that was dry, I applied some clear Briwax using some four nought steel wool - I'm applying this mainly to give the wood a top coat of finish which will add a little bit of extra protection for the wood, and also it's going to add a nice subtle sheen. Once the wax before buffing away the excess.
That's another project completed, and I quoted the customer for two days of my time for this job, as I figured I could get 2 dismantled and reassembled in a day, and that worked out about right, although the repair of the broken spindle took me another two or three or so to do, but I'm not going to charge the client for that seeing as I was the one who broke it - regardless of whether it was my fault or not.
I have to say I am over the moon with how that repair to the spindle went - I was thinking that through and worrying about it for a few days before I had the courage to tackle it, but it went really well and it just goes to show that as long as you take your time thinking things through properly and take your time actually doing them too, you'll get much better results than tackling something in the heat of the moment.
Regluing chairs is not the type of job I particularly like doing to be honest, but I decided to do this job mainly because it's always an honour to work on Ercol furniture, it's so beautifully well made and it's nicer to work on solid wood furniture than it is veneered too. Not that there's anything wrong with veneered furniture ofcourse.
I hope you enjoyed the video, please subscribe to my channel for more weekly woodworking videos. If you'd like to help support the channel, you can do that via Patreon or PayPal, and there's links below in the description box, on Patreon you can also get early access to my videos, exclusive content, free project plans and cut lists, and a name credit at the end of my videos. Thanks for watching
#woodworking #repair #restoration
Thanks for watching!
Please subscribe, click like if you like, and hit the bell icon for future video notifications
MY TOOLS:
For links to the tools I use, plus some of my favourite consumables, finishes and more see links below. As an Amazon Associate I may earn a small commission from qualifying purchases:
UK affiliate store: https://www.amazon.co.uk/shop/ragnbonebrown
US affiliate store: https://www.amazon.com/shop/ragnbonebrown
HELP SUPPORT THE CHANNEL:
Support with Patreon: http://www.patreon.com/ragnbonebrown
Support with PayPal http://paypal.me/ragnbonebrown
SHOP:
Etsy: http://www.etsy.com/uk/shop/KeithBrownMaker
https://teespring.com/stores/rag-n-bone-brown-merch
LINKS:
Website: http://www.ragnbonebrown.com
Facebook: http://www.facebook.com/ragnbonebrown
Instagram: @ragnbonebrown
Twitter: http://twitter.com/ragnbonebrown
Email: ragnbonebrown@gmail.com
Second YouTube Channel (non woodwork videos): http://www.youtube.com/user/keefykeef
Images: